Upgrading and Fixing a 16 Year Old Dell Laptop - They're Still Useful!
As I've mentioned on YouTube and in past blog posts, I run a non-profit called ReCognition Circular. We're based in Birmingham, UK (where I'm from) and we run the Birmingham Device Bank, an initiative which gives people who don't have access to or otherwise couldn't afford one, a laptop. We also supply mobile data in partnership with the Data Bank.
We also run electronics repair courses. Each student is given a badly damaged / very old / worthless machine to practice on. They fully disassemble it and then re-assemble it; the idea is that they'll make mistakes, break screens, tear ribbon cables, bend the heatsink, etc. This laptop was destined to be one of those practice machines (owing to it being 15 years old). I have personal experience with this model however and, as the Device Bank is short on devices, I decided to take it home and repair it thus saving it from e-waste for a few more years.
There are a lot more photos on this blog post than prior ones. I intend to adopt that as my standard practice, going forward. It makes the post easier to read and follow. Let’s start the repair:
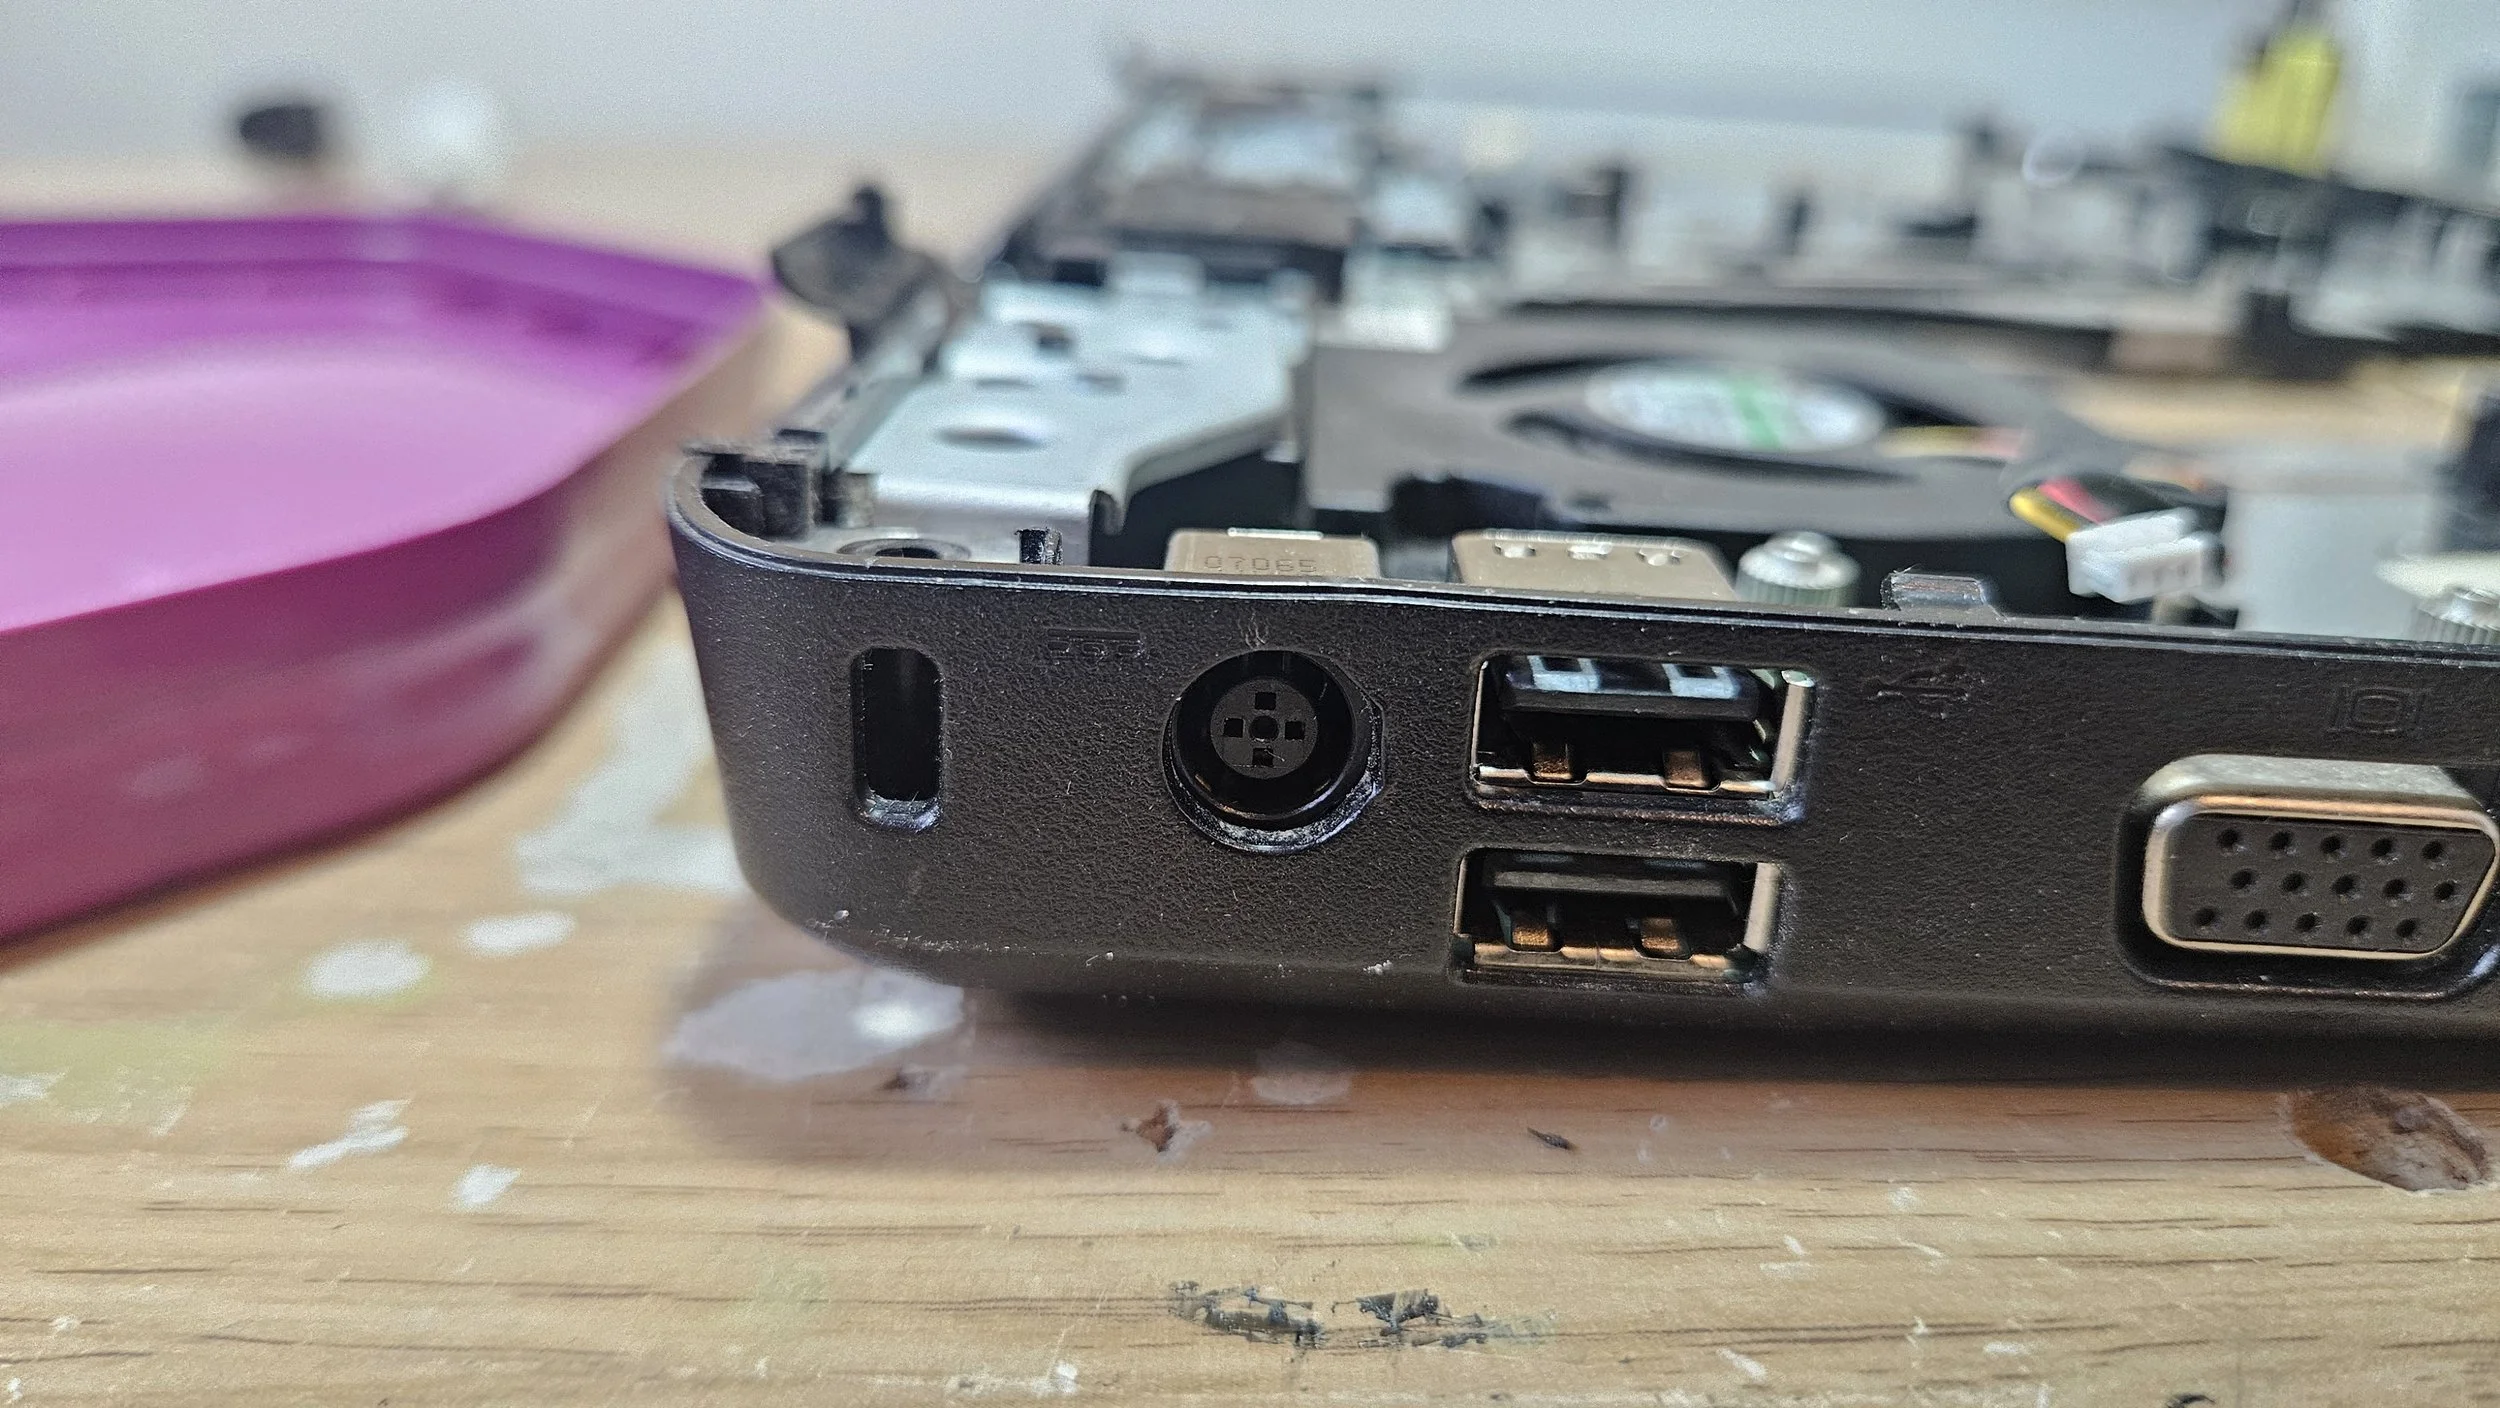
The first step is a visual inspection. Besides being a bit grubby the laptop looked okay. A quick glance told me the ports were all fine too... I plugged a charger in but it felt funny. It was a bit crunchy and didn't hold the pin as expected. When held in a certain position it was able to boot. Our laptop has a whole 1GB DDR2 RAM - maybe it had been looked at before and someone pilfered the 2GB stick. Anyway, I booted to BIOS and saw the original Intel Pentium T4500 CPU; no free upgrades there. The battery had a warning and subsequent testing revealed it to have 2 whole minutes of life. Not 2 hours, 2 minutes.
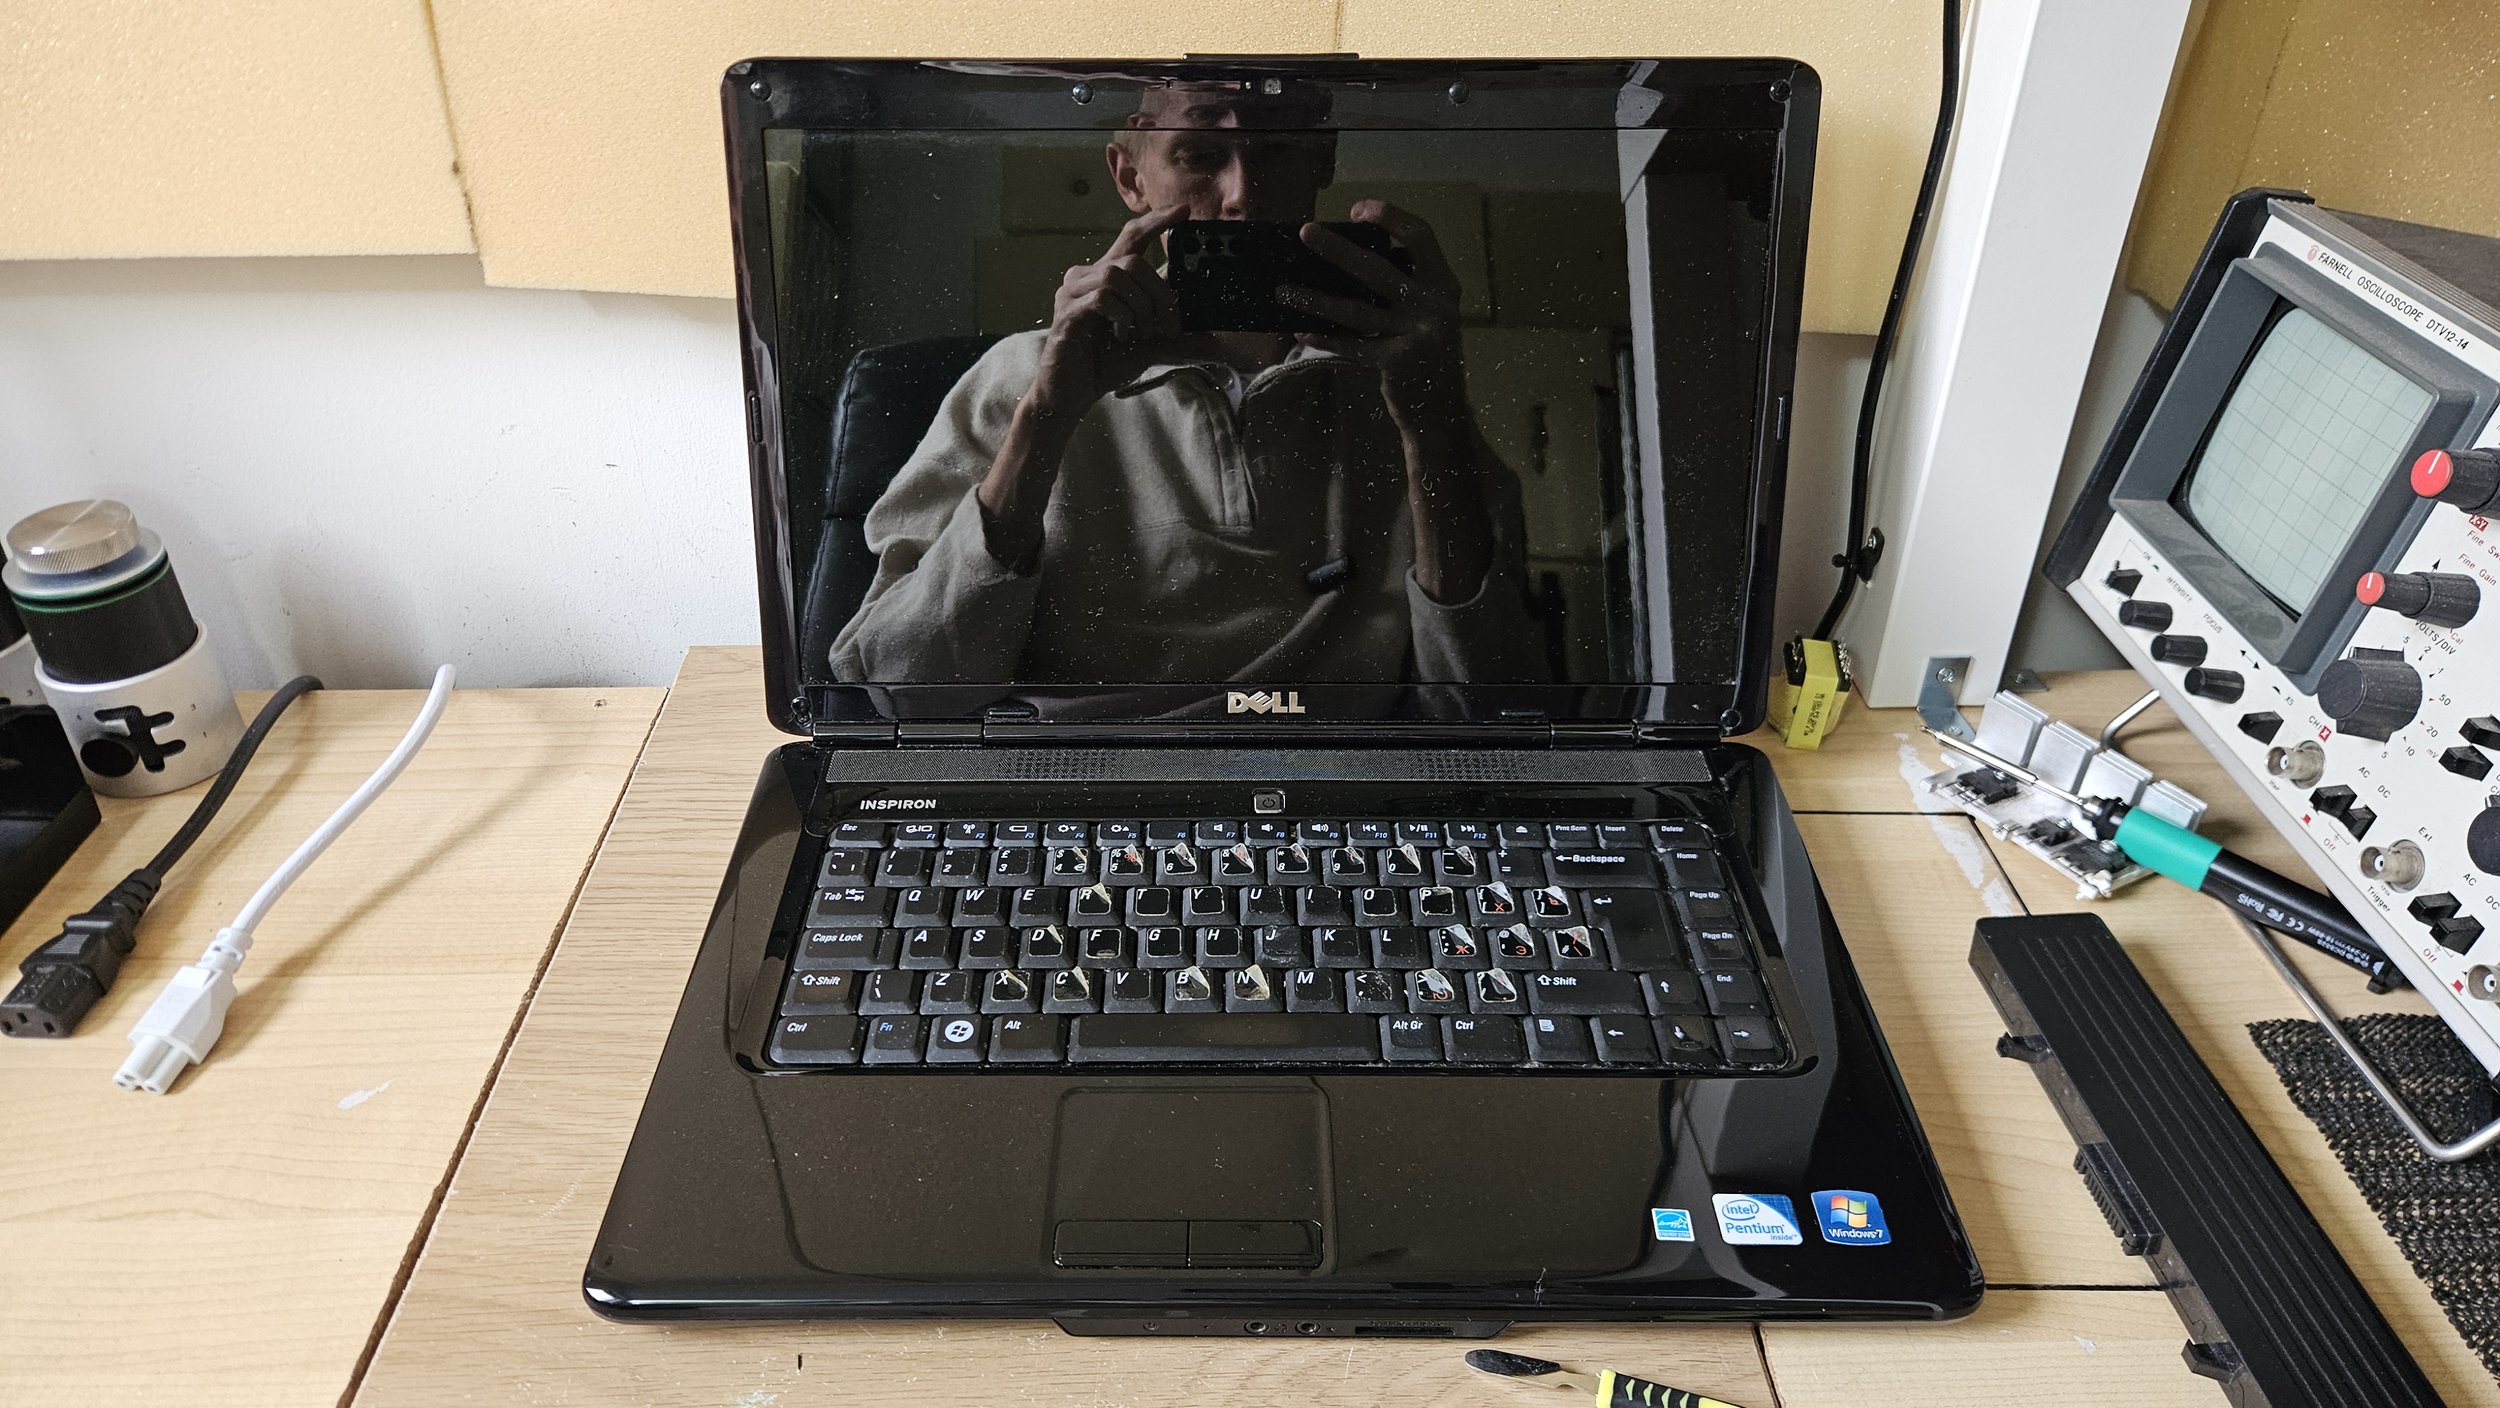
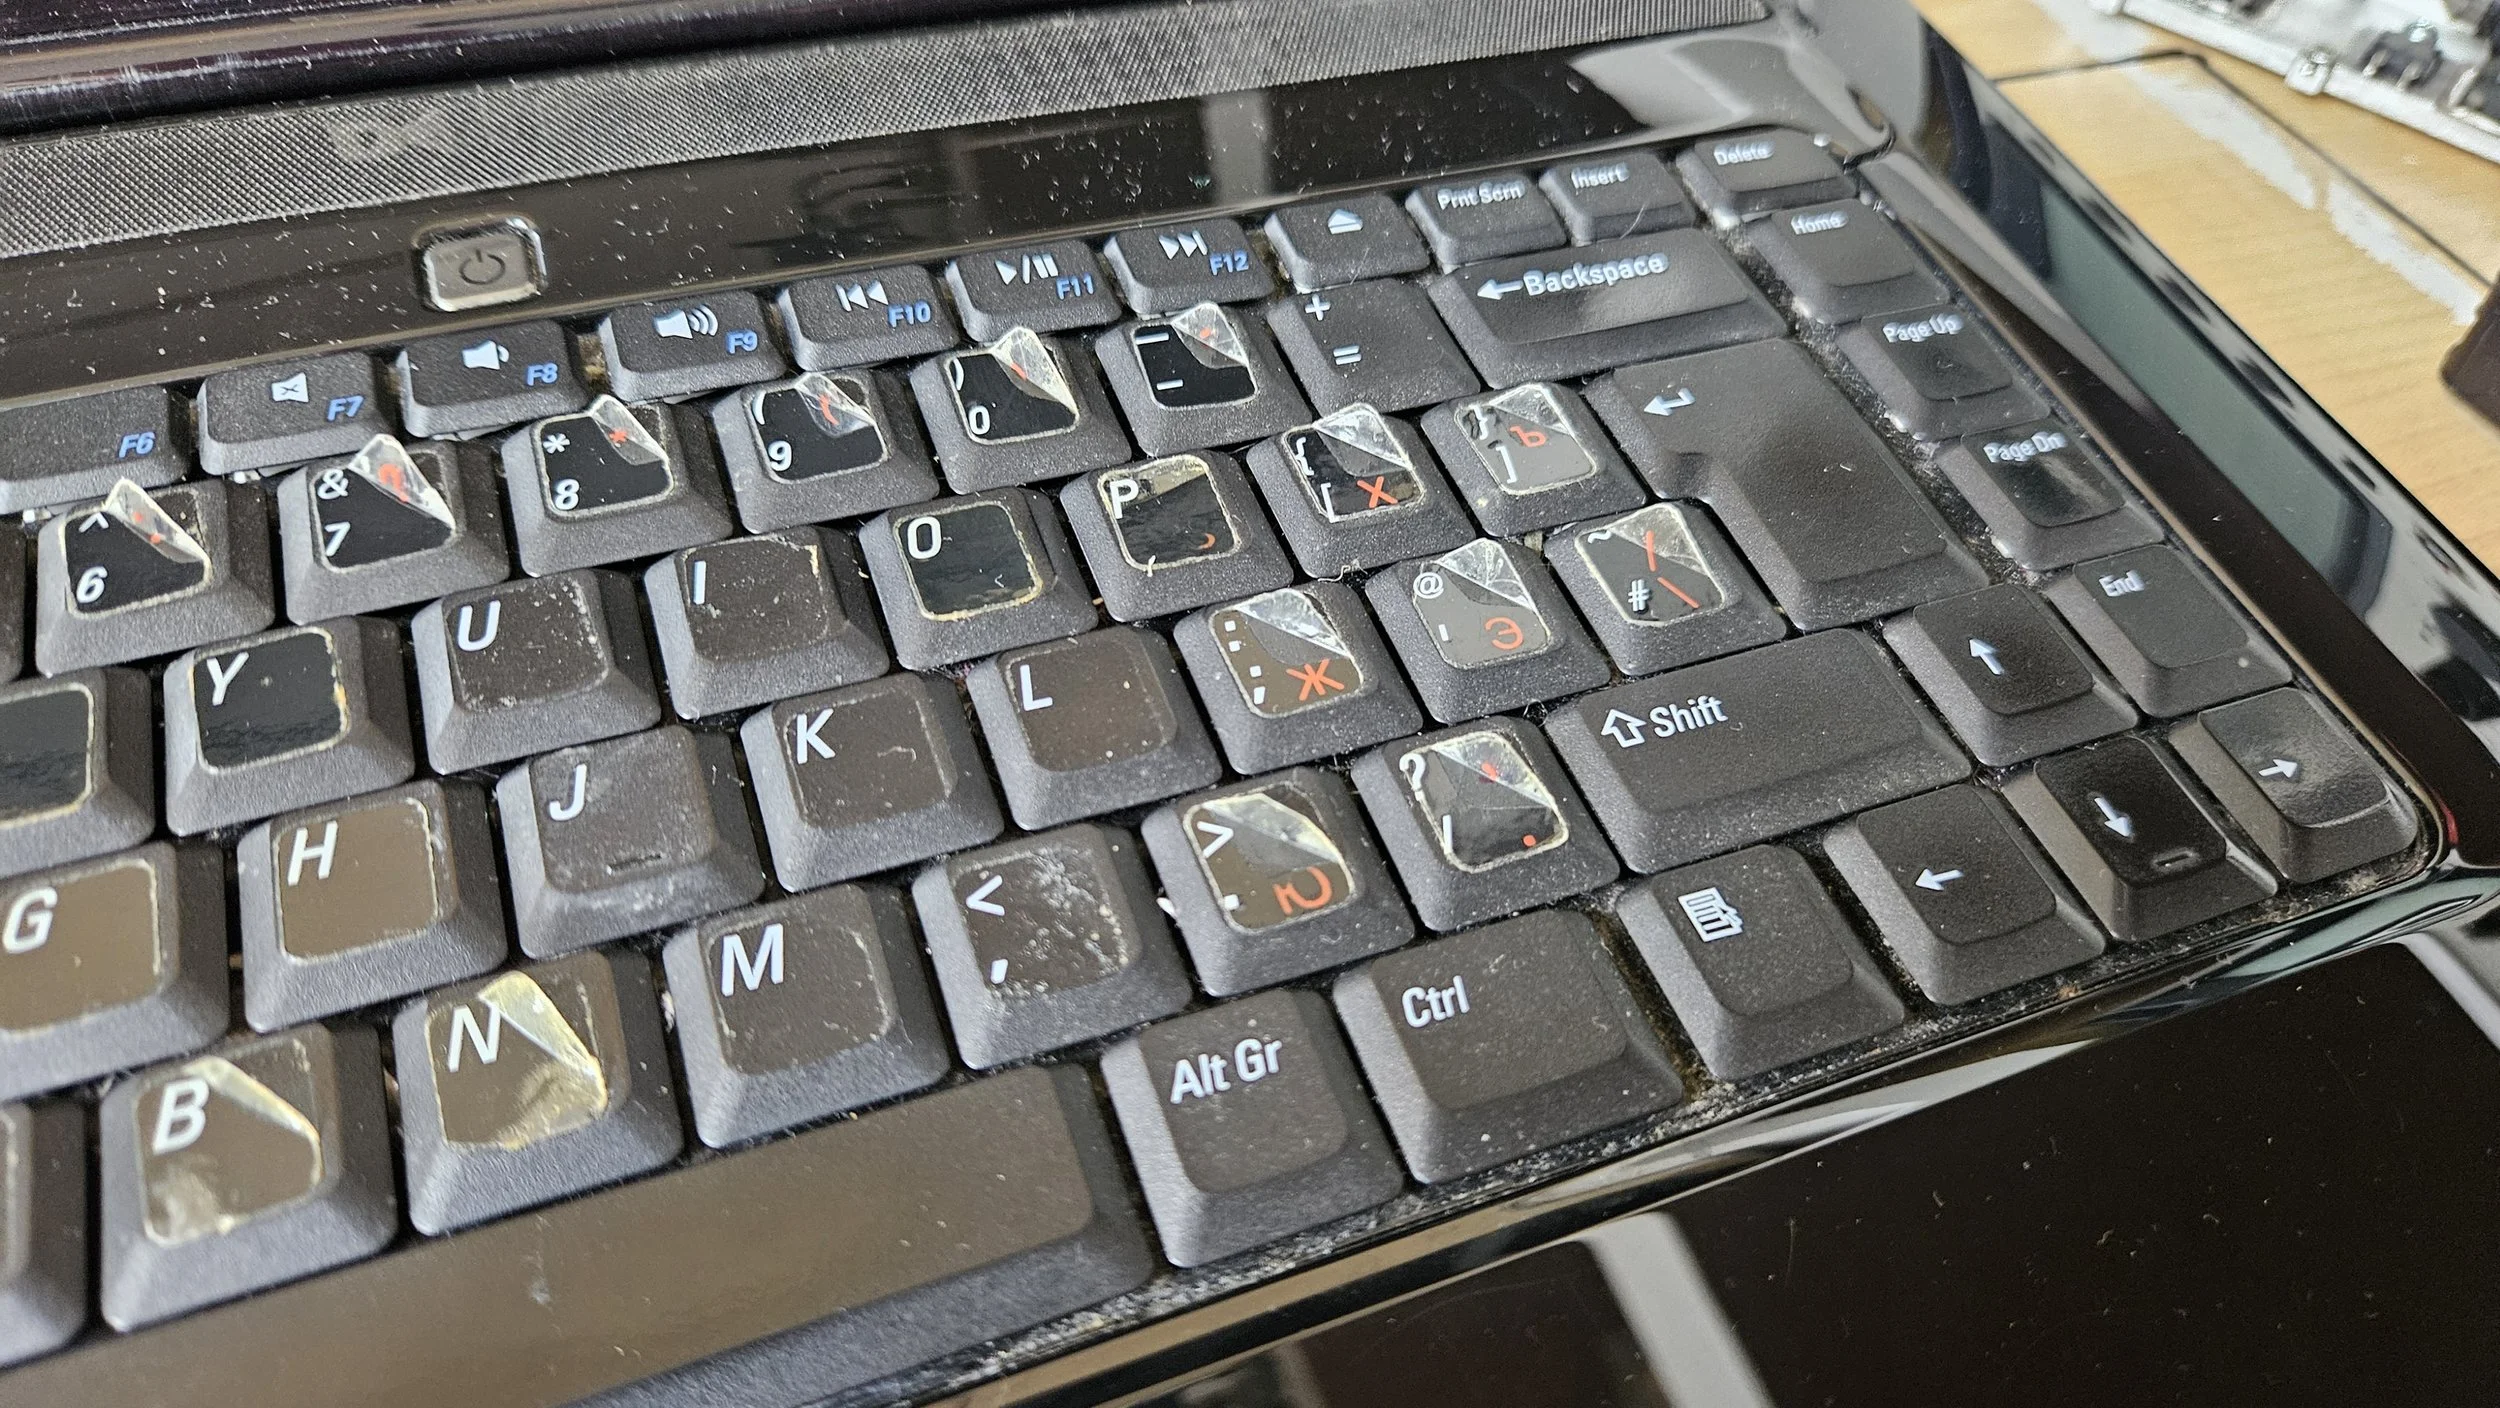
So far then I'd determined the charging port was bad. Replacing the assembly would have been easy and they only cost £5. I took the tougher option of de-soldering the port itself and soldering a replacement one in since we have so many scrap boards to hand - finding a suitable spare board who's port could be harvested only took a few minutes. What else was wrong besides the tiny amount of RAM, a useless battery, weak CPU and damaged charging port? There was no storage! Also, the keyboard had stickers overlaid. Removing them later proved easy but the residue took a lot of extra work to remove.
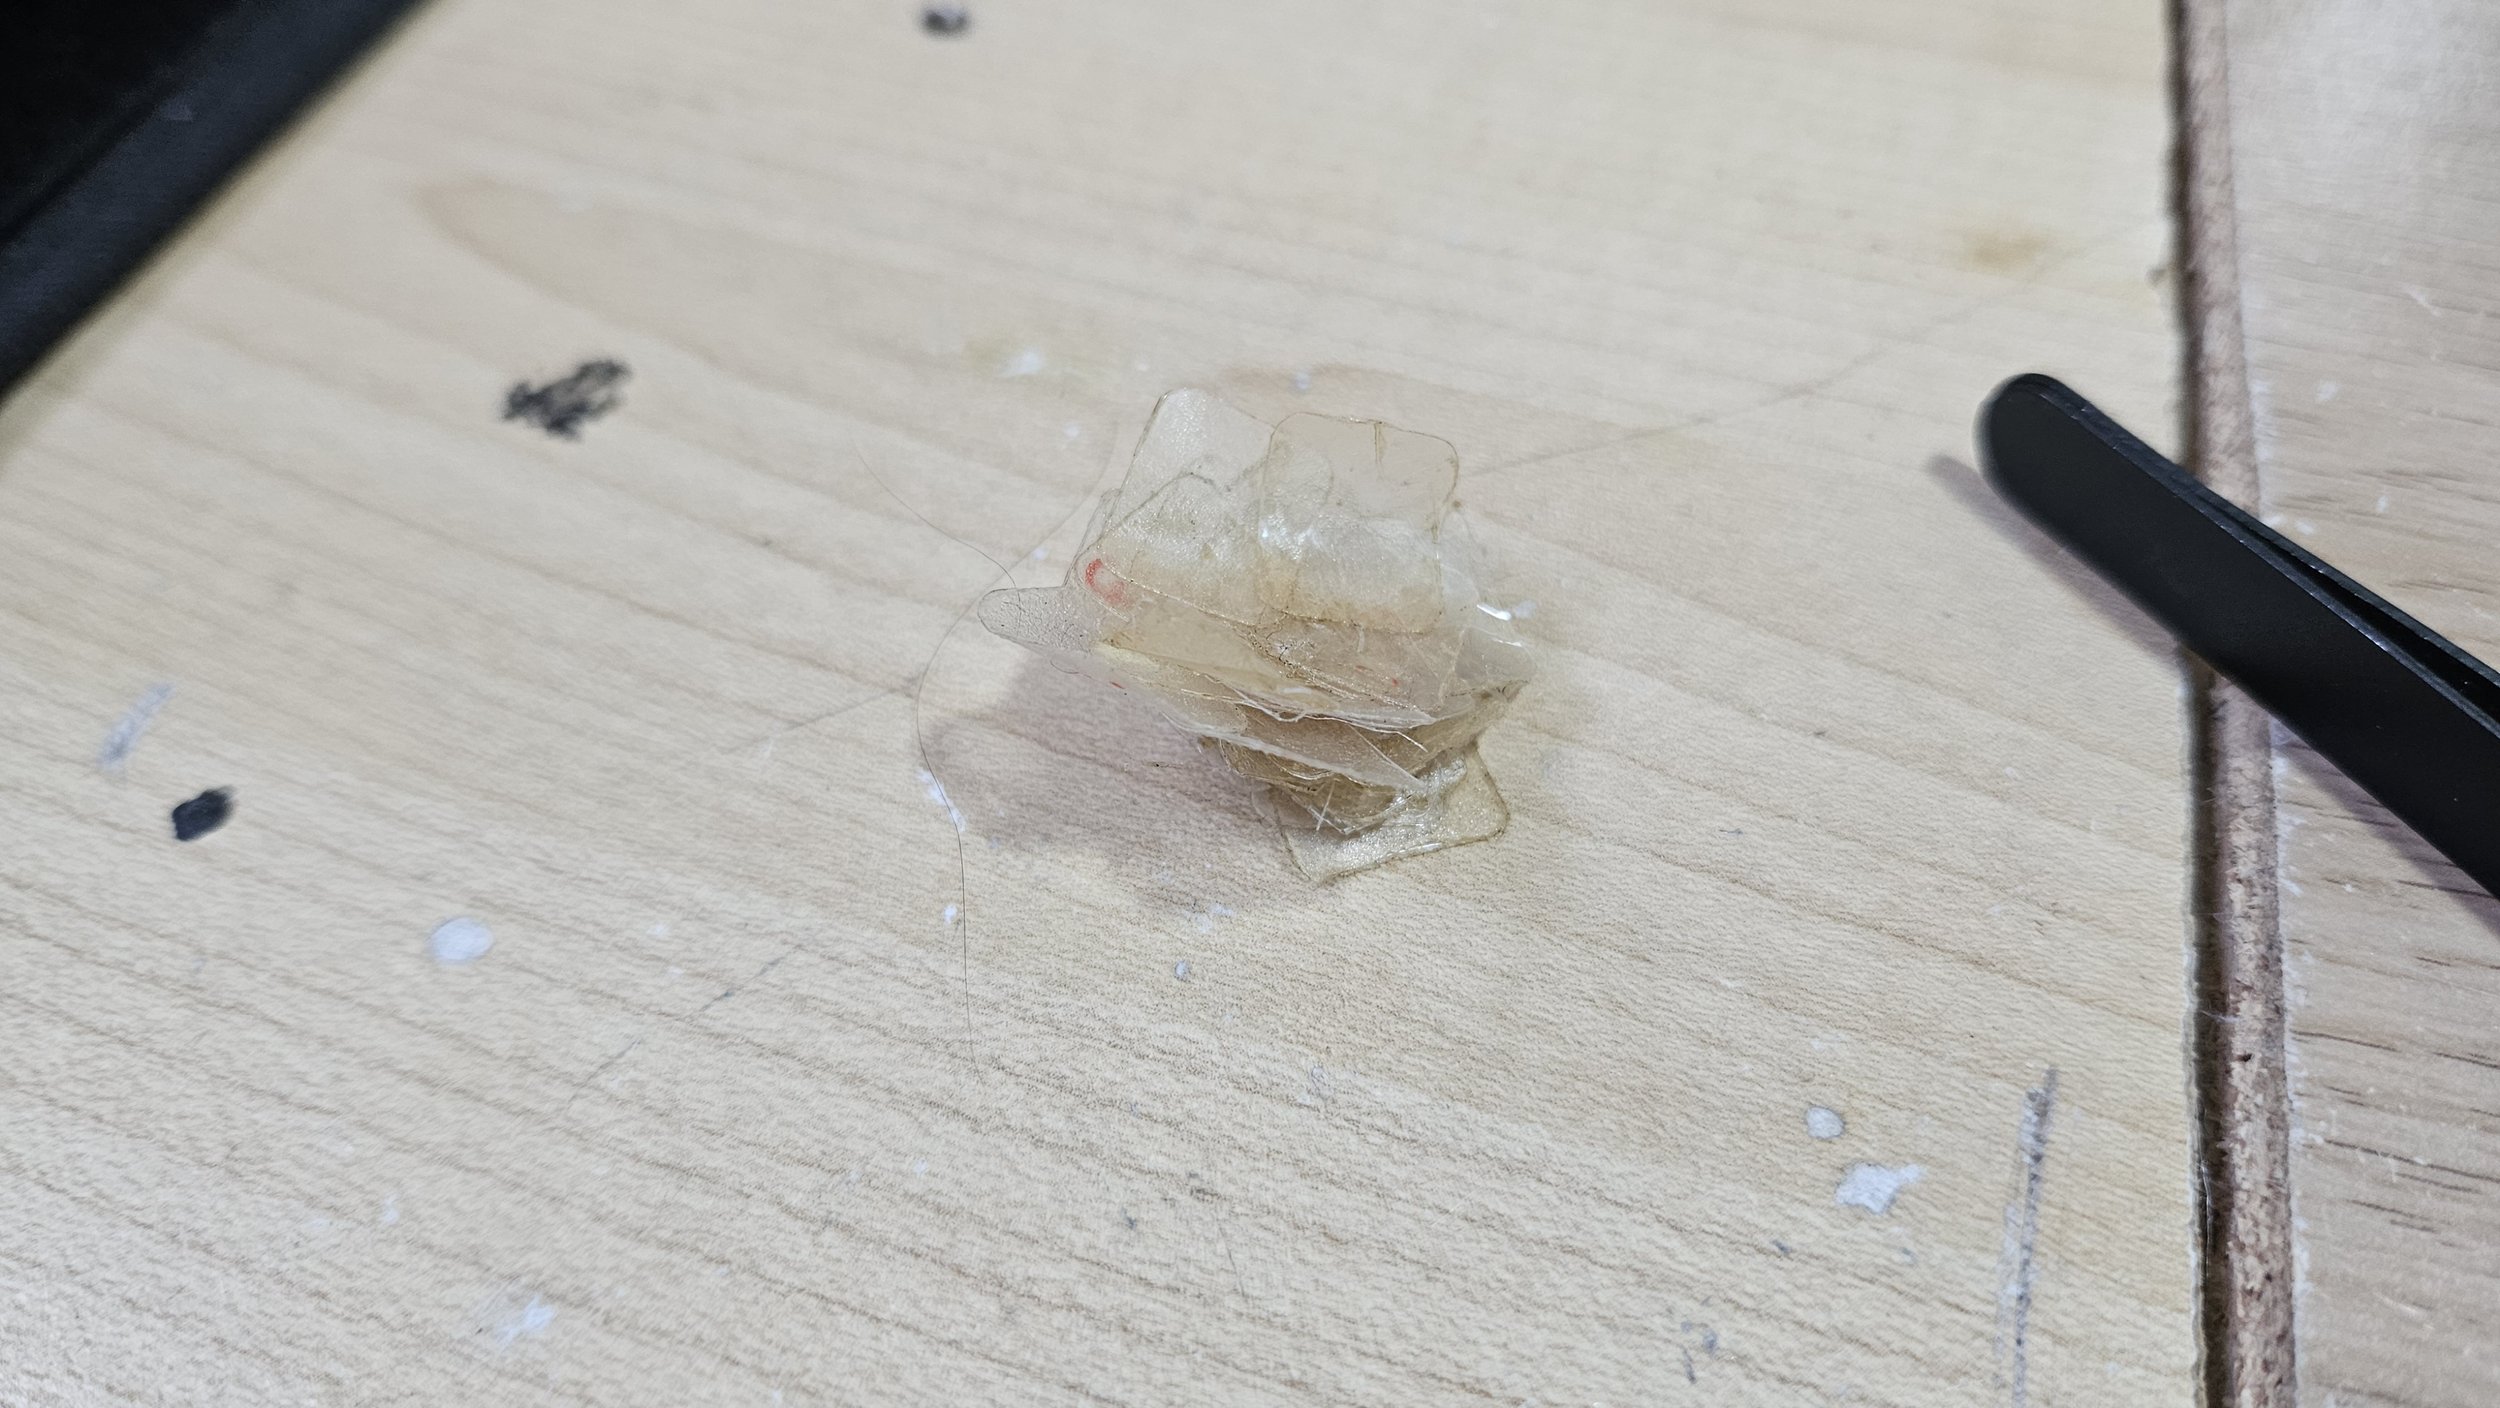
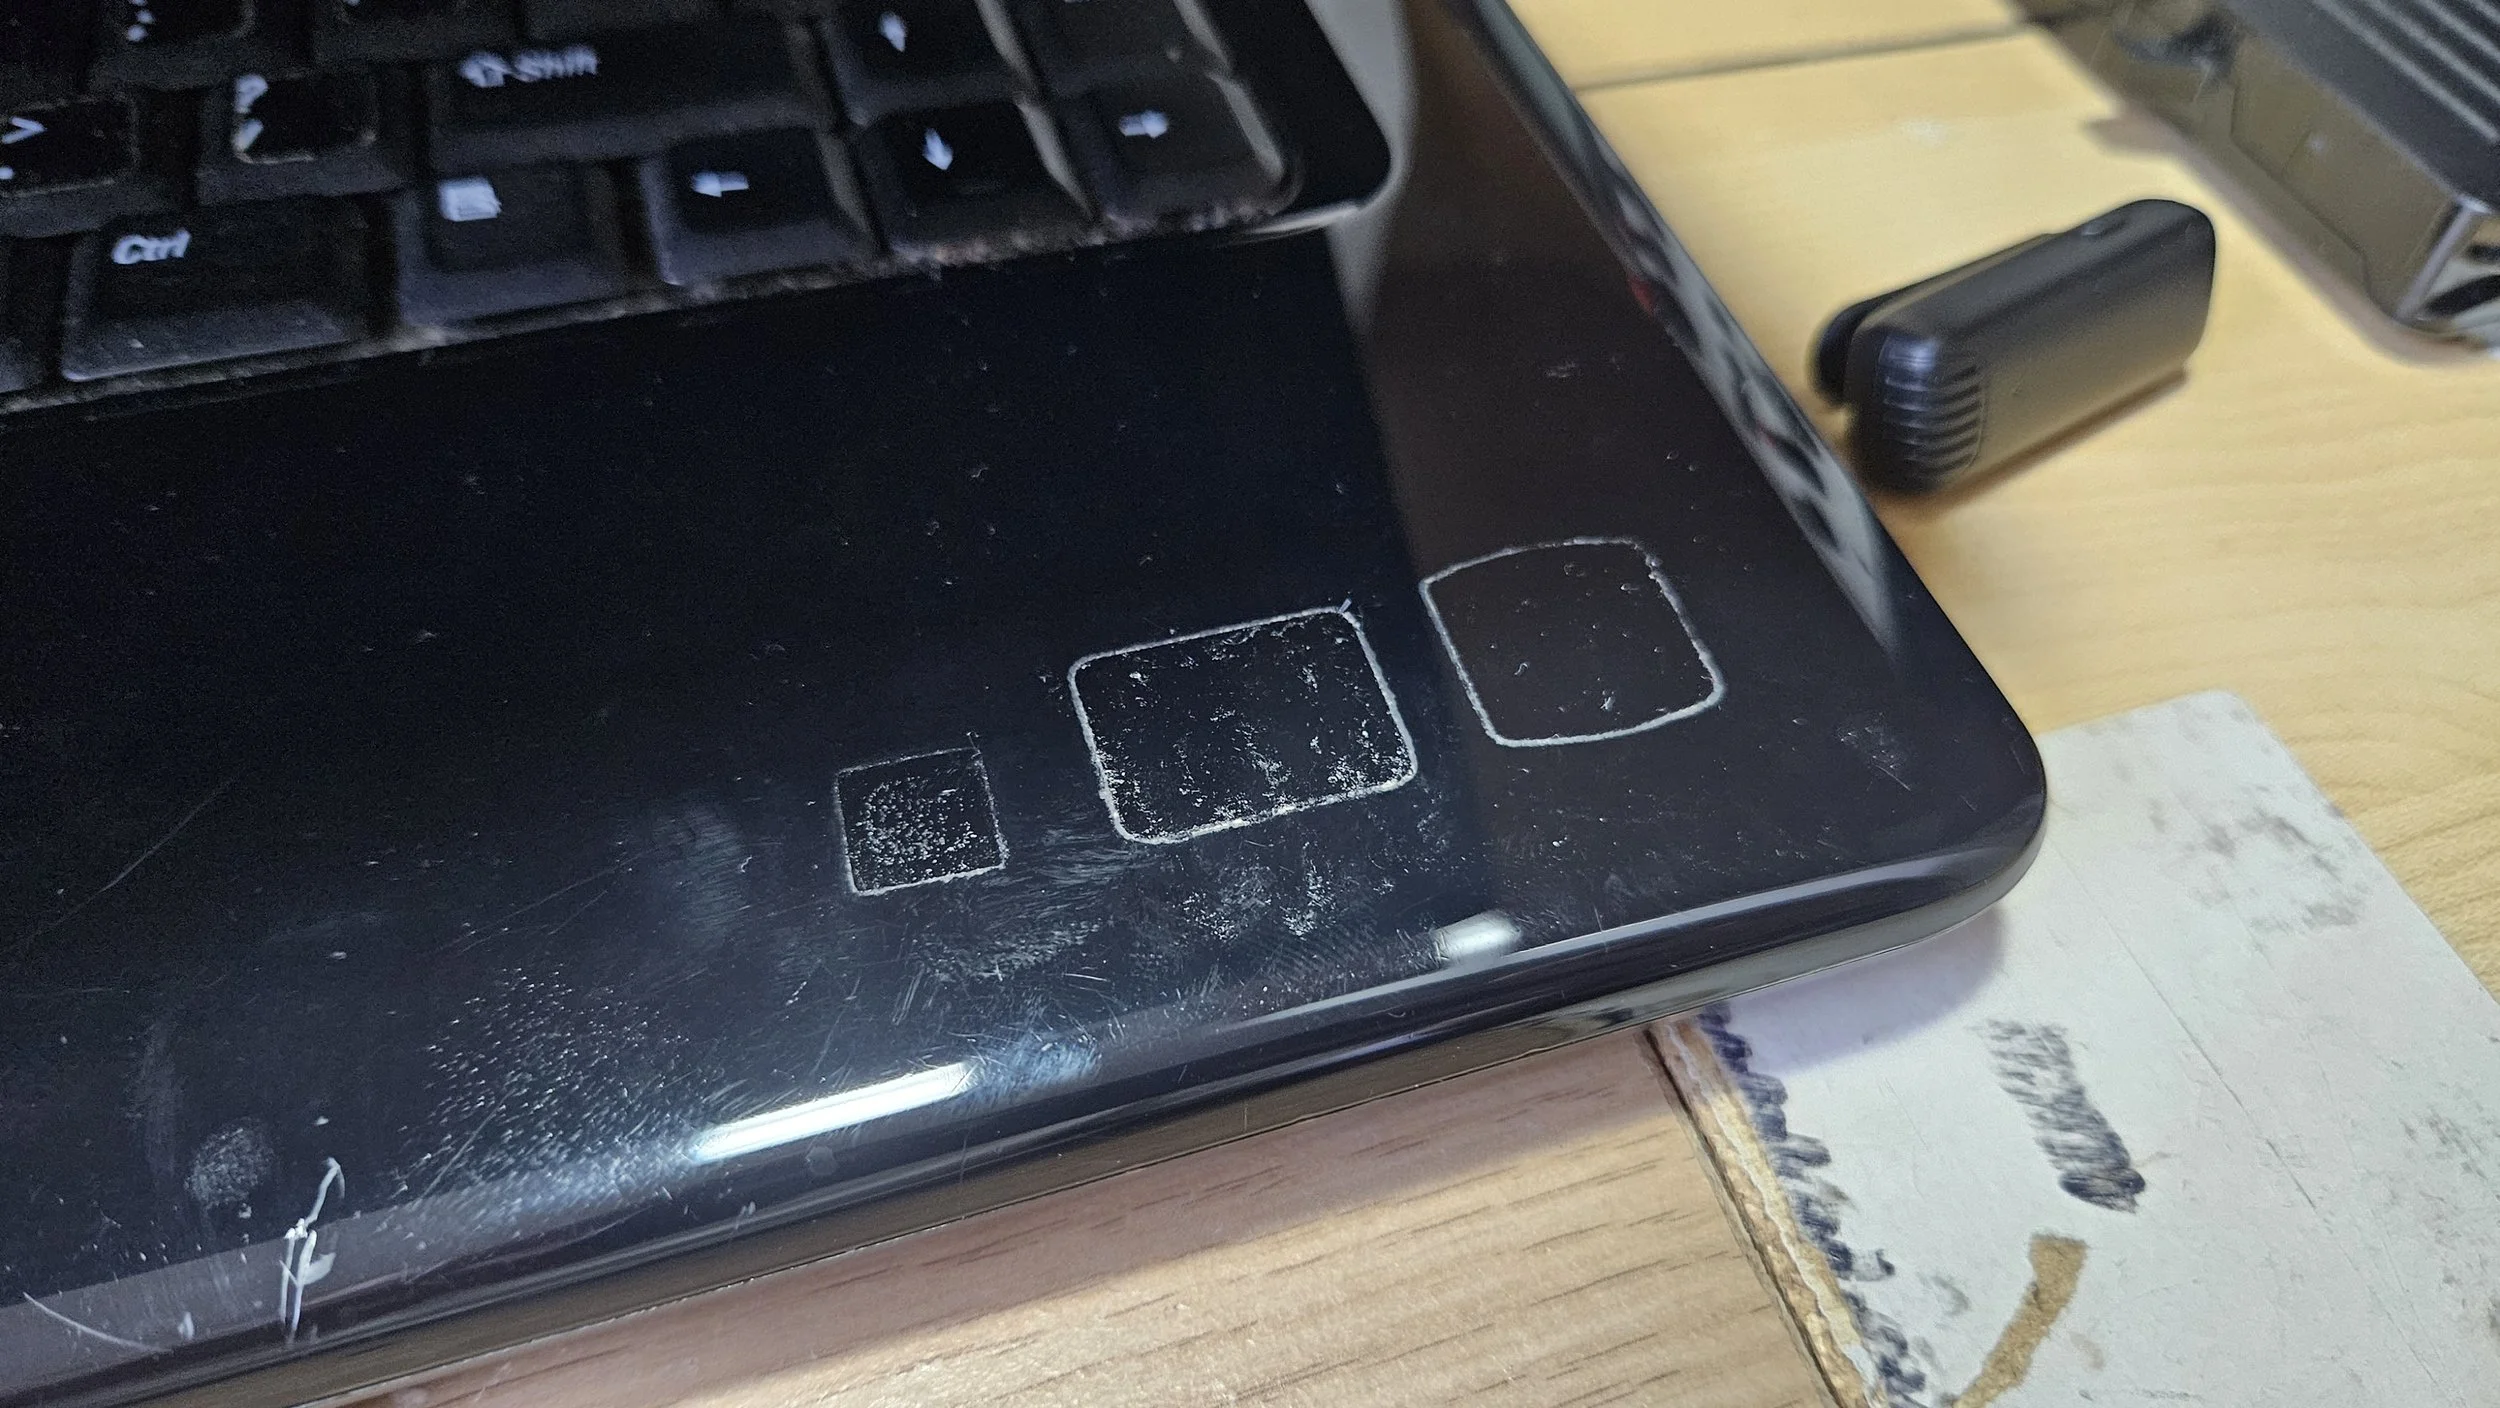
Speaking of, I used a metal tool to lift each sticker. I was able to peel them by hand and (provided I went slowly) most of the residue went away with them. I ended up with a sticky pile of dirty stickers. Hmm. The RAM was upgraded with 2 spare 2GB sticks. This laptop only takes 4GB of DDR2. That used to be a lot you know! The plan was to install and SSD and Linux Mint XFCE which works well enough with 4GB RAM as you'll find out.
Next I decided to have a look at the charging port. I didn't want to buy a battery or an HDD caddy until I was sure it could be fixed. Whilst a new board would have cost under £10. The extra expense would have been hard to justify. How to remove the charging port then? You have to dismantle pretty much the whole laptop. Nothing has changed in 15 years I guess! I flipped the machine over and removed every screw. Some were recessed quite deeply and required an old screwdriver trick; remove the bit and set it in the screw head by hand; put the screwdriver back over the top and use it to crack the screw free; slowly turn it by hand a few times and you'll then get it out far enough to where you can go back to the normal speed with the screw driver. I also slid the DVD drive out.
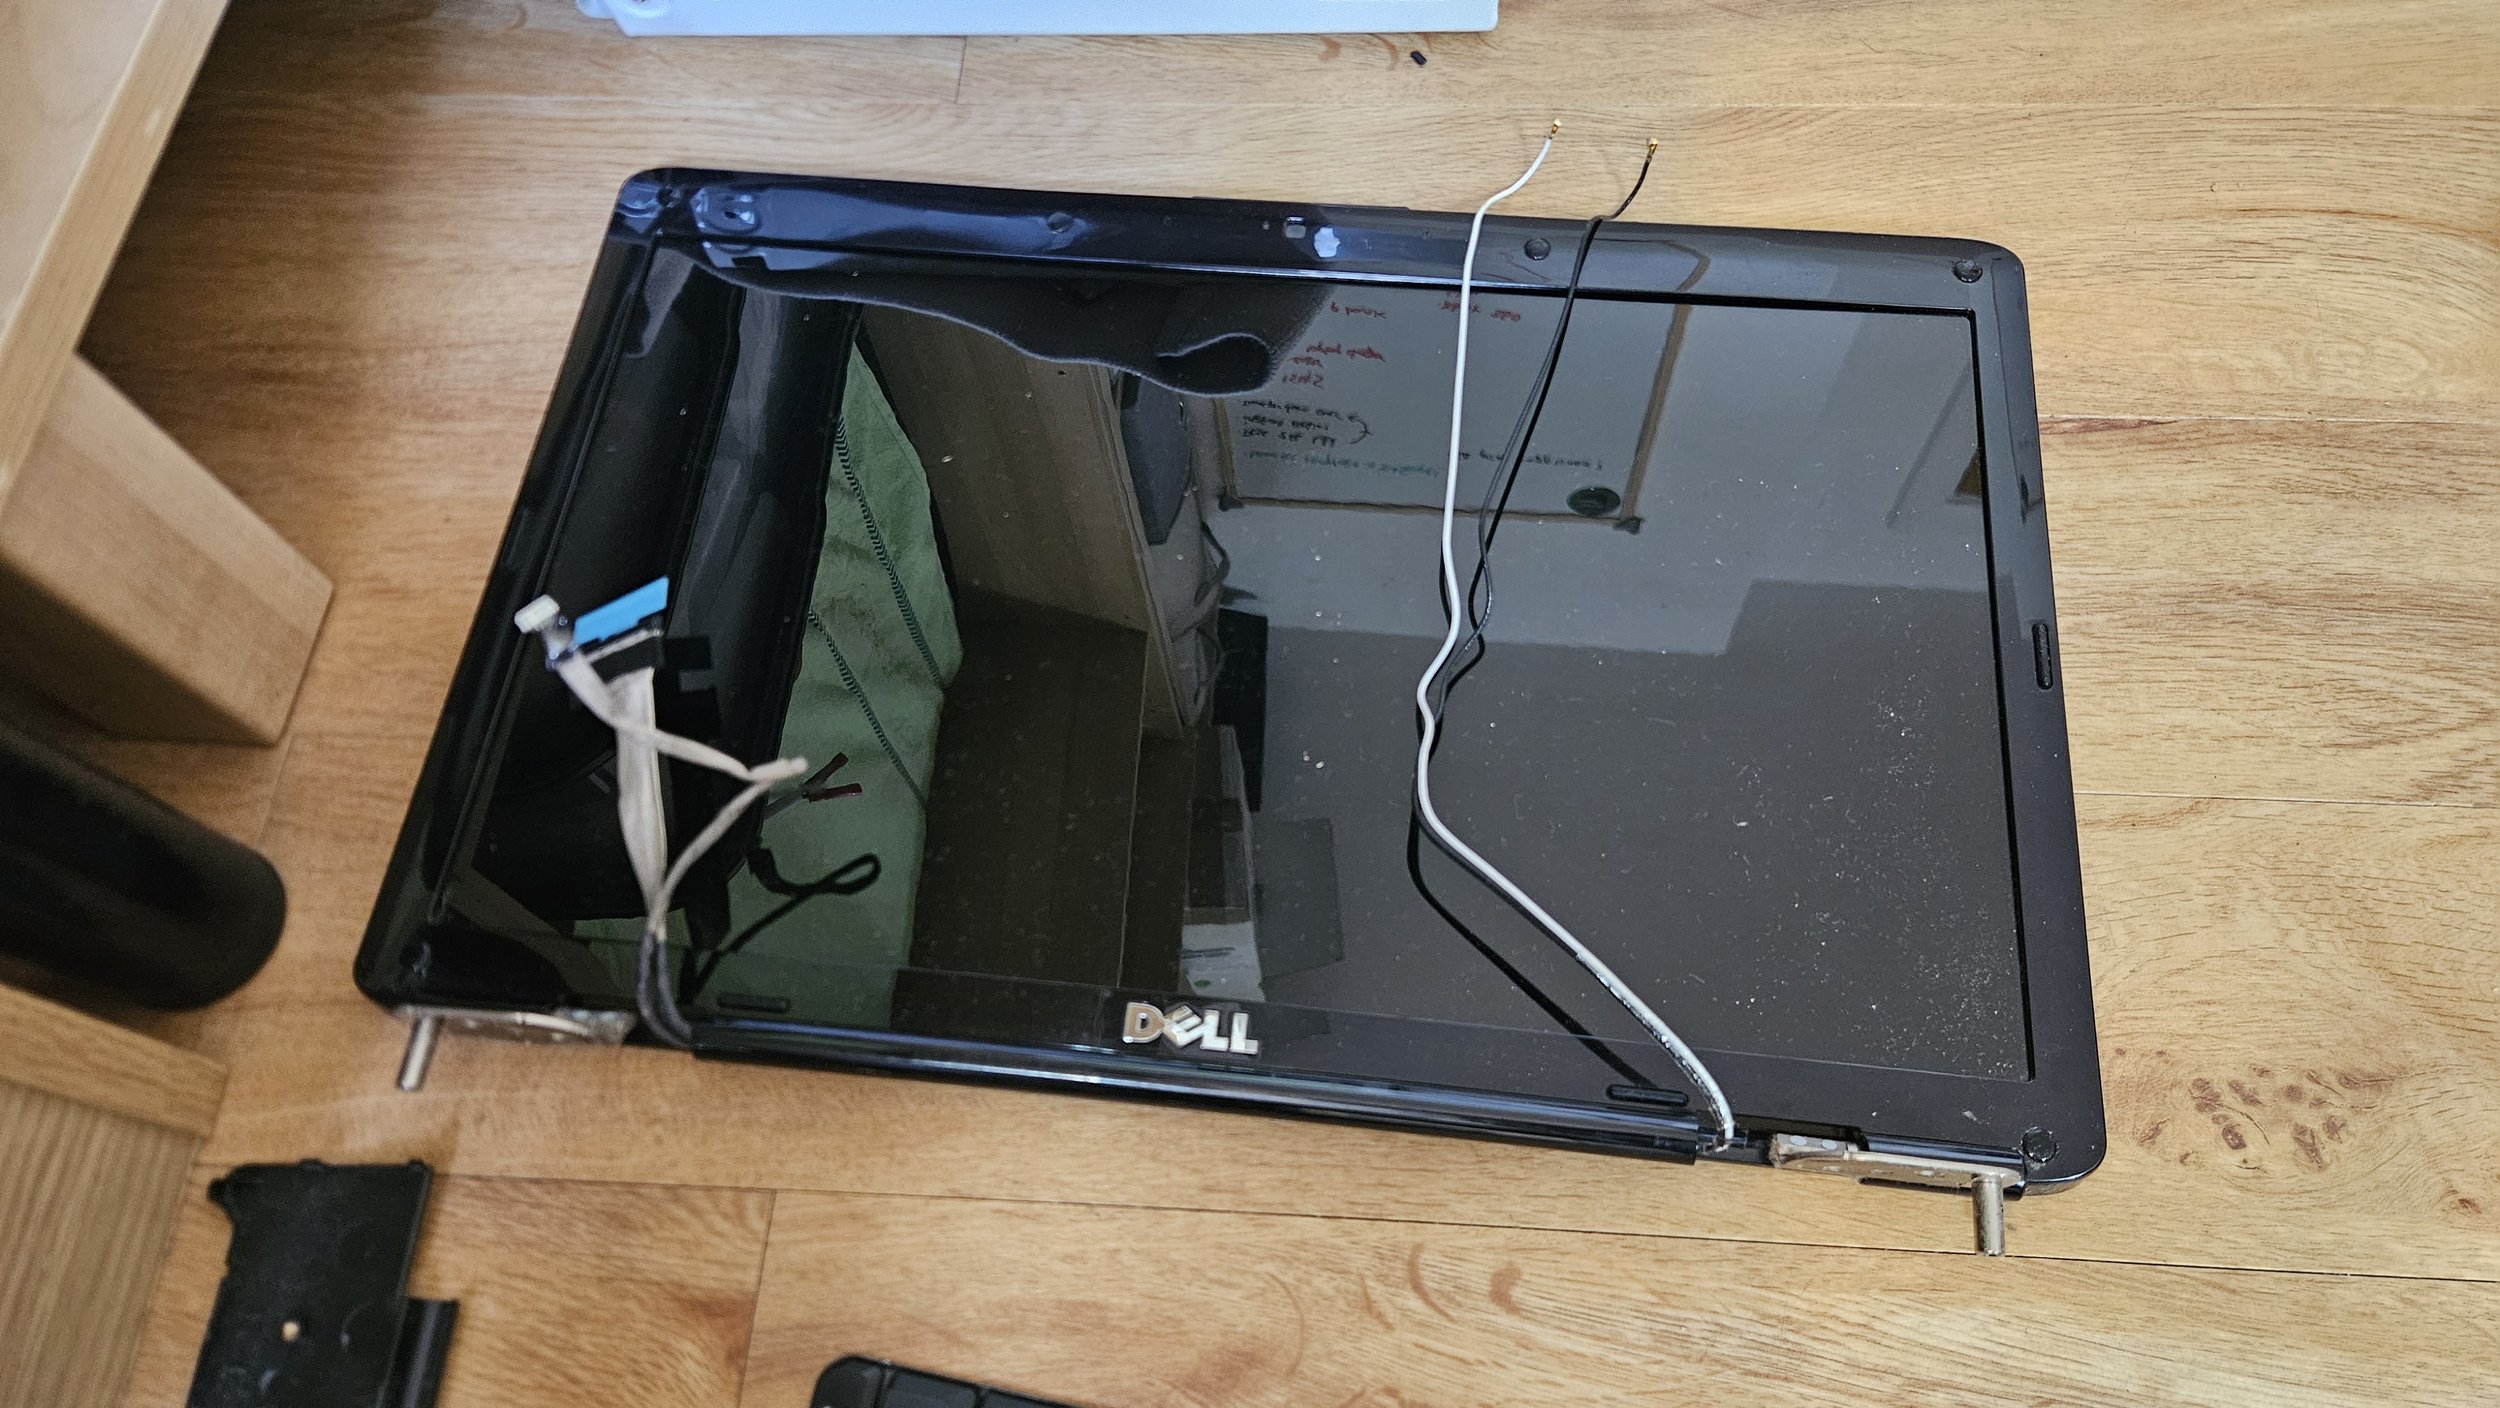
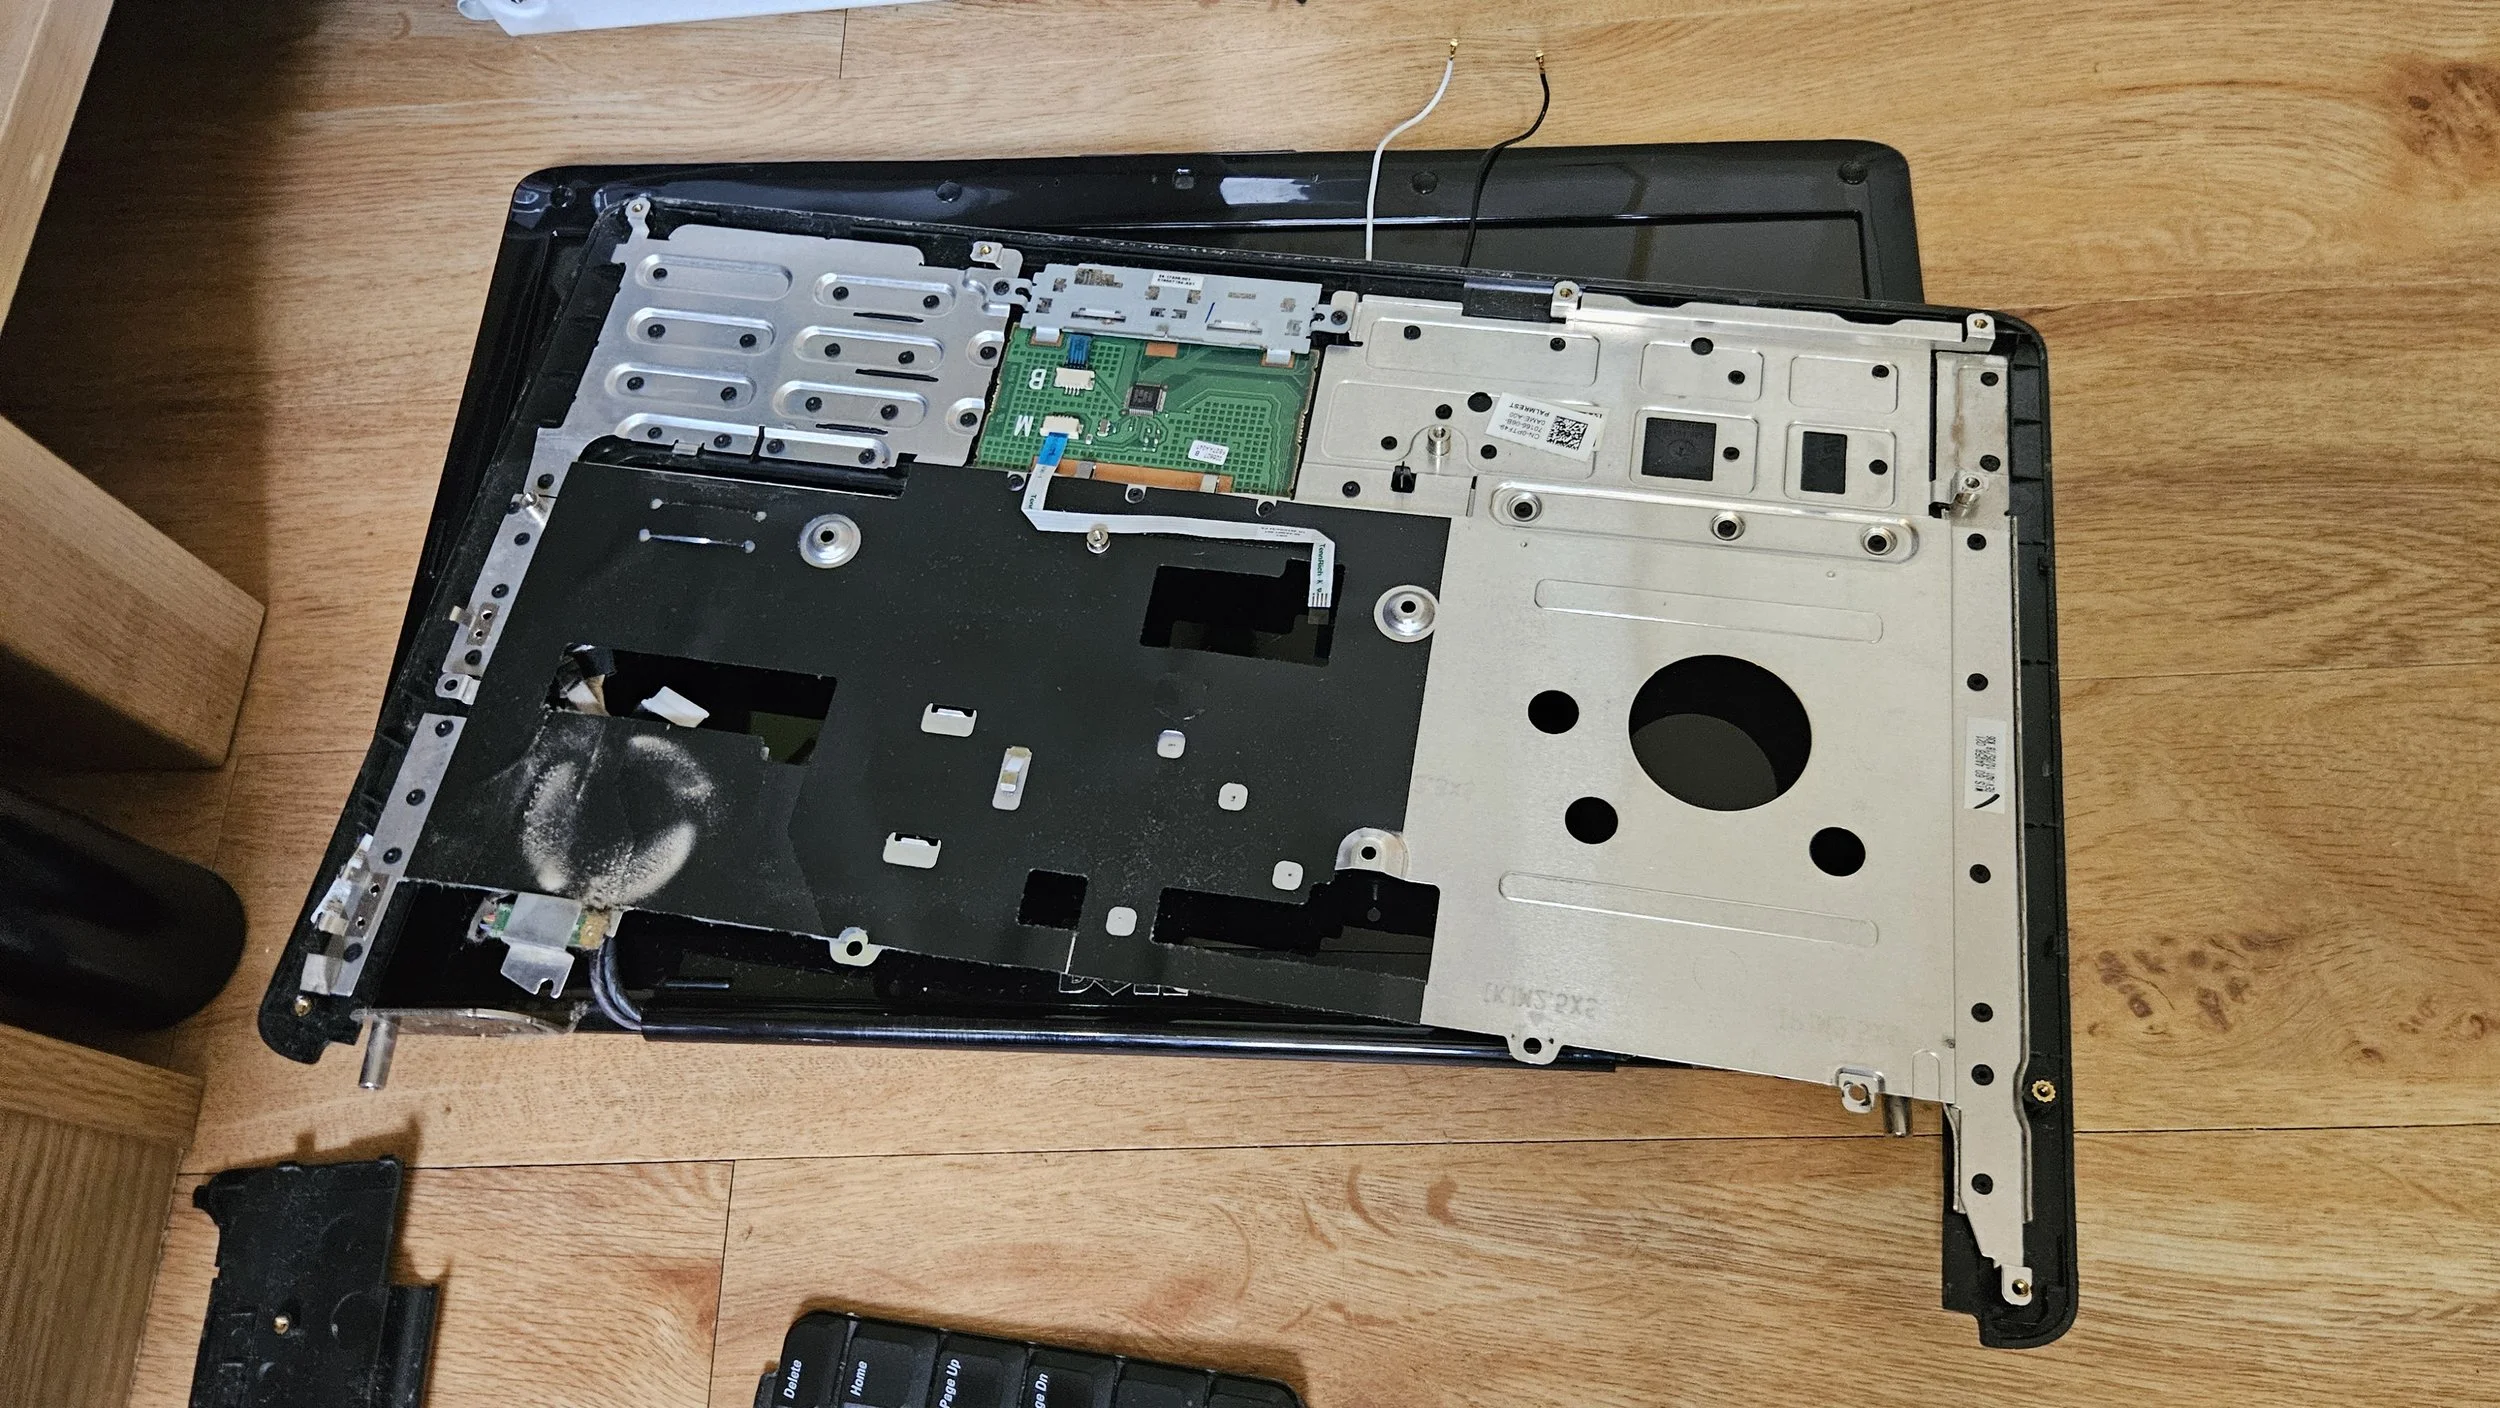
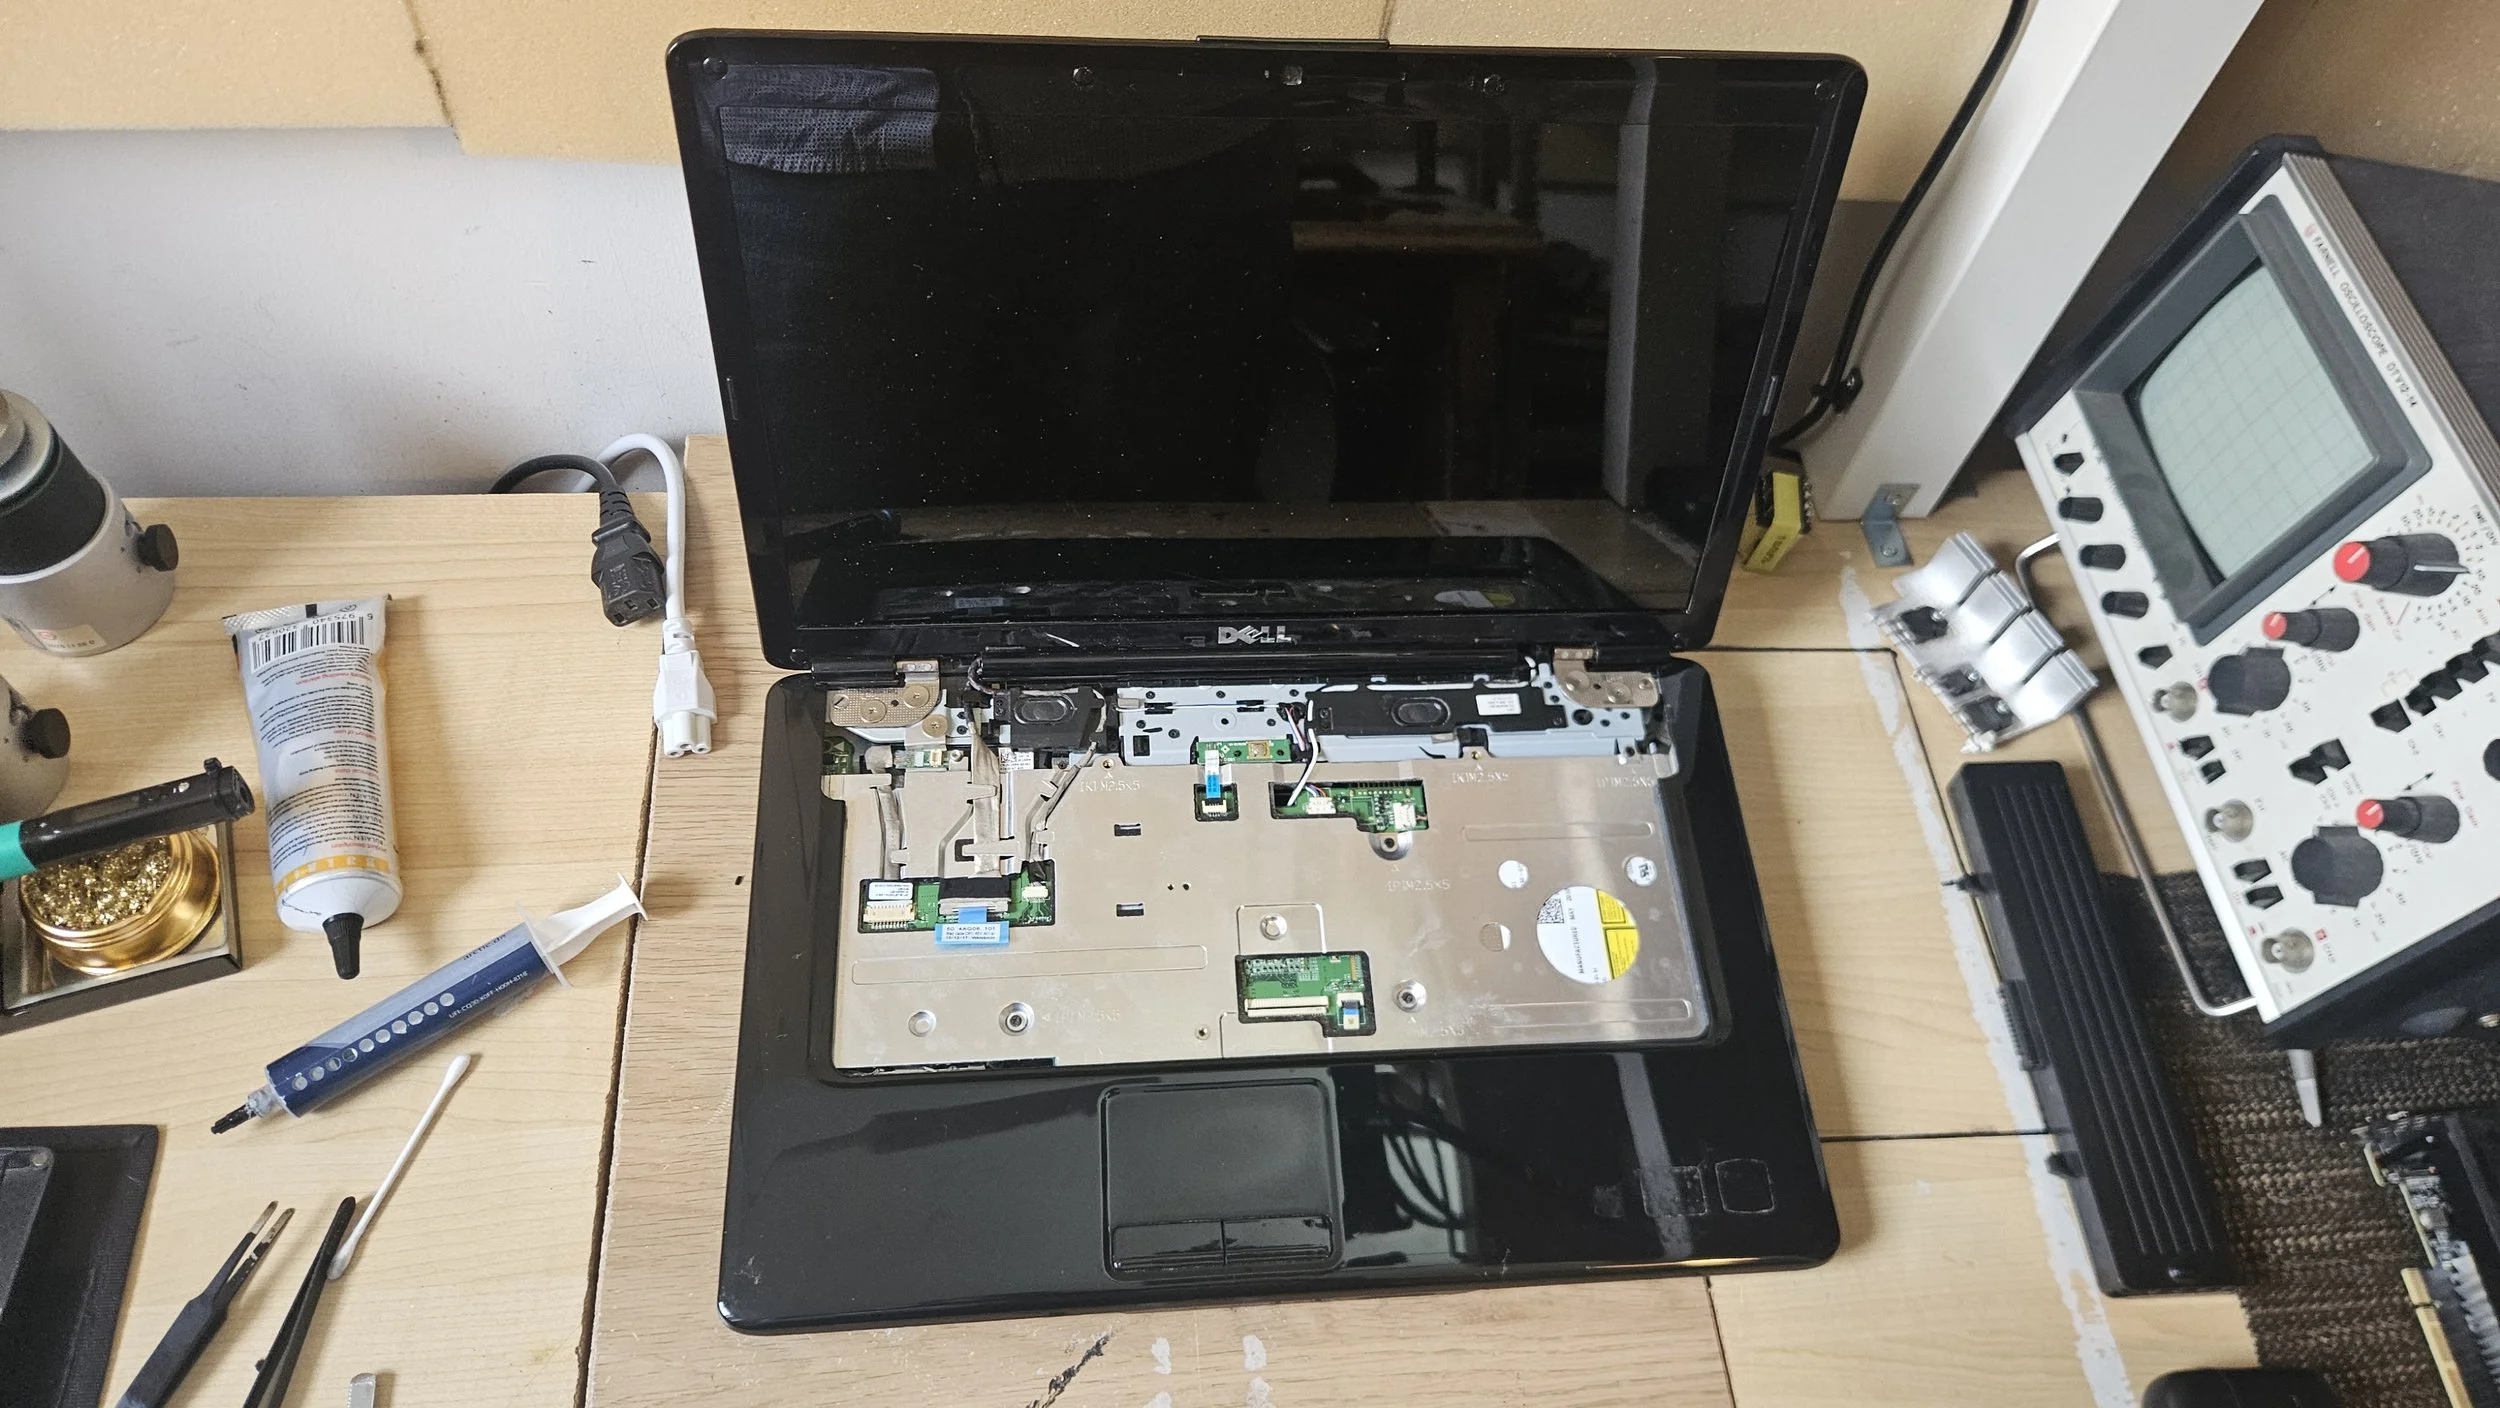
Then, I was able to open the laptop as you usually would. I popped the top part of the palmrest off which gave me access to more screws - some were for the screen, some for the keyboard and others held the 2 halves together. Once the keyboard is popped out you have access to some cables. You can unplug the screen, power button, speakers and webcam. The antenna cables are unplugged on the bottom of the machine and unrouted. After taking out the screws and undoing the wires the screen housing comes off. For now it was set aside for me to look at later.
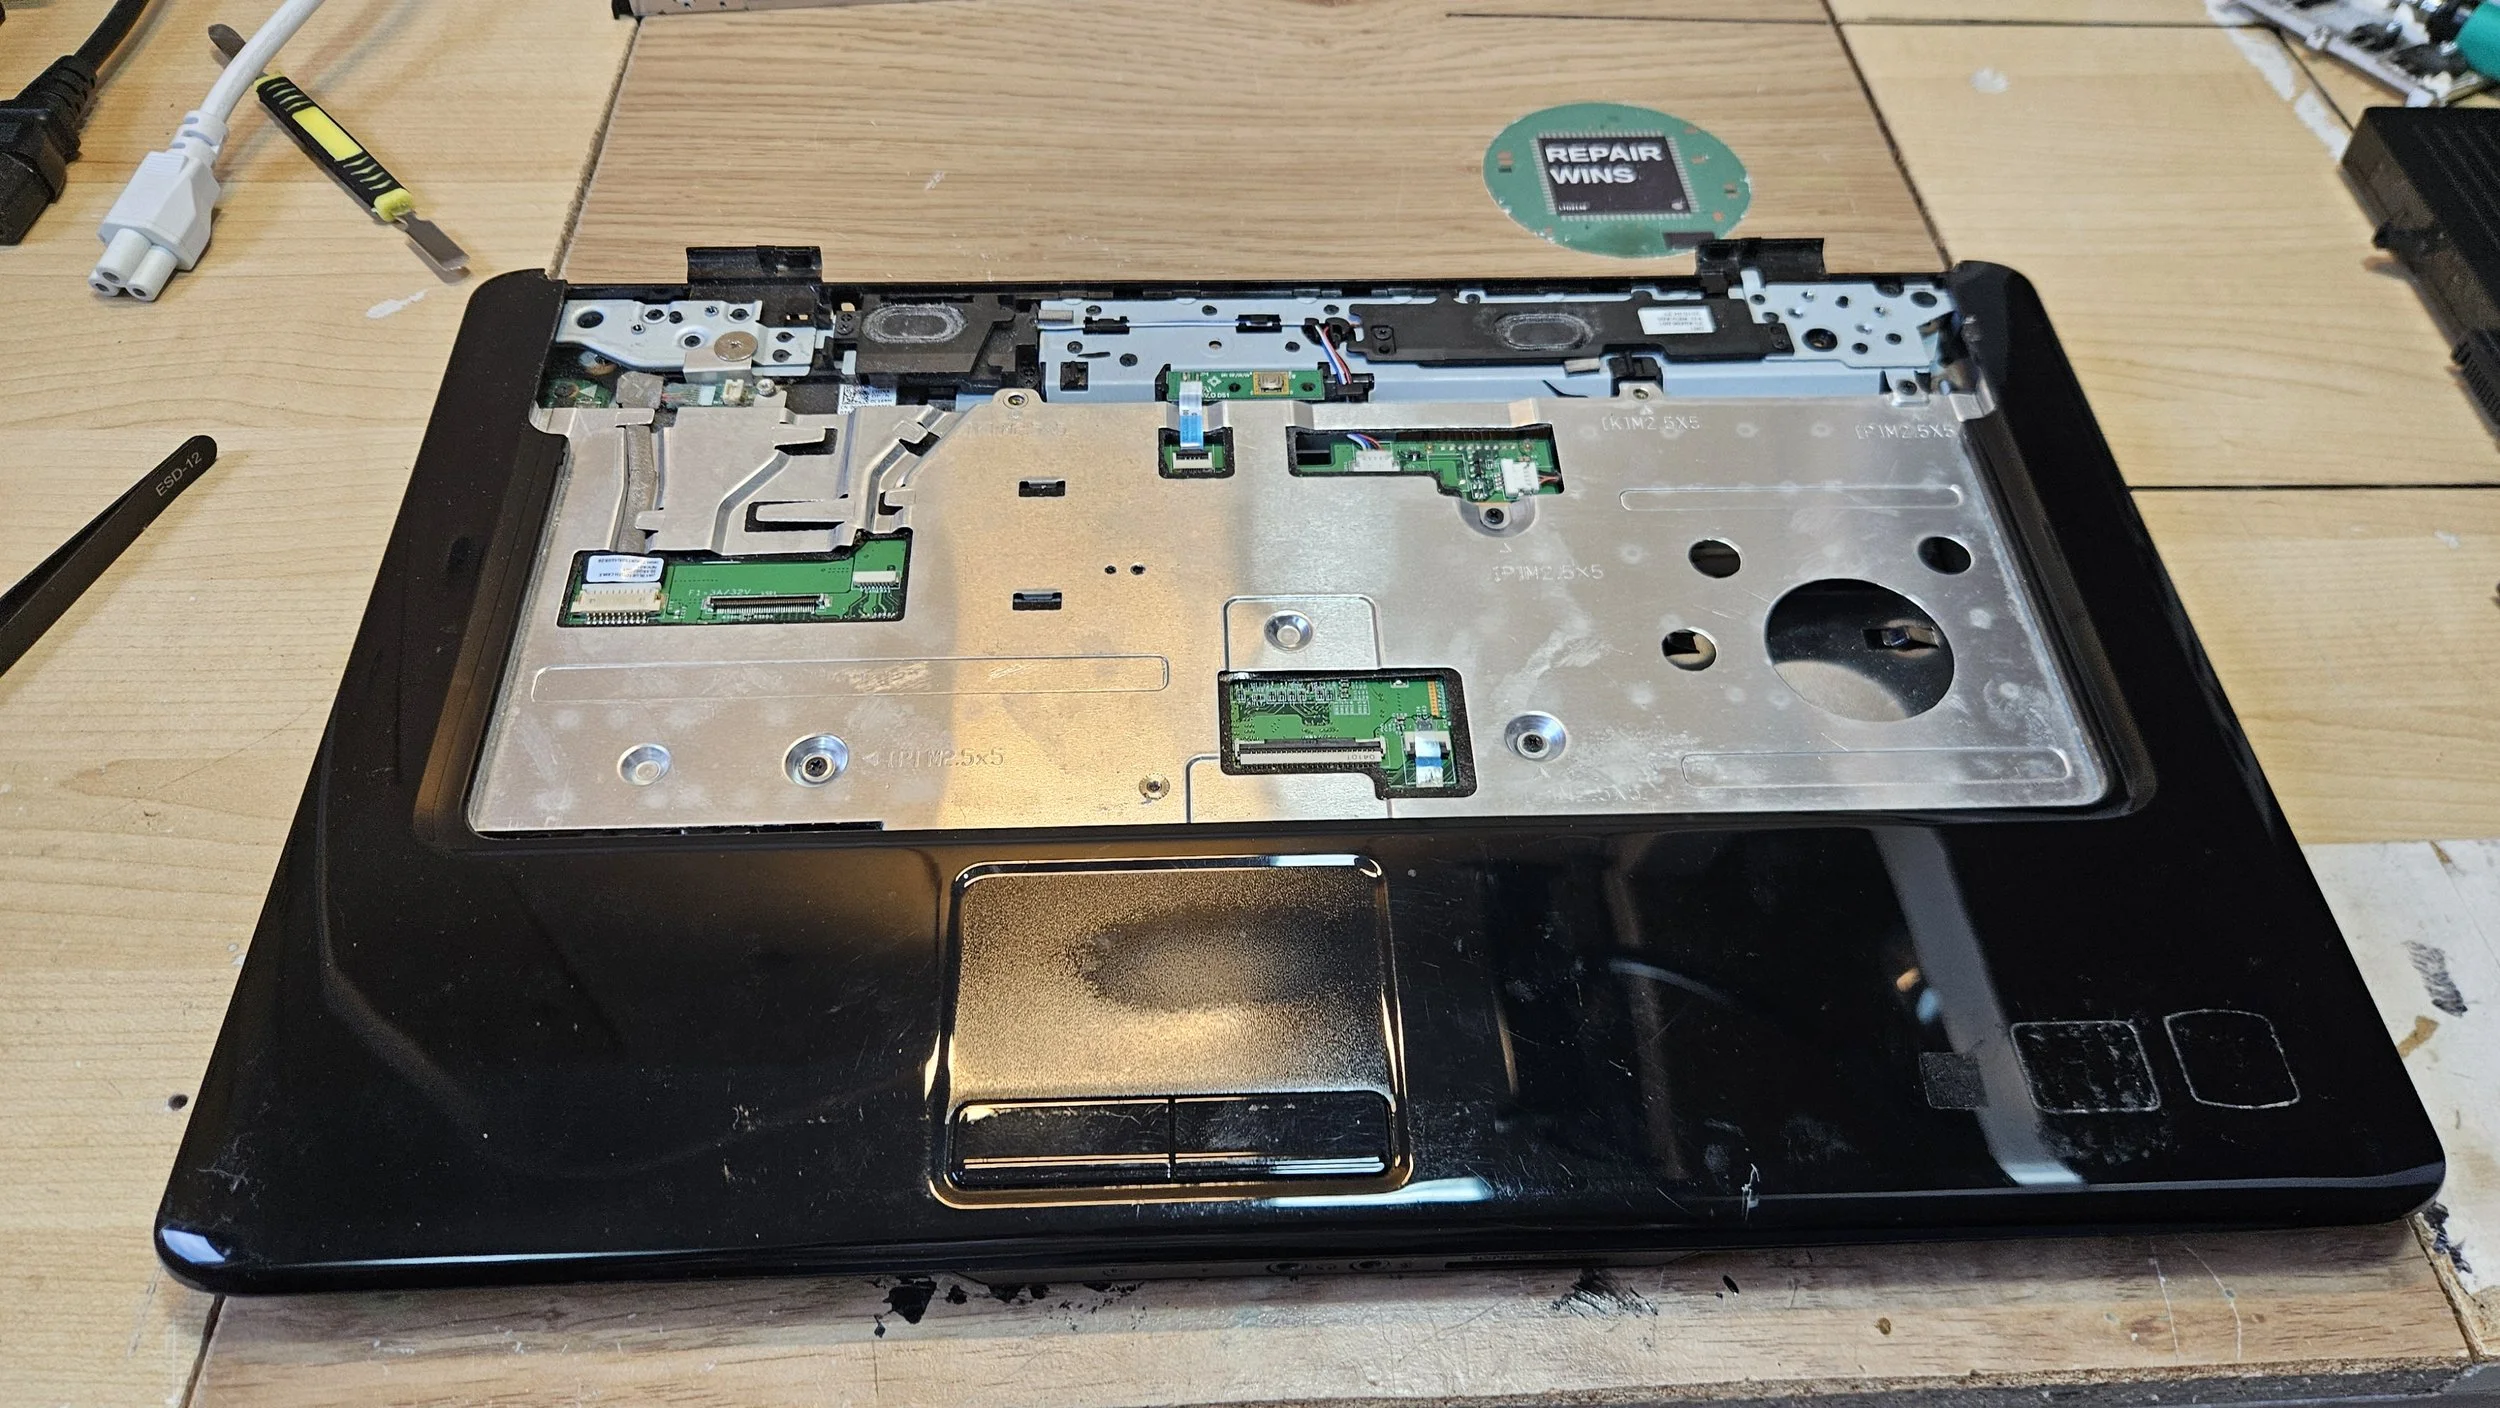
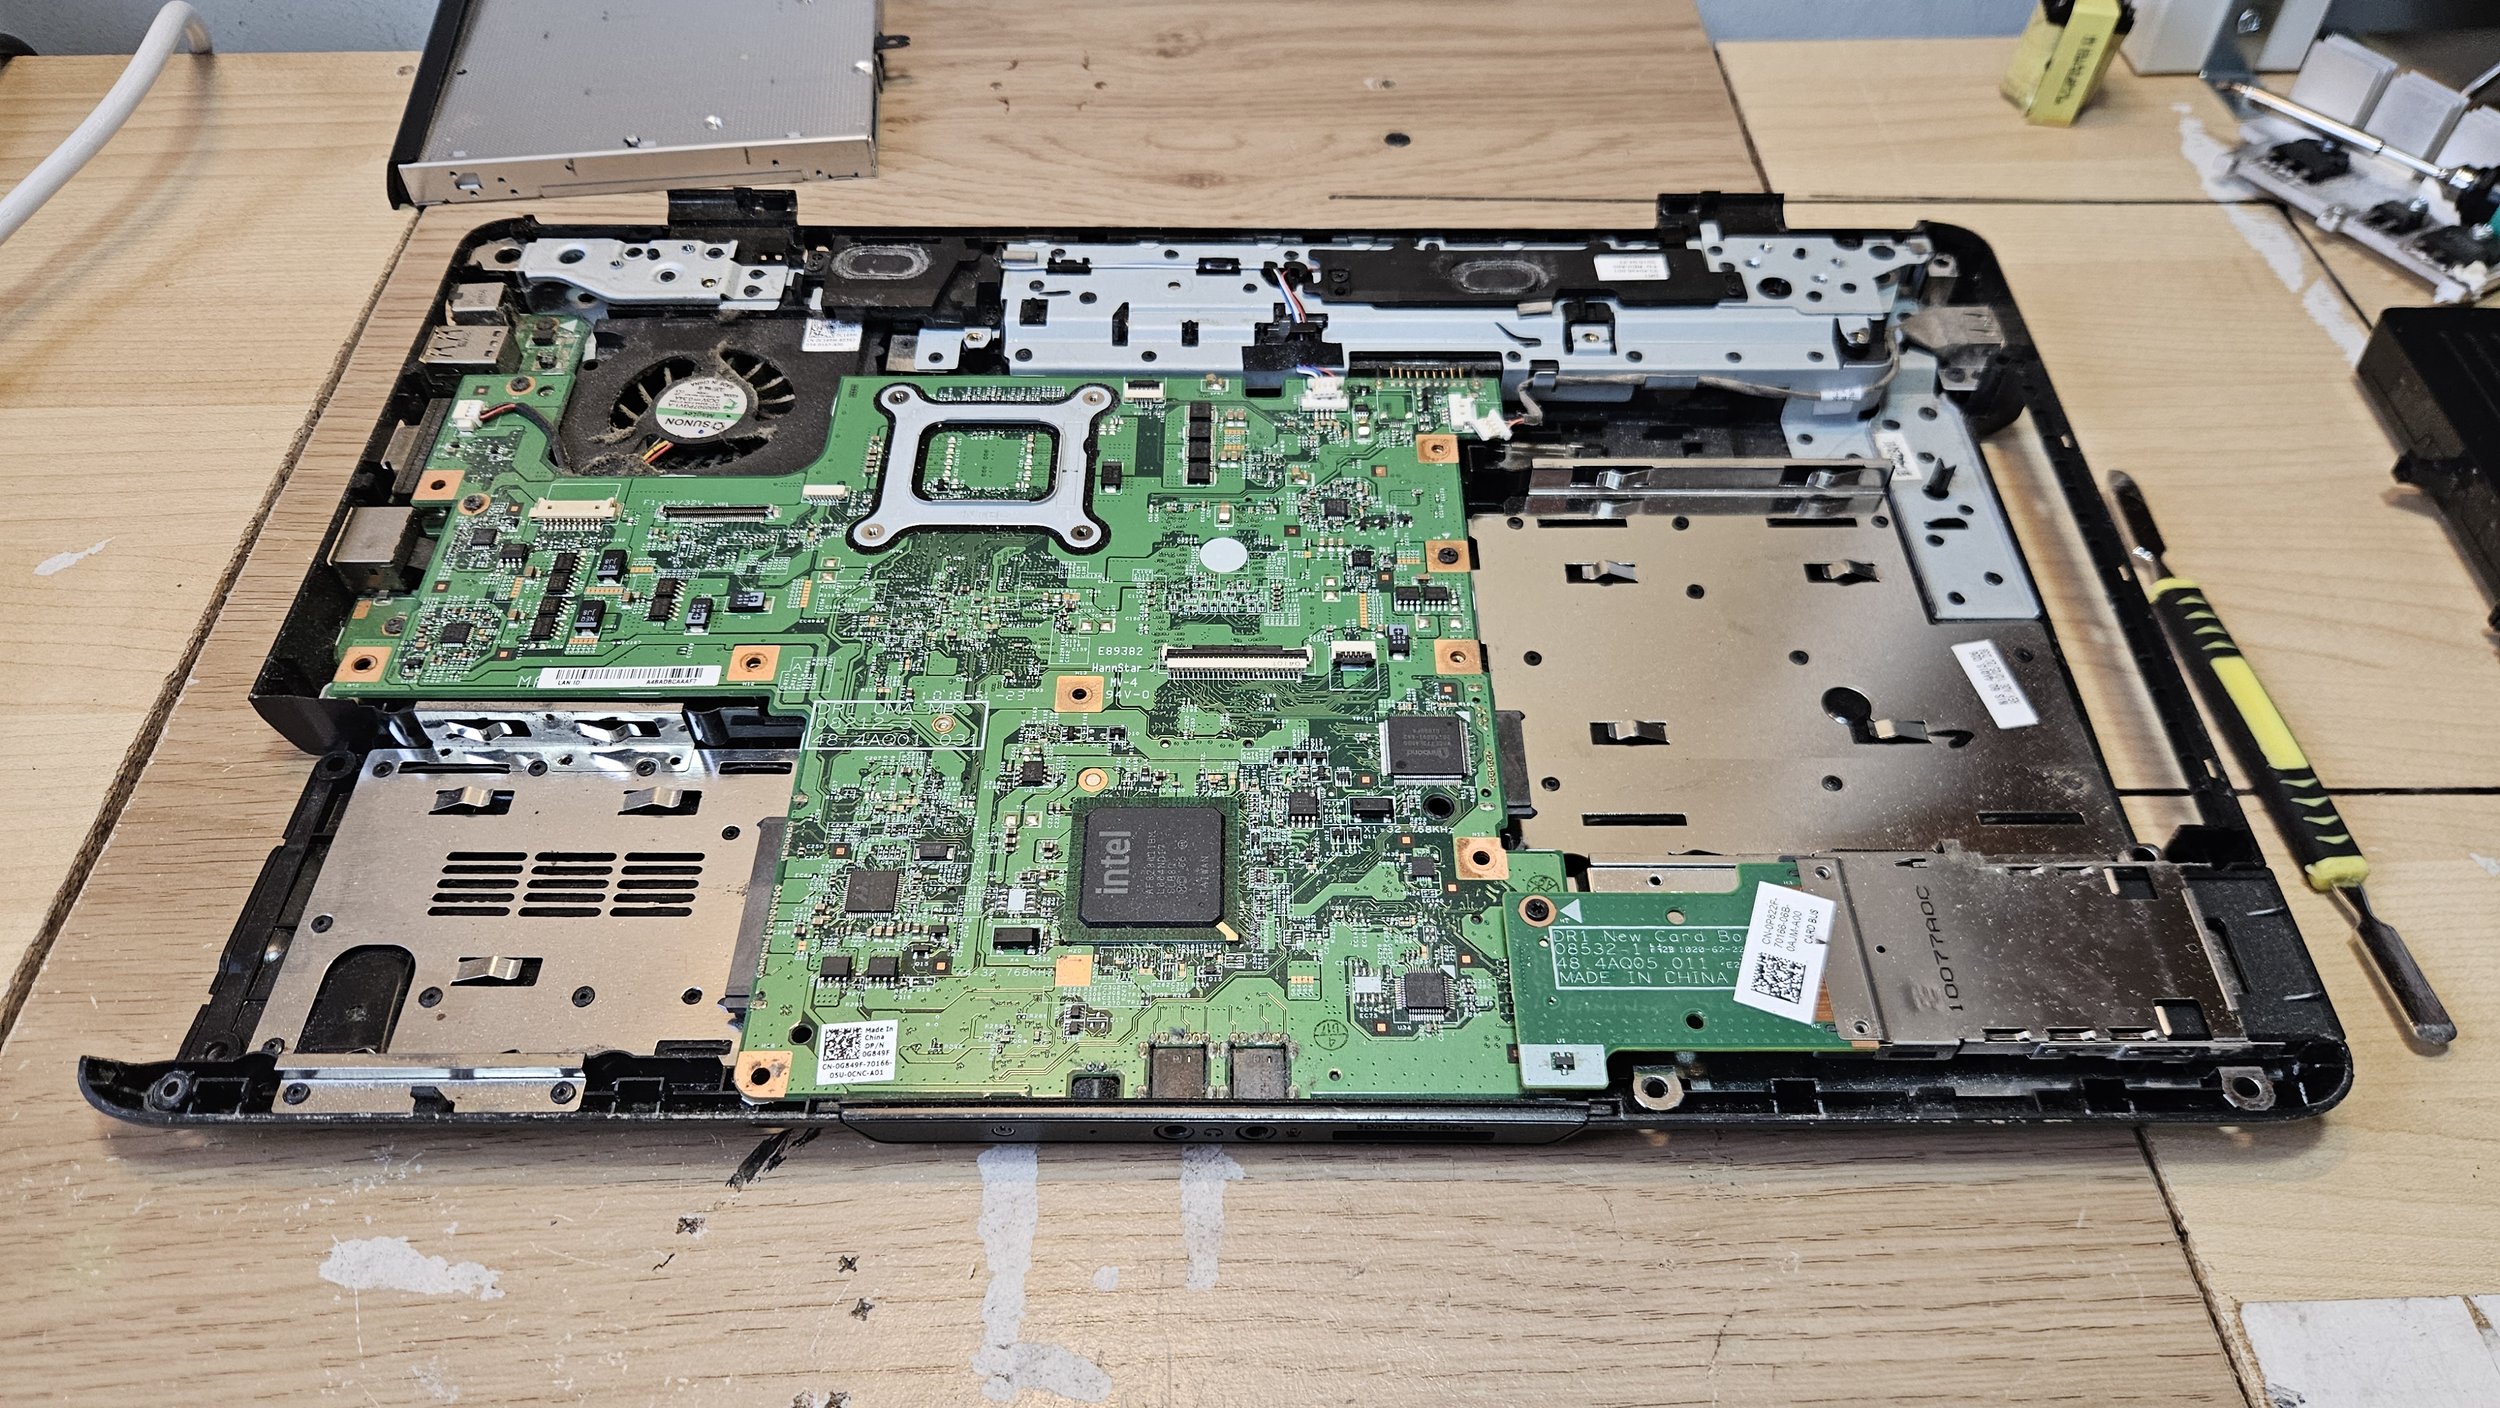
I was using an old toothbrush and some compressed air to remove the dust as I went. That made the machine a bit nicer to work on. I removed the heatsink and briskly cleaned the thermal paste off using some cotton buds. I wasn't looking for perfection. I just needed it to be clean enough my desk or fingers wouldn't end up with paste on them! With the heatsink out I was able to lift the motherboard. I took the opportunity to replace the CMOS battery.
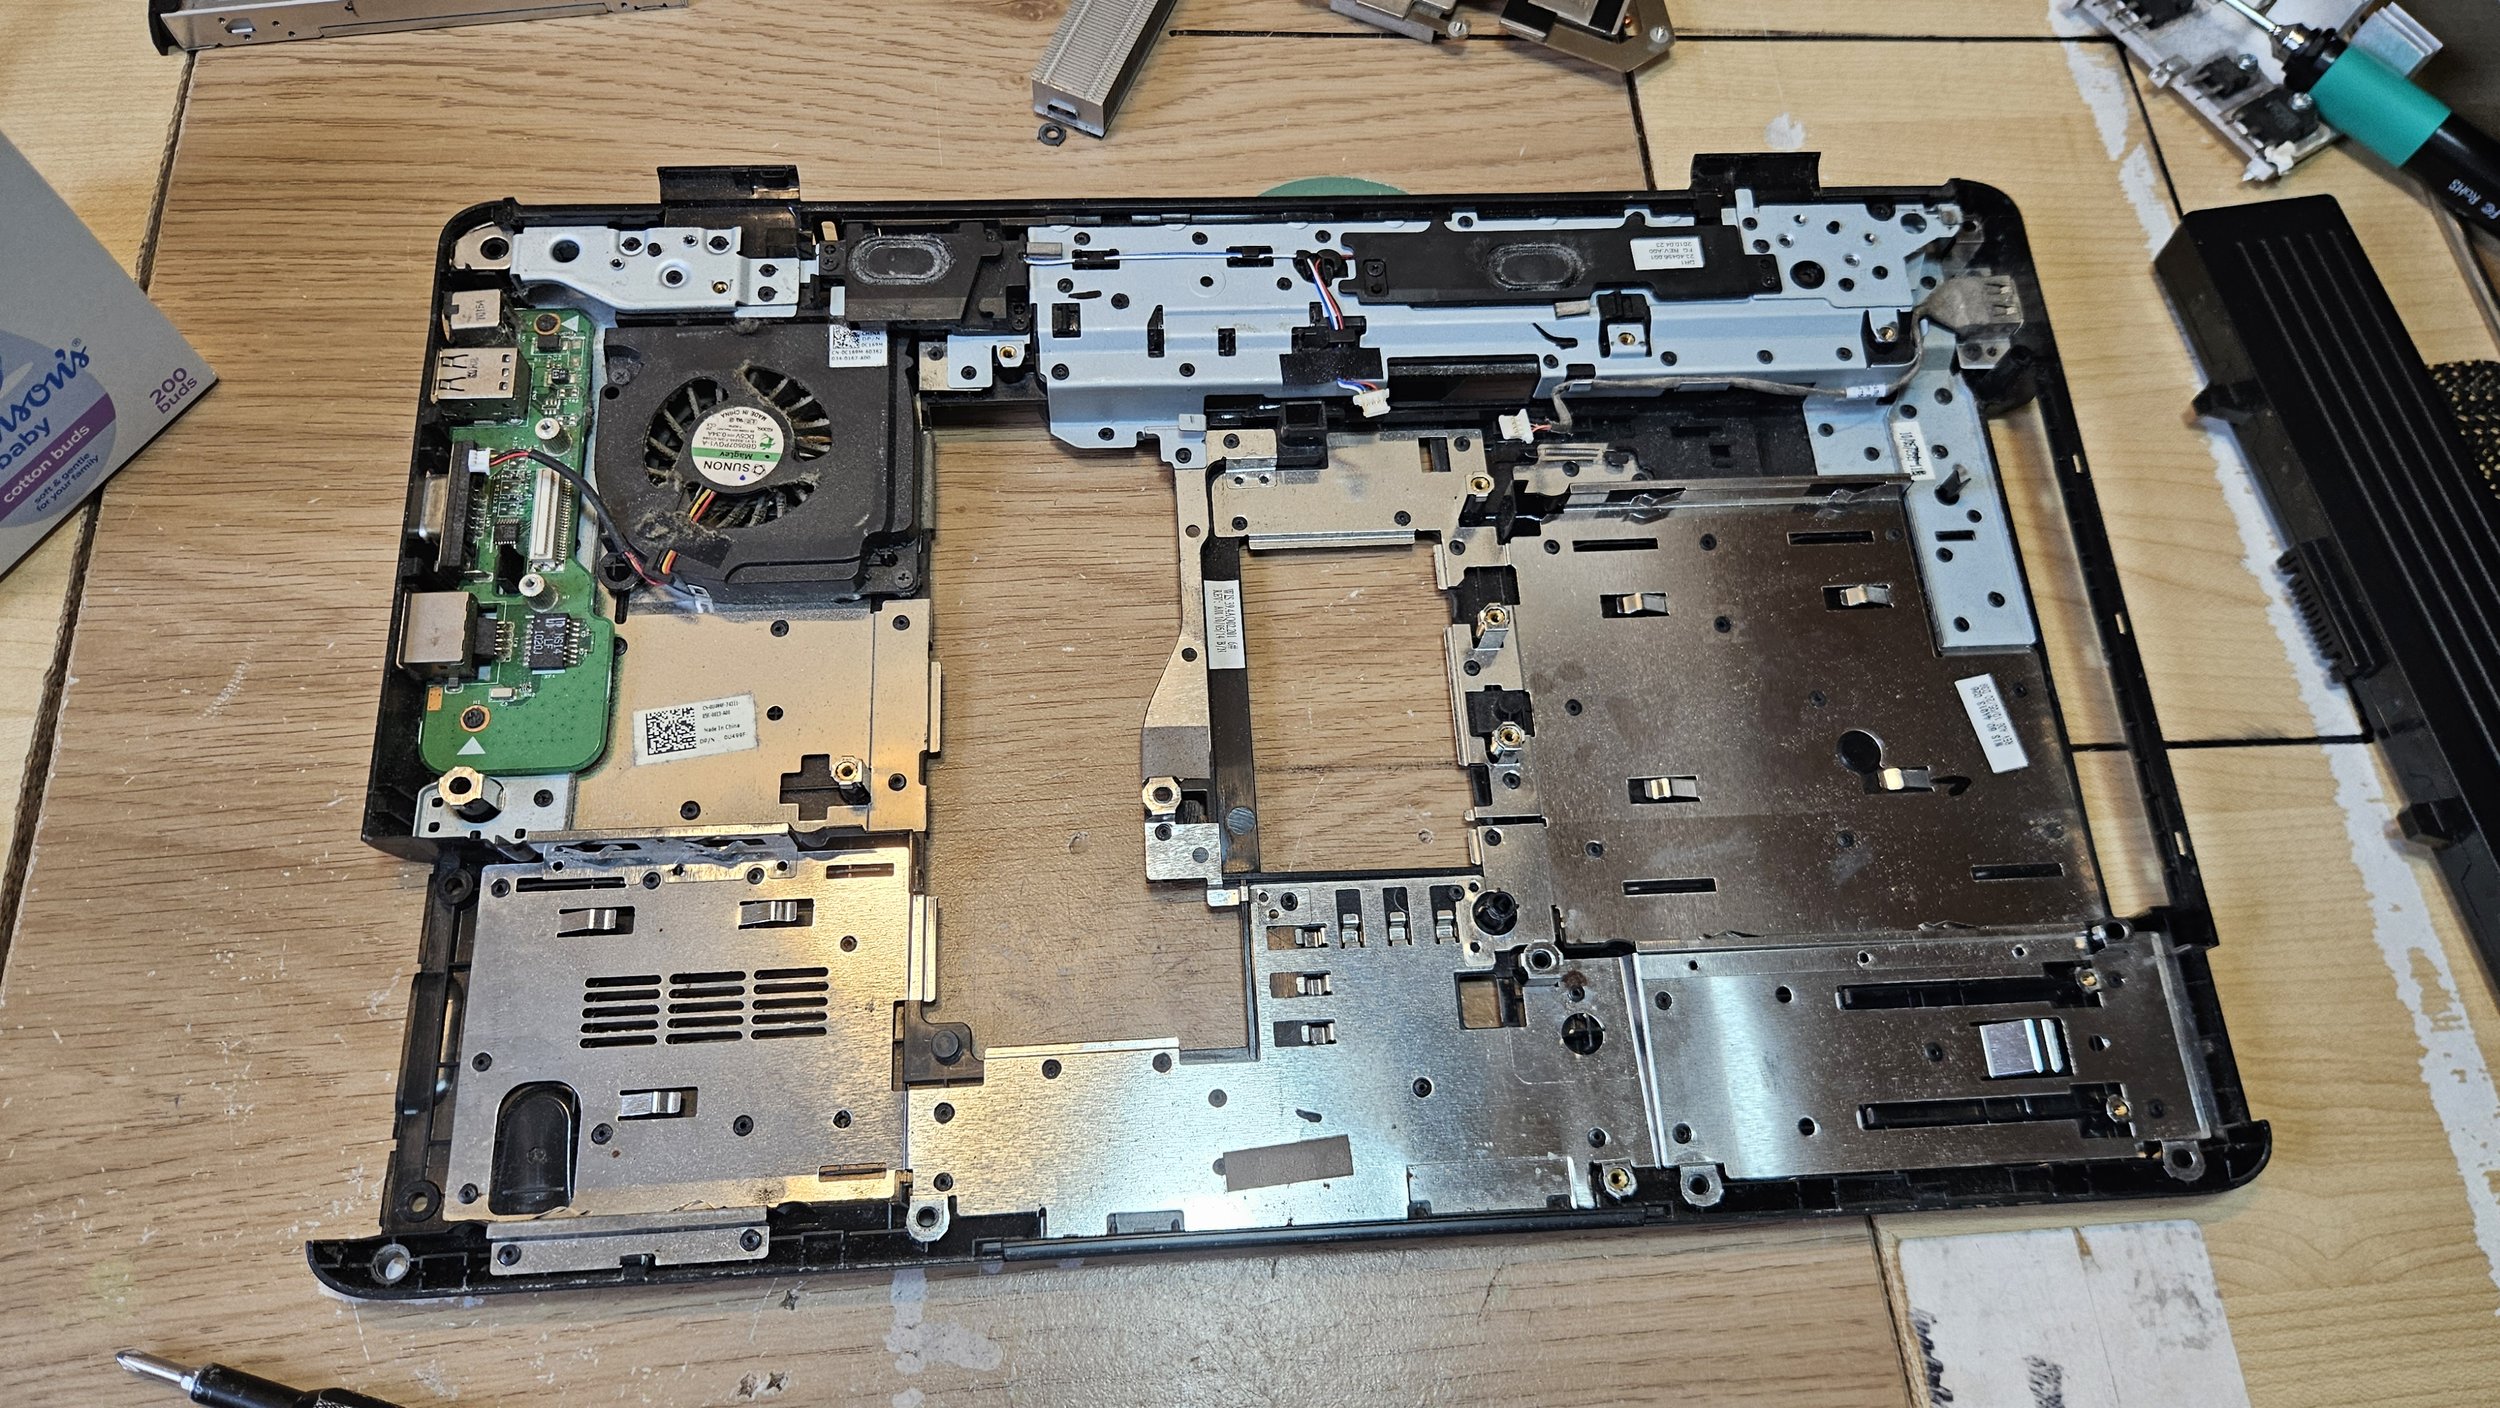
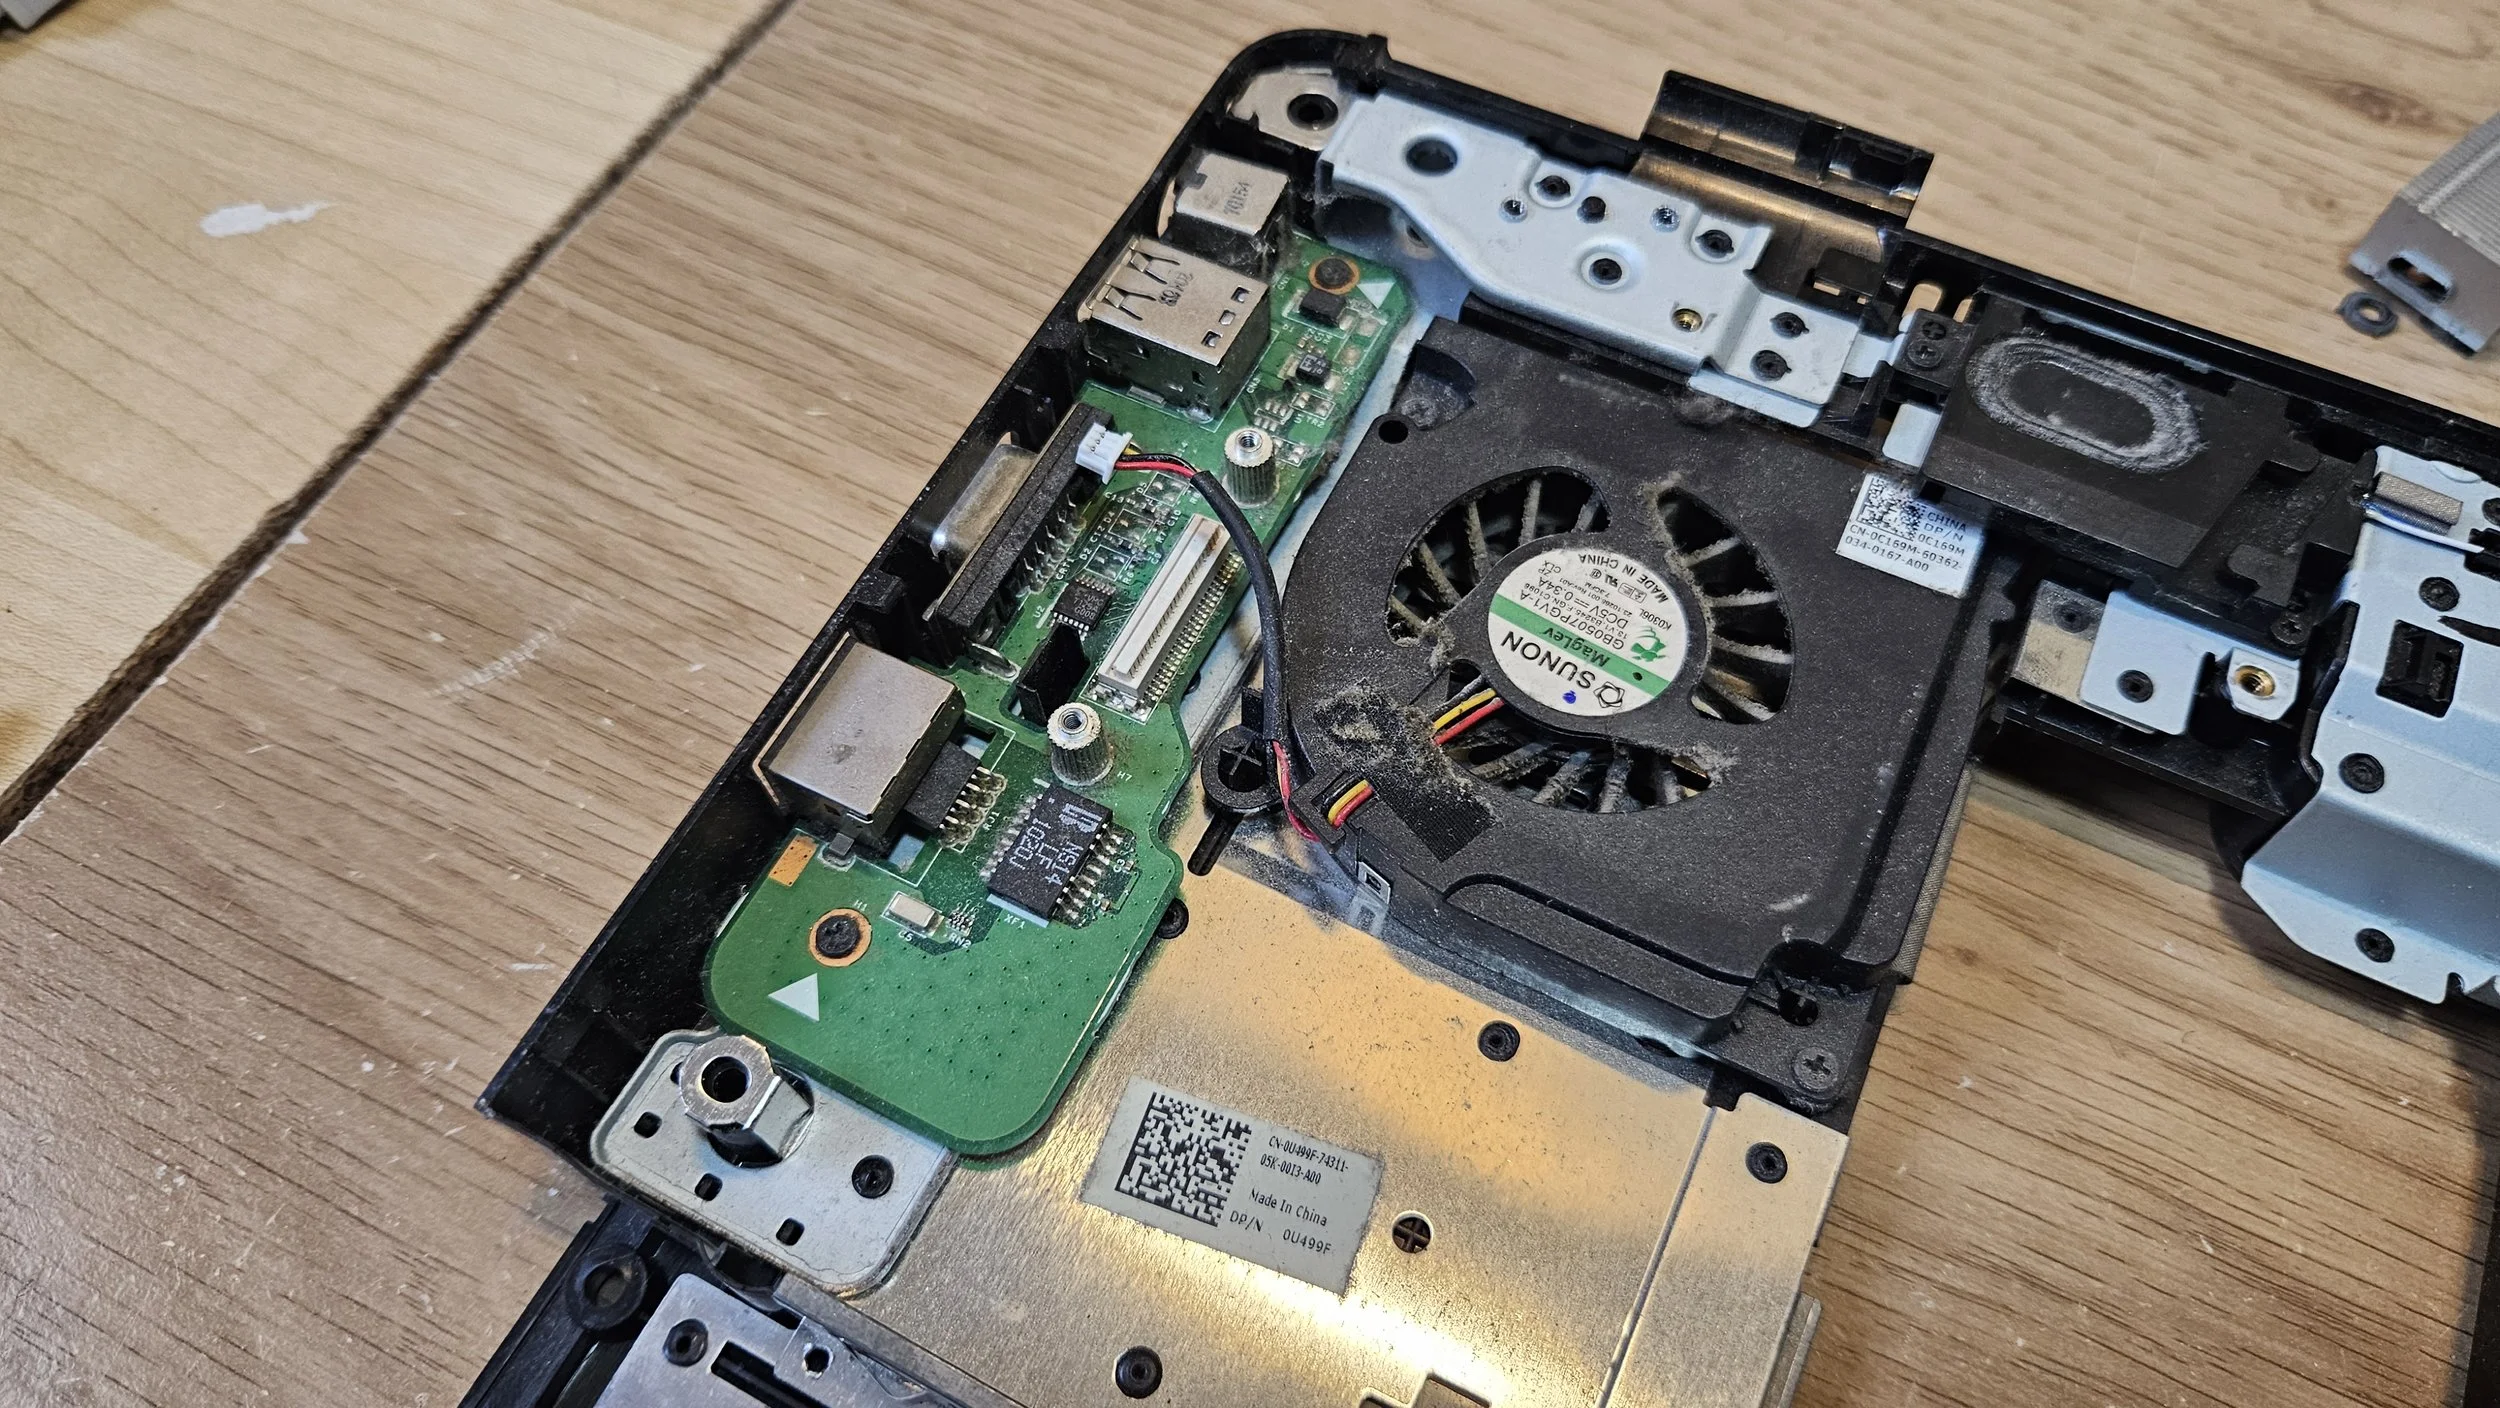
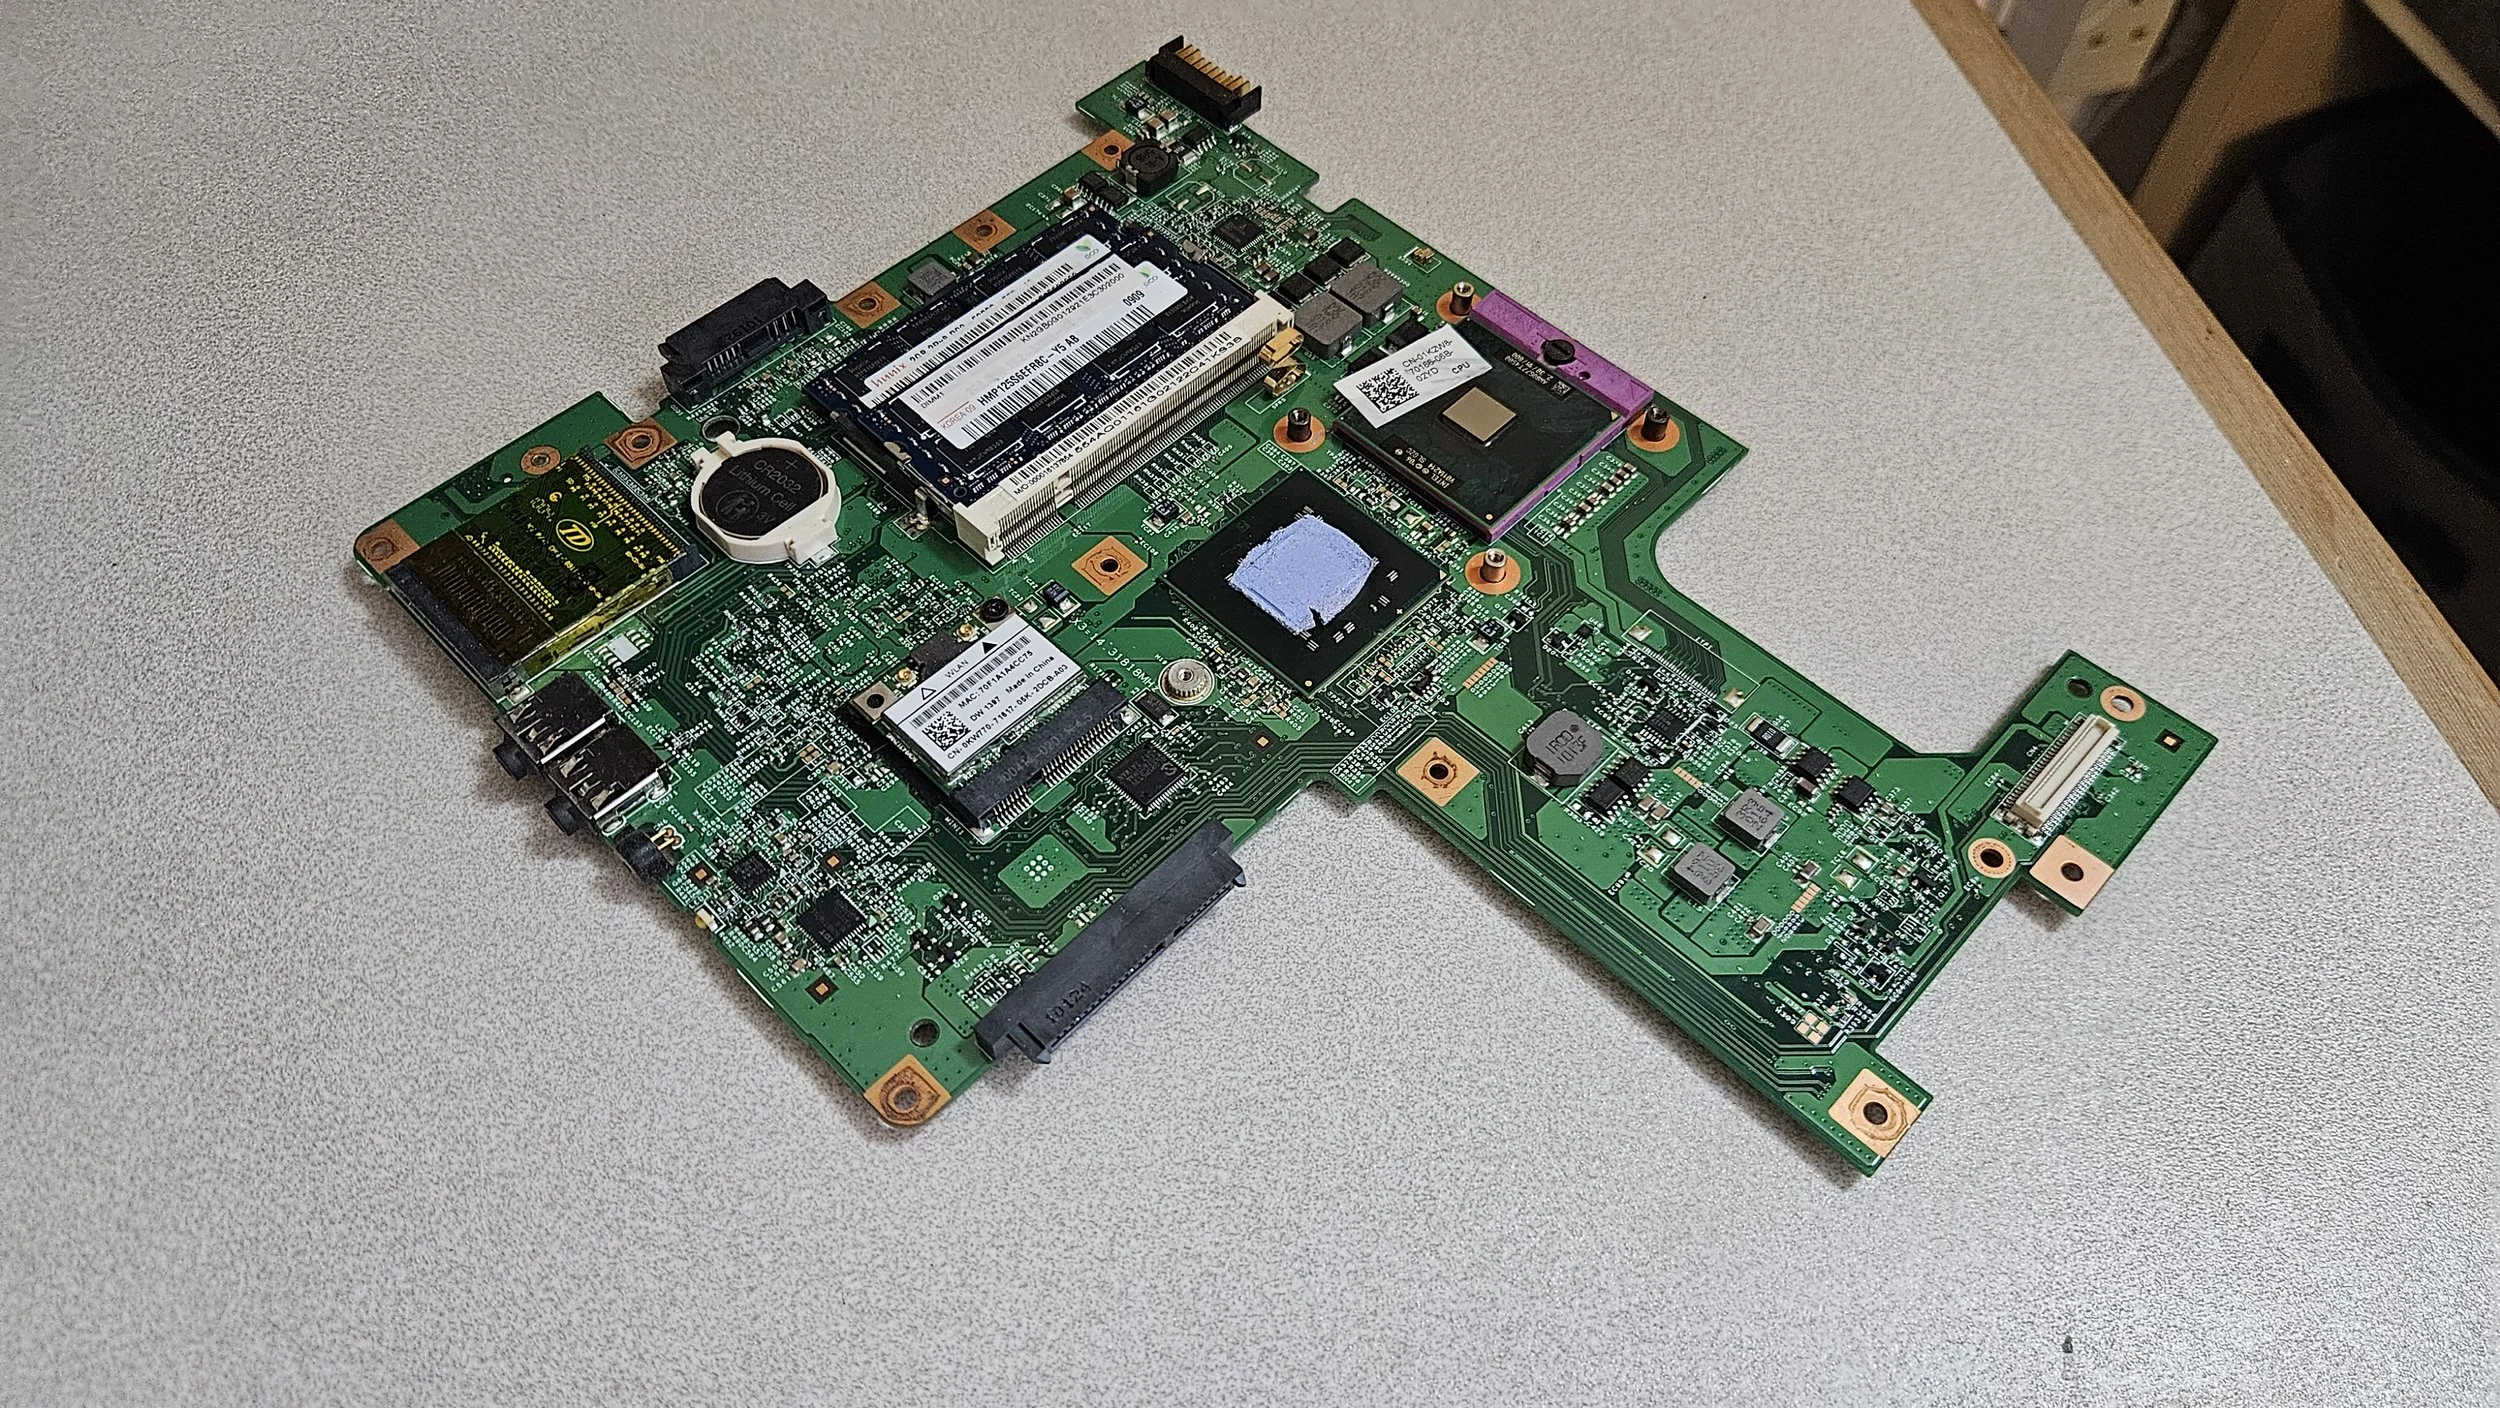
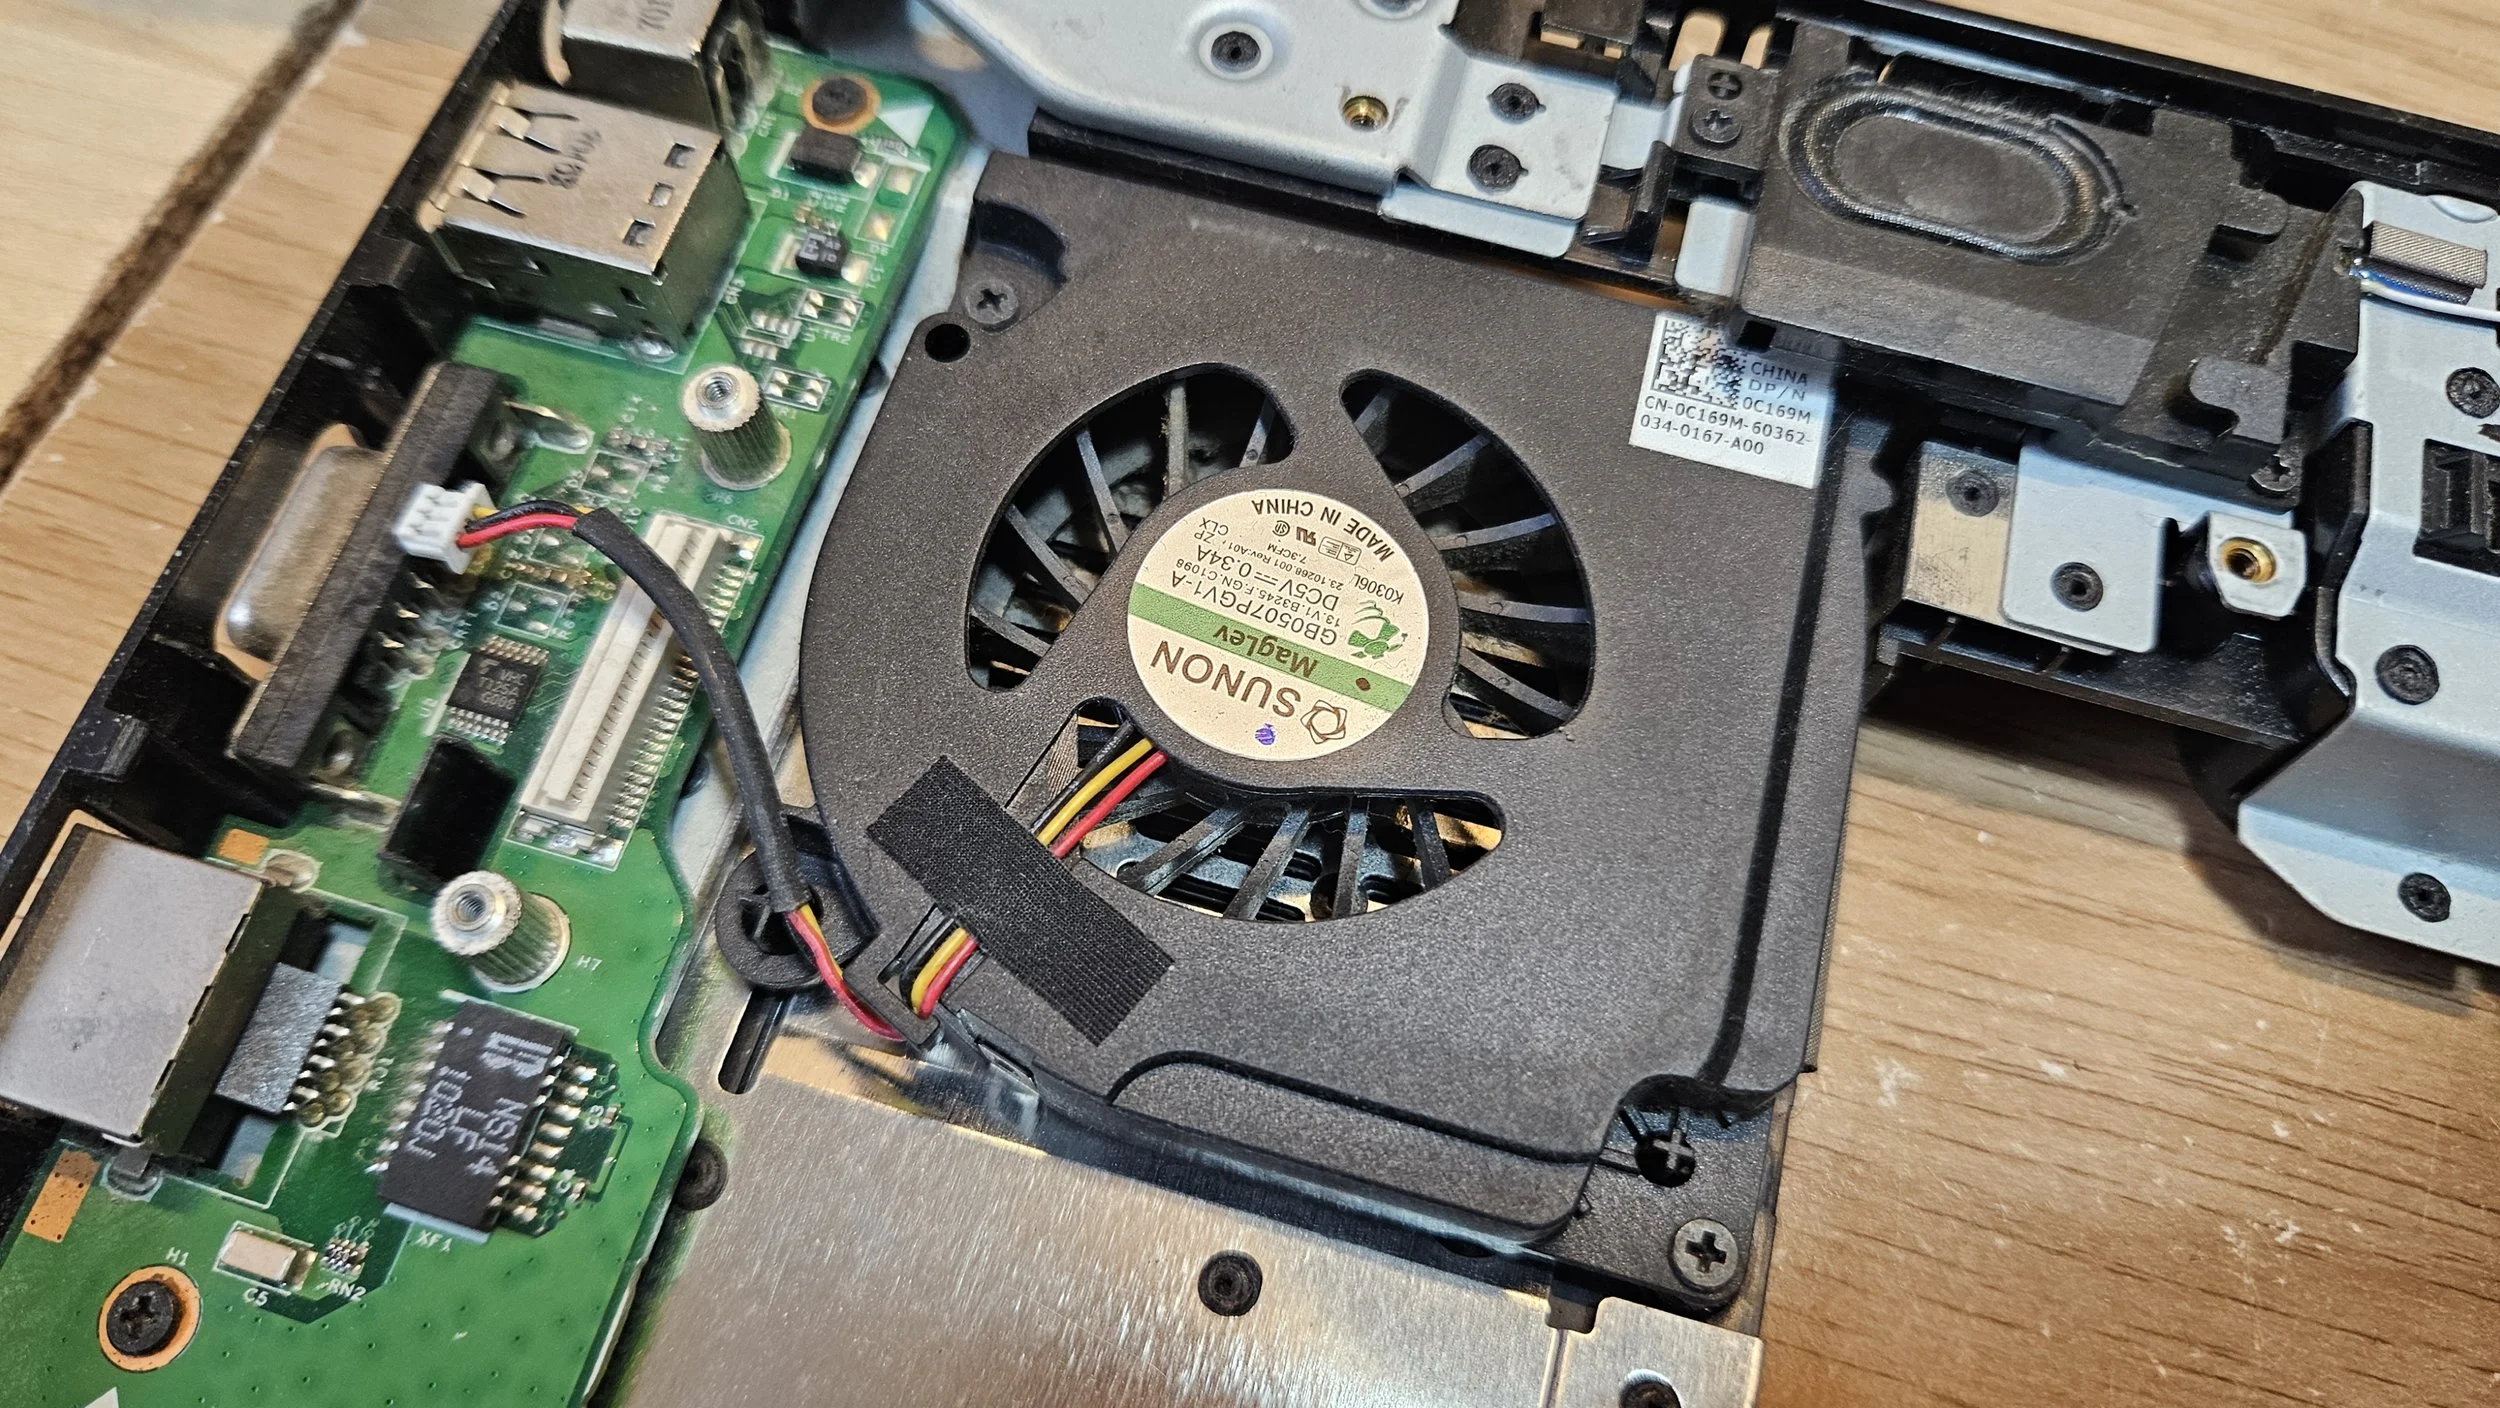
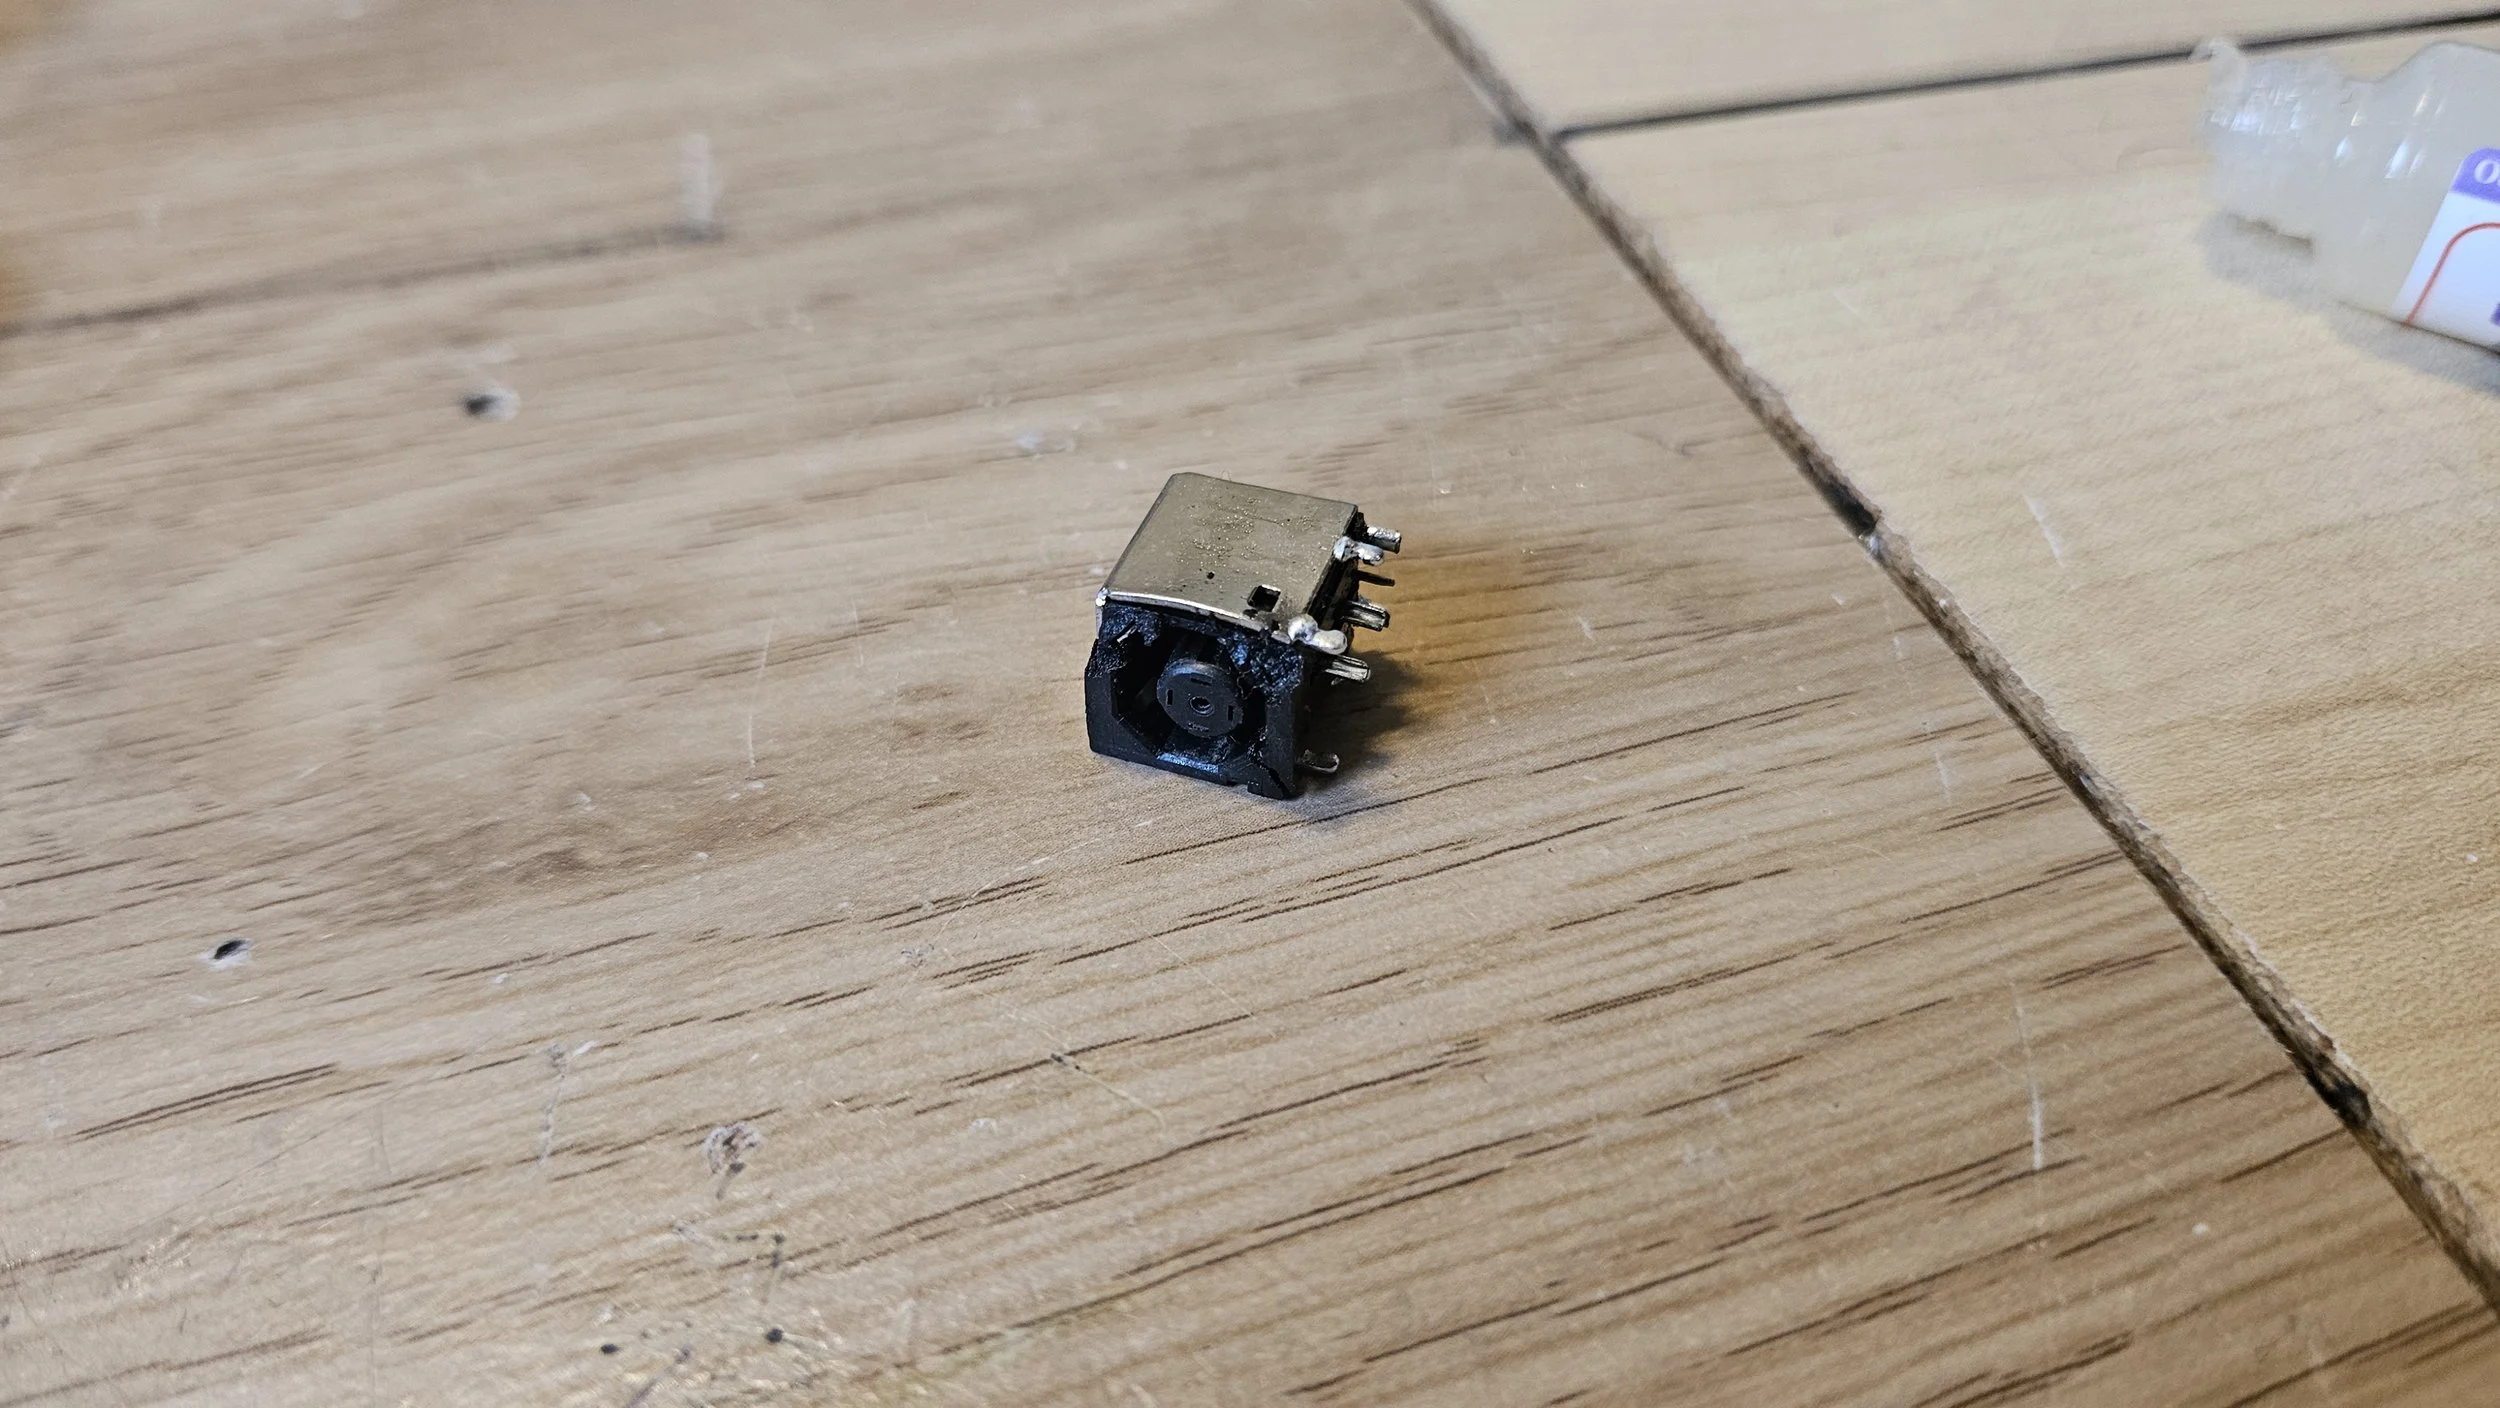
The charging port was now visible. 2 more screws came out and the little board followed. The damage was evident; plastic was missing and the port was crooked. If you were doing this yourself you'd save a lot of time by just swapping the PCB. They're inexpensive and readily available. I try to keep my skills sharp so I applied some flux and low-melt solder before heating the bottom of the port and pulling it free. Even with the low-melt, it took a lot of heat. Patience is a virtue. If it doesn't come out with minimal force, it isn't ready for removal. Cleaning out the solder holes was challenging. I used more low-melt solder and some high quality solder wick. That combo with a soldering iron and some hot air to assist in heating eventually got the holes clear of any old solder.
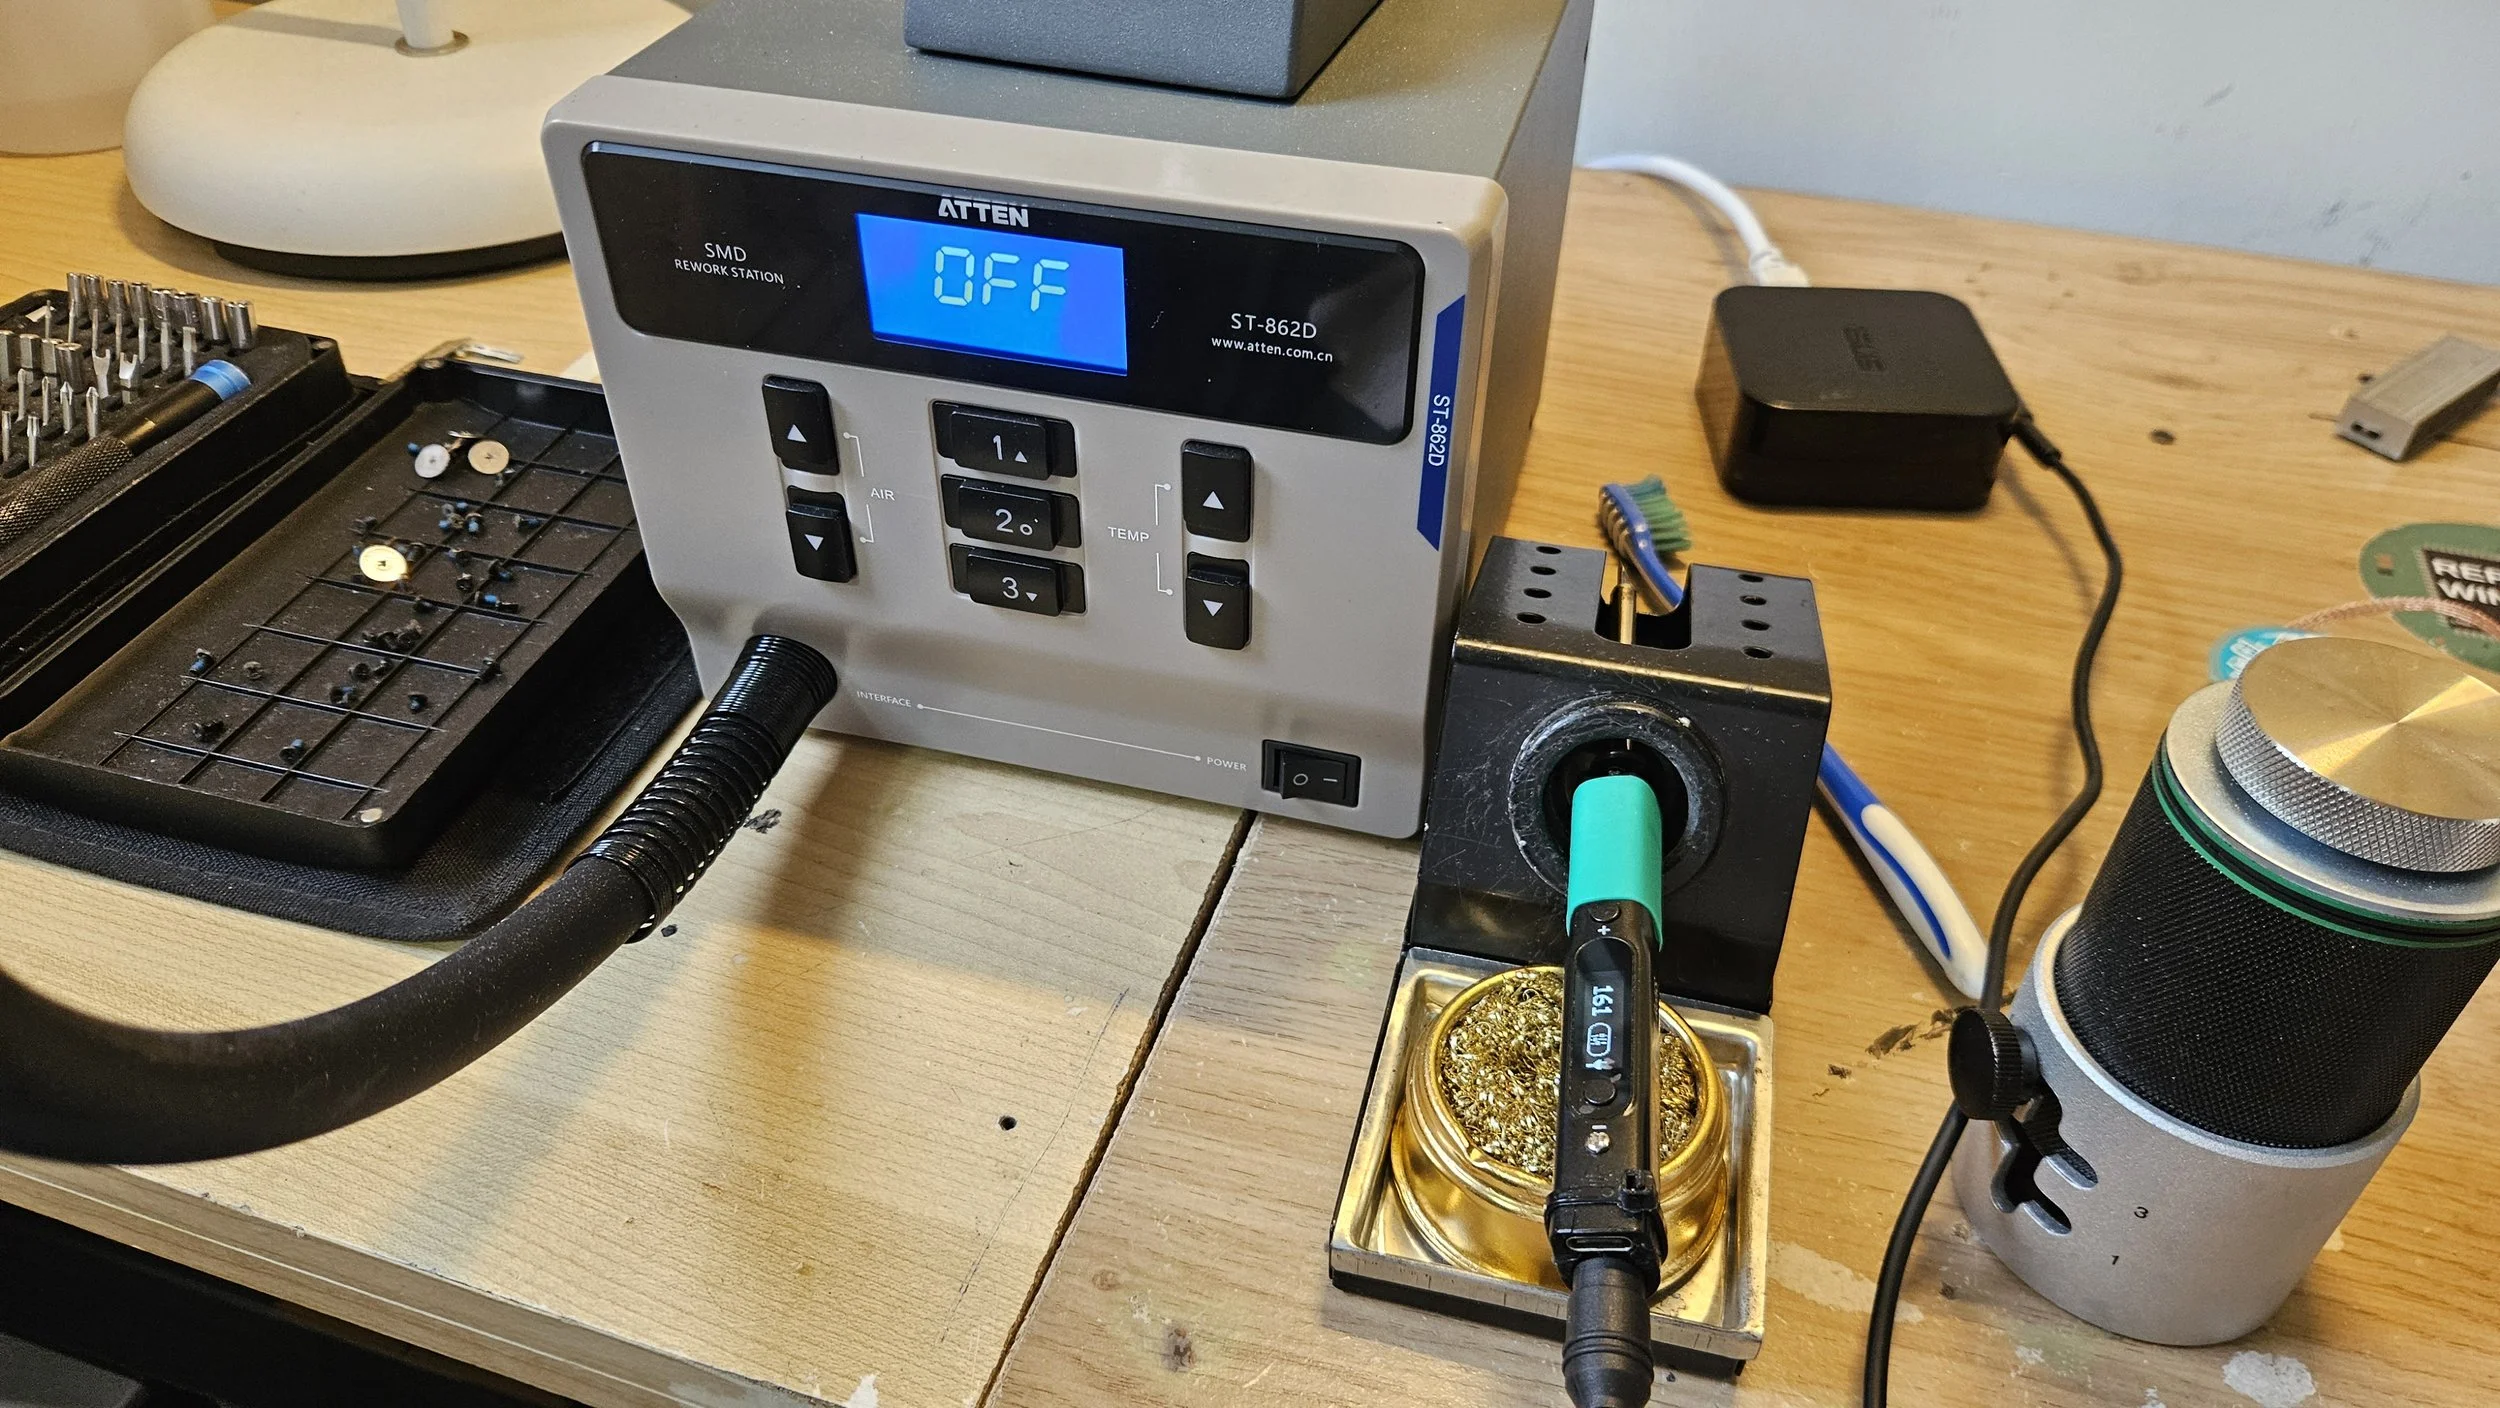
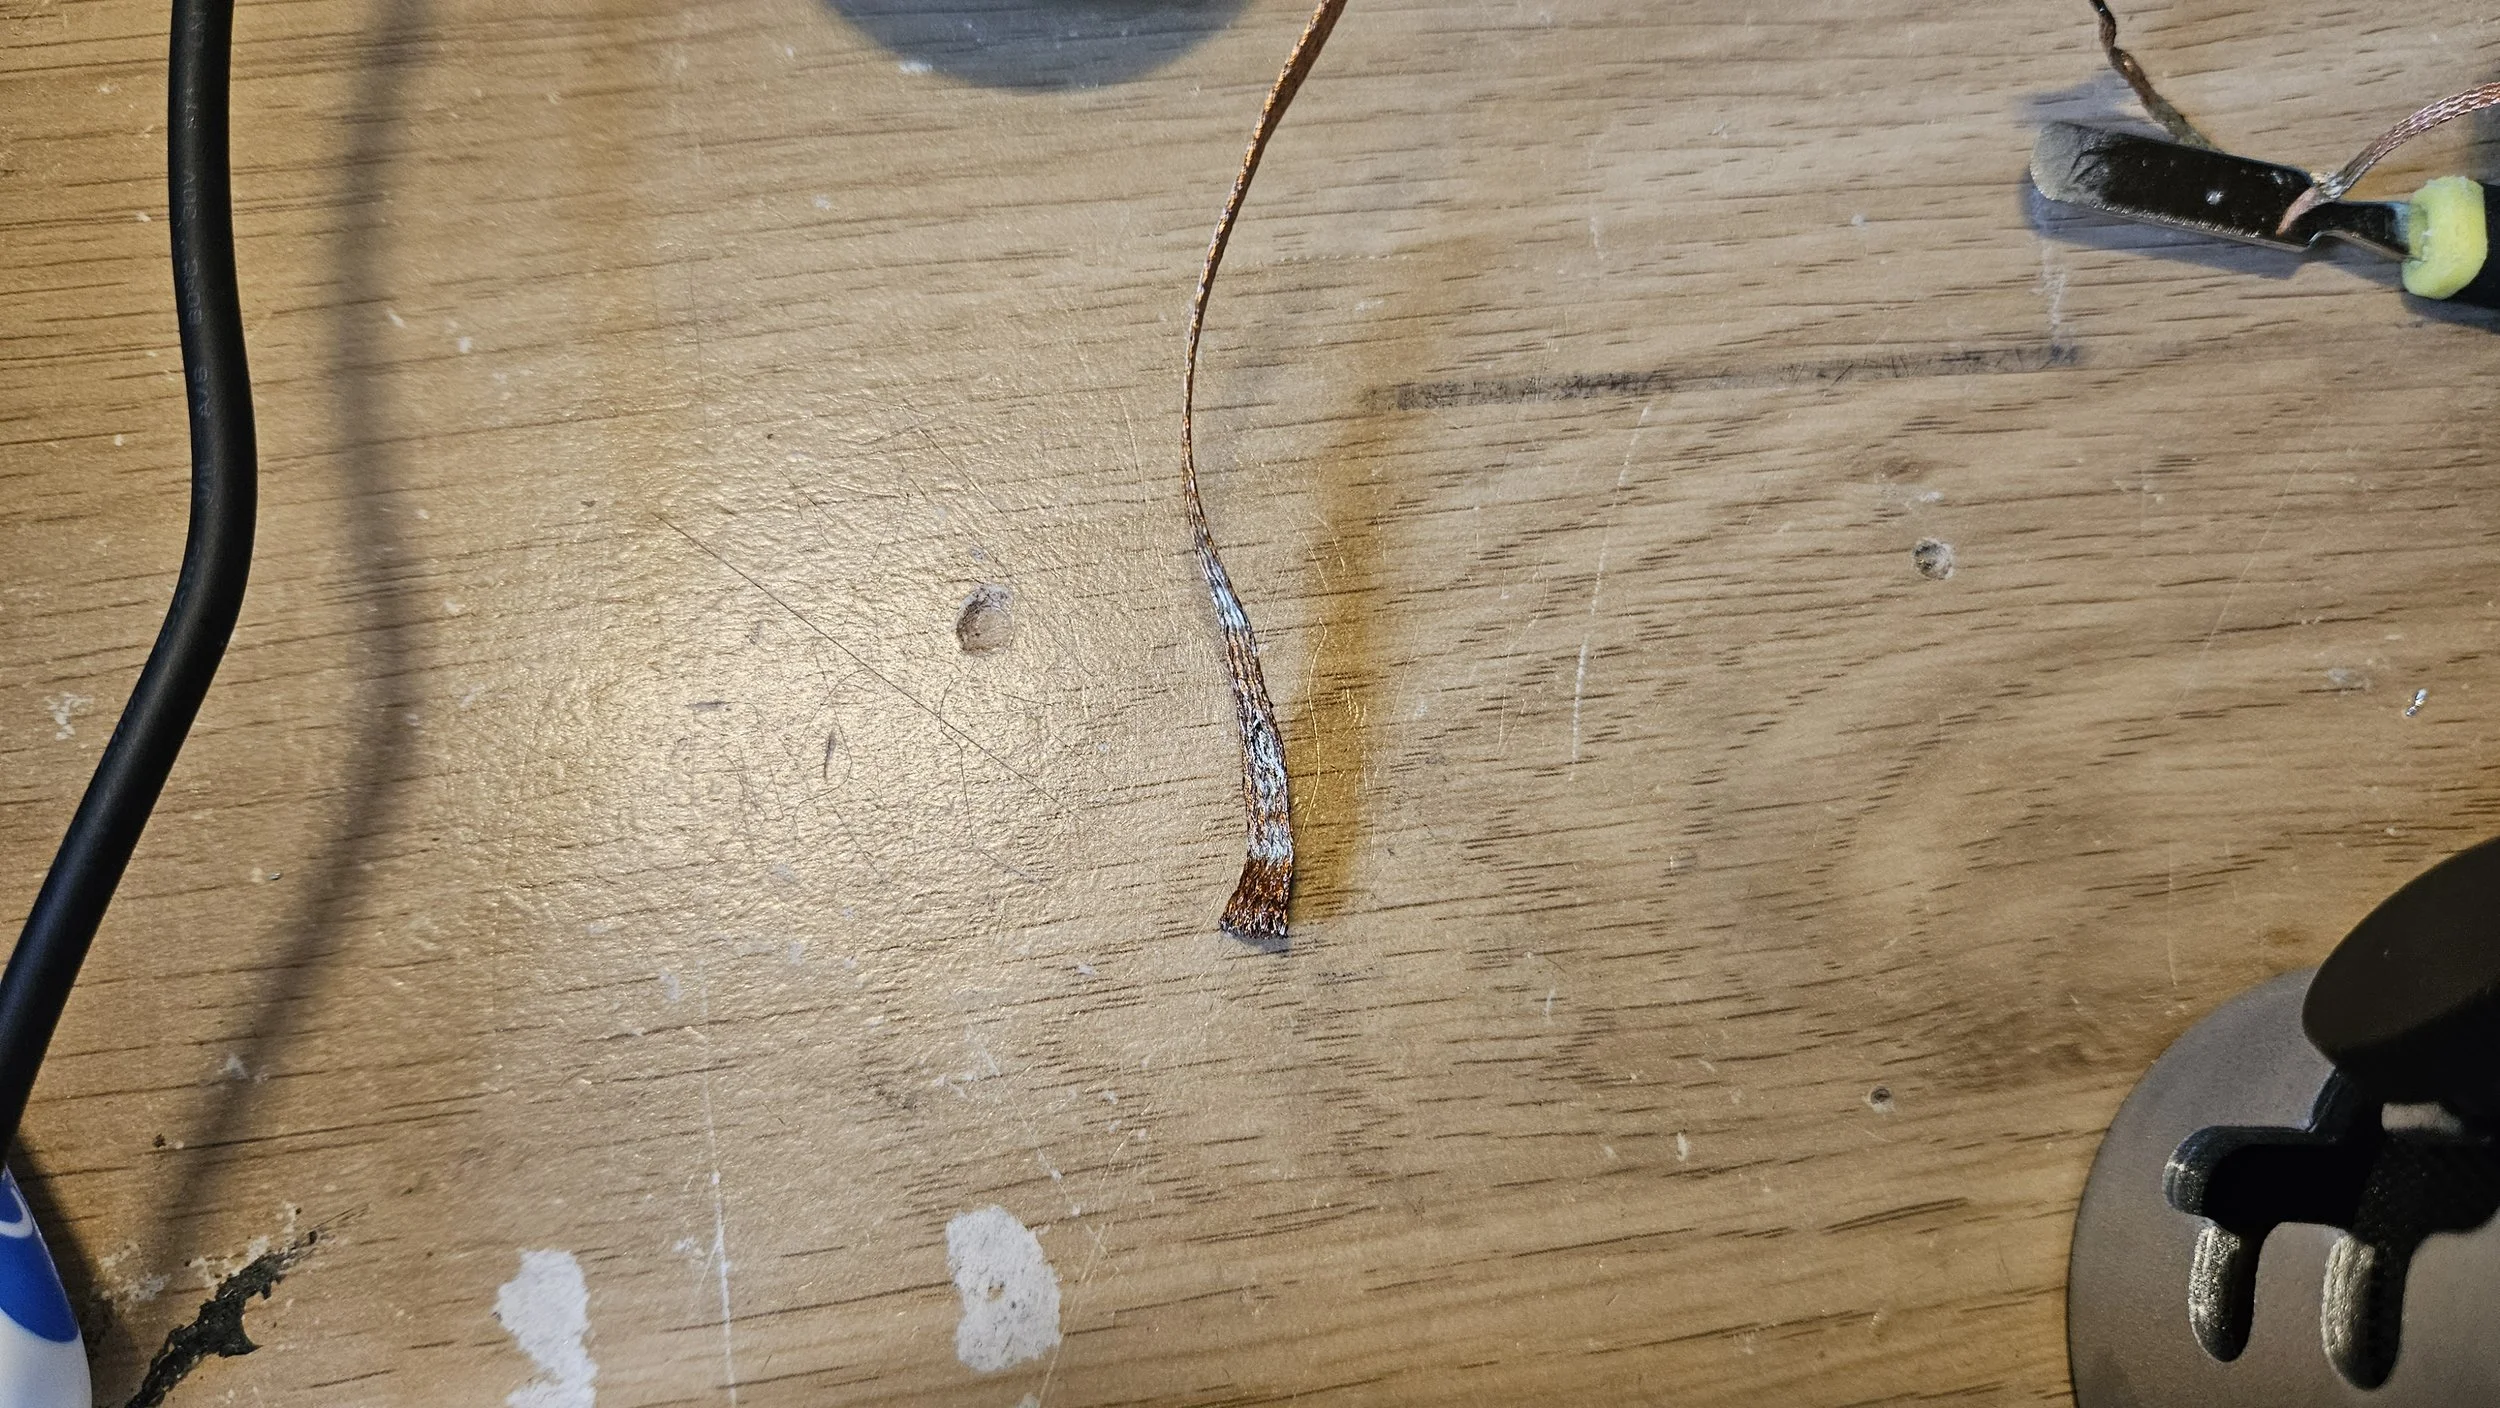
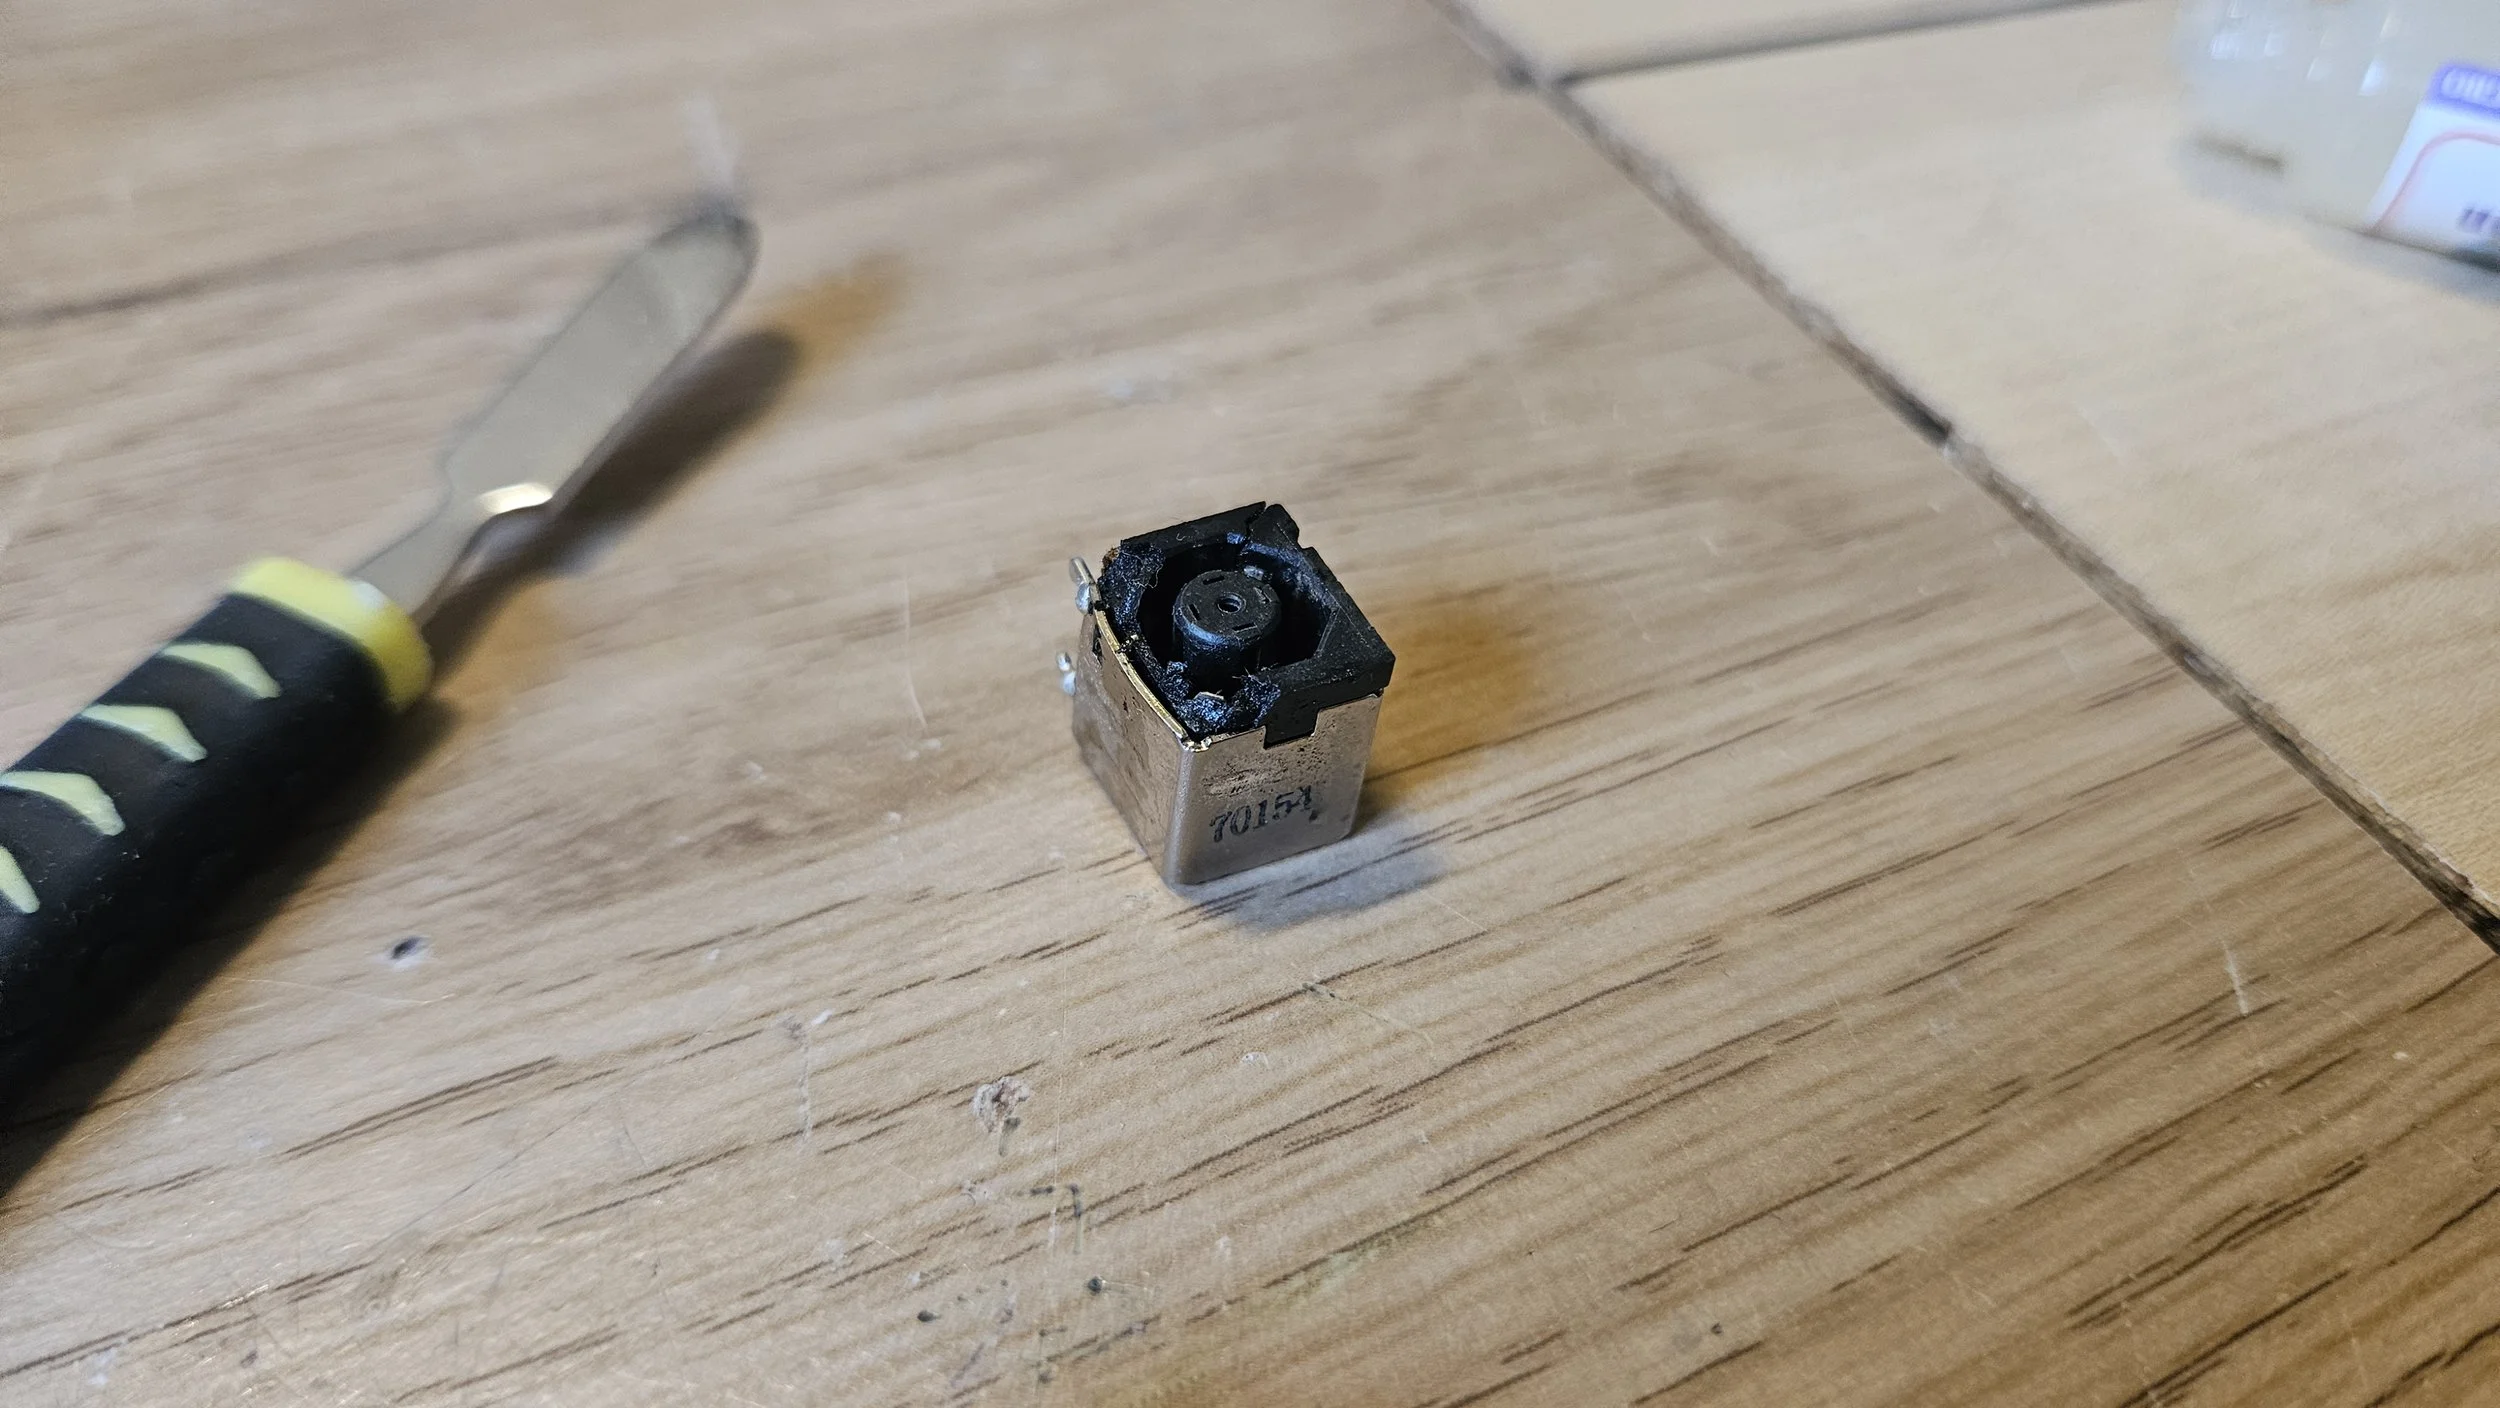
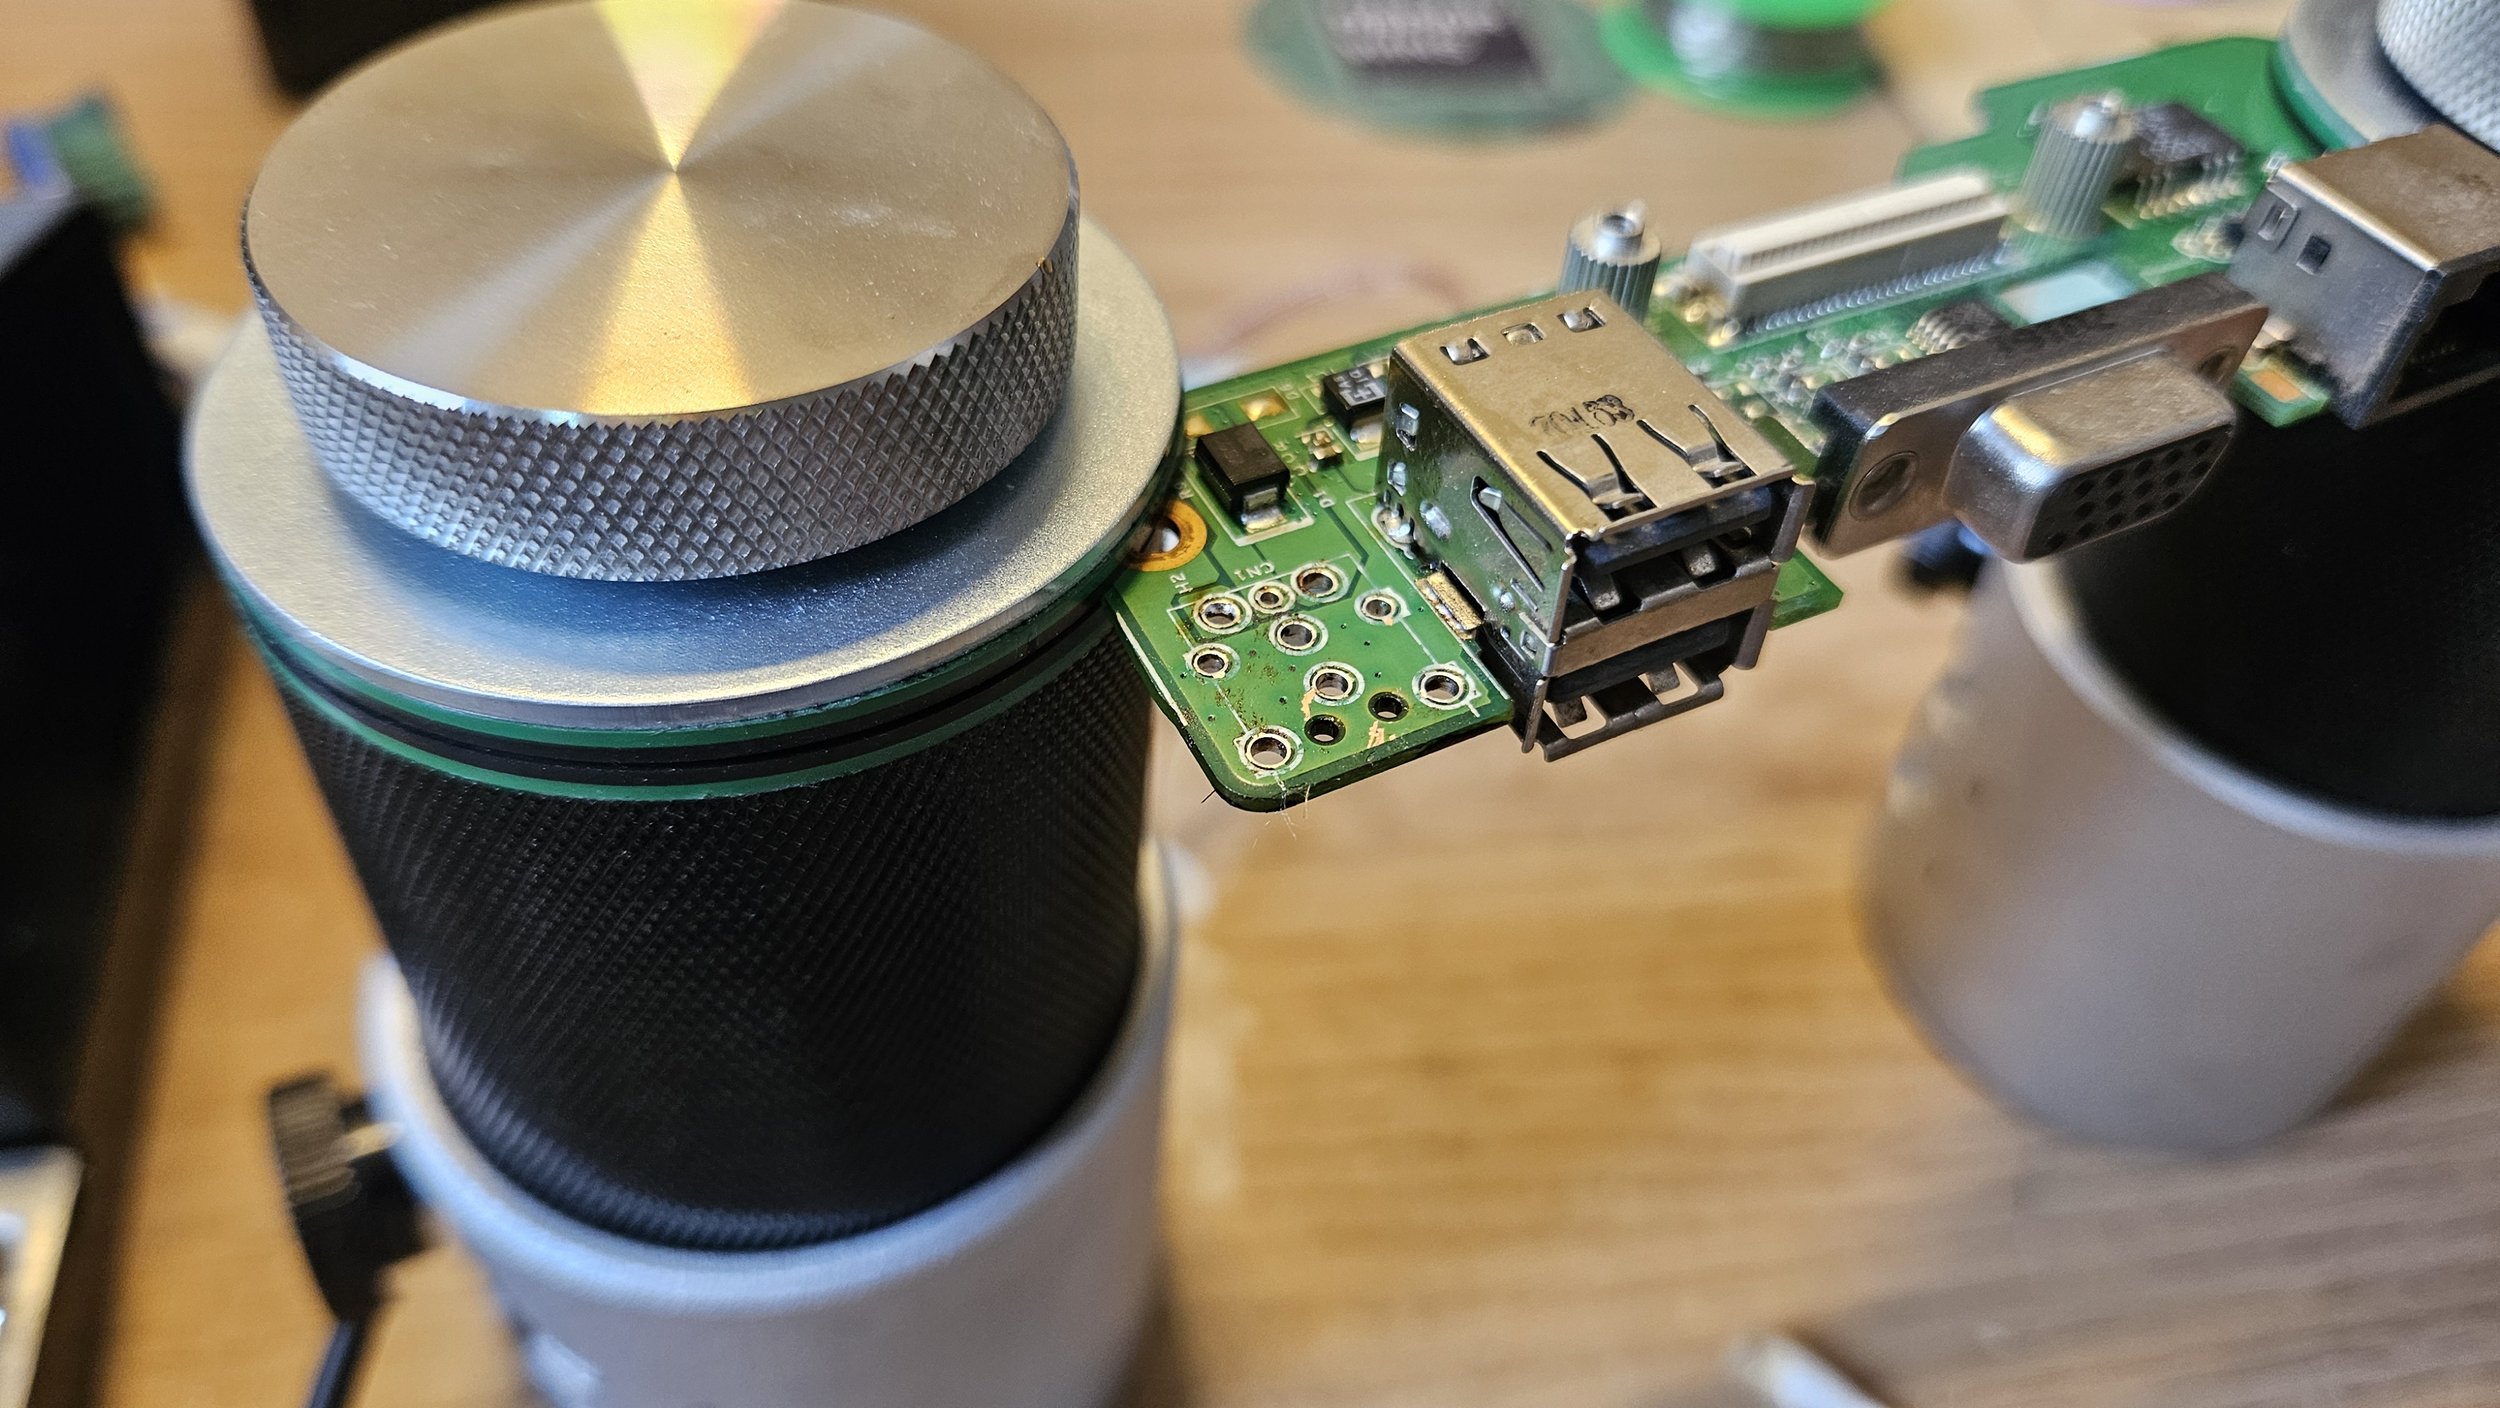
The good news is that I wouldn't need to be as gentle when removing the donor port. I wacked the heat up to 480C and went to town on the donor board. After not much time the port came out. The pins were cleaned and it was then positioned in my charging PCB. I soldered 2 diagonal pins and made sure each one was pushed down and flat before soldering the rest. I used lead free solder was used to do so.
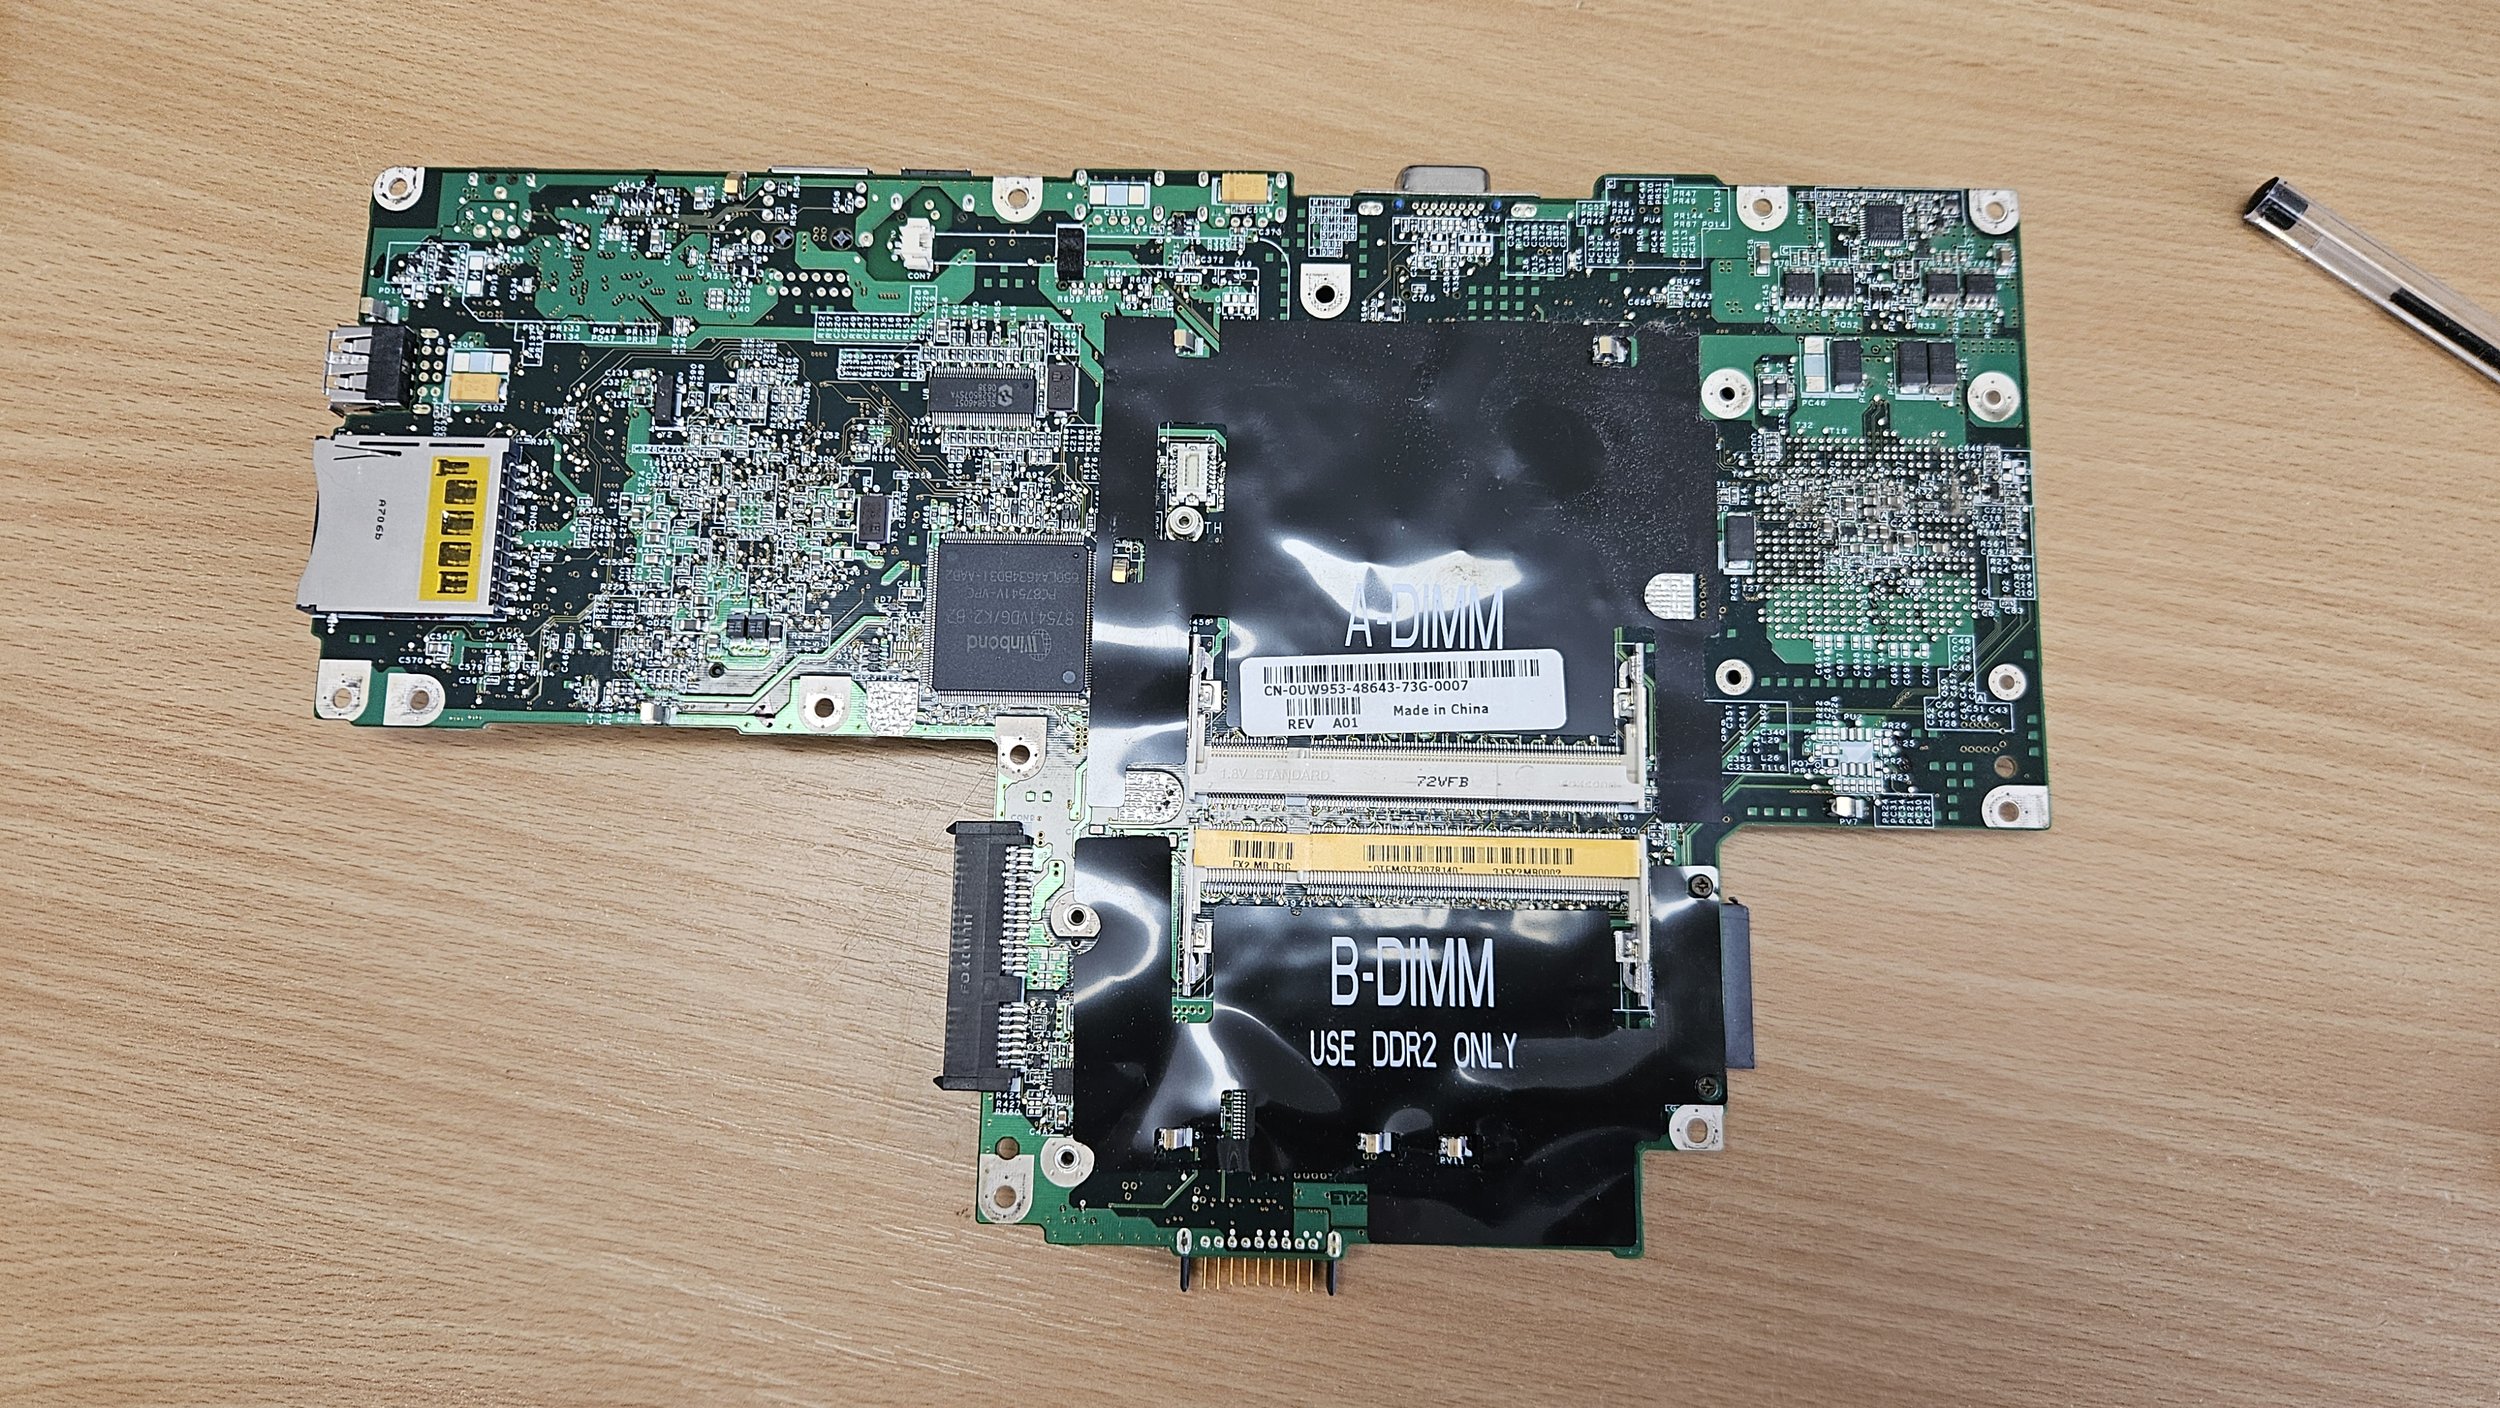
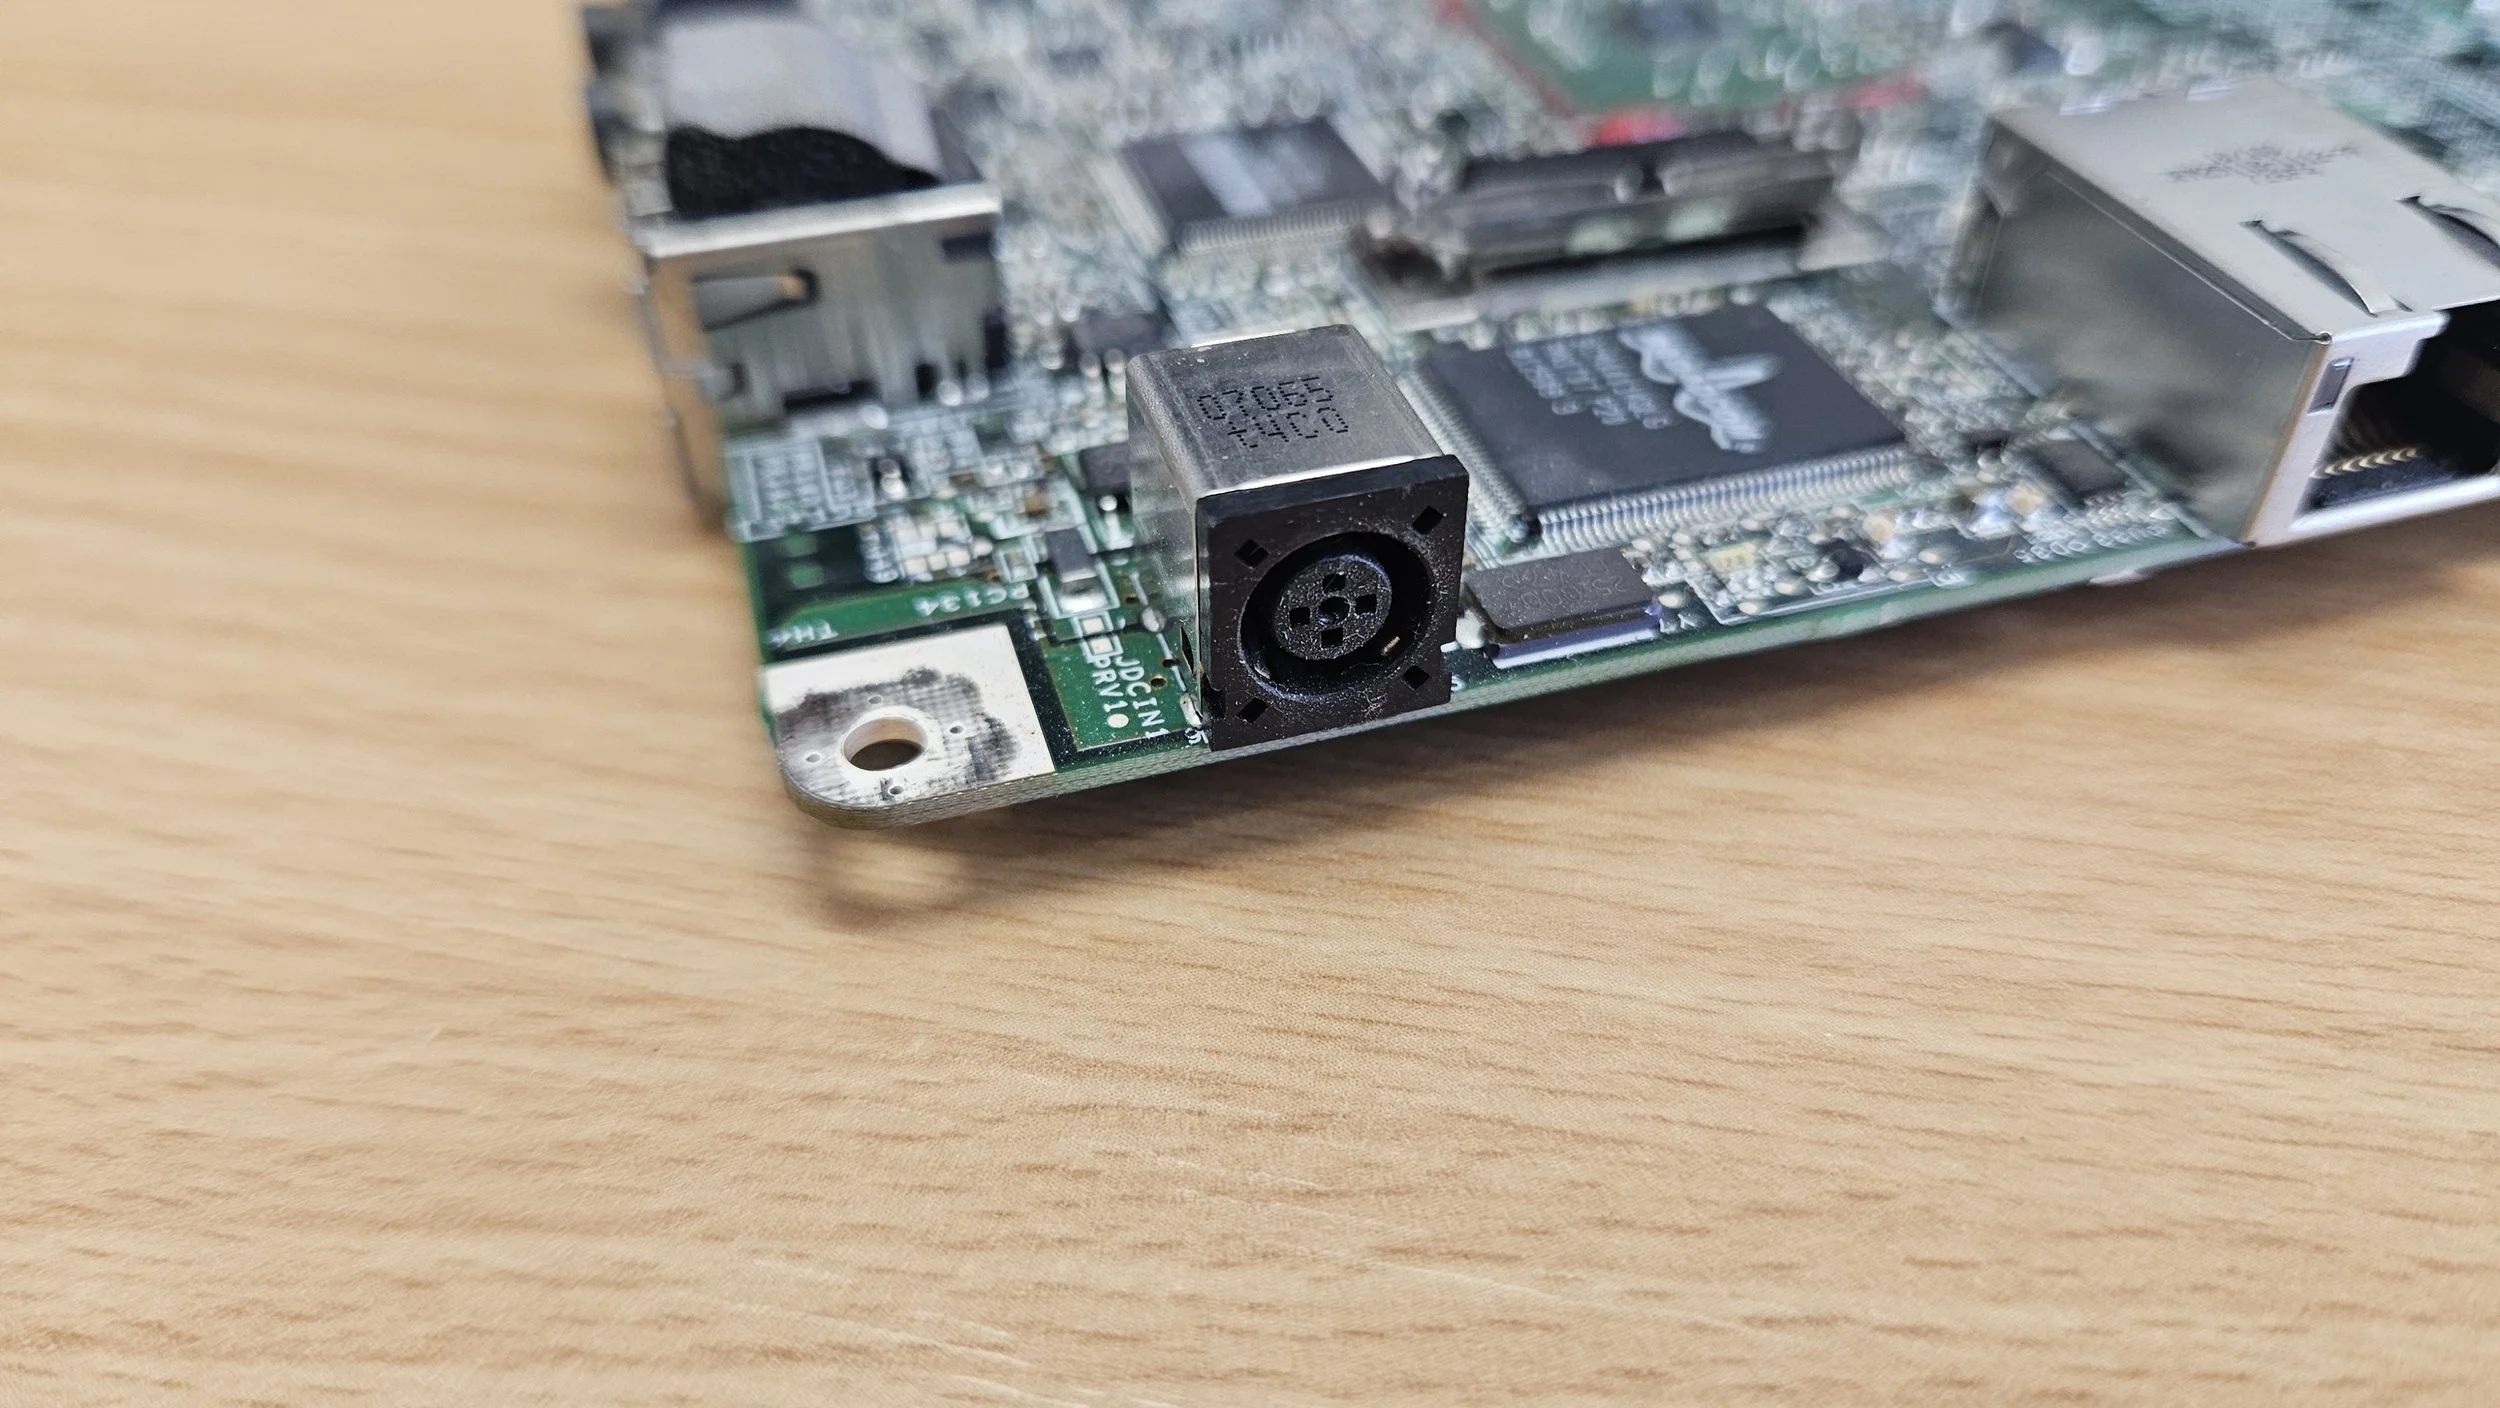
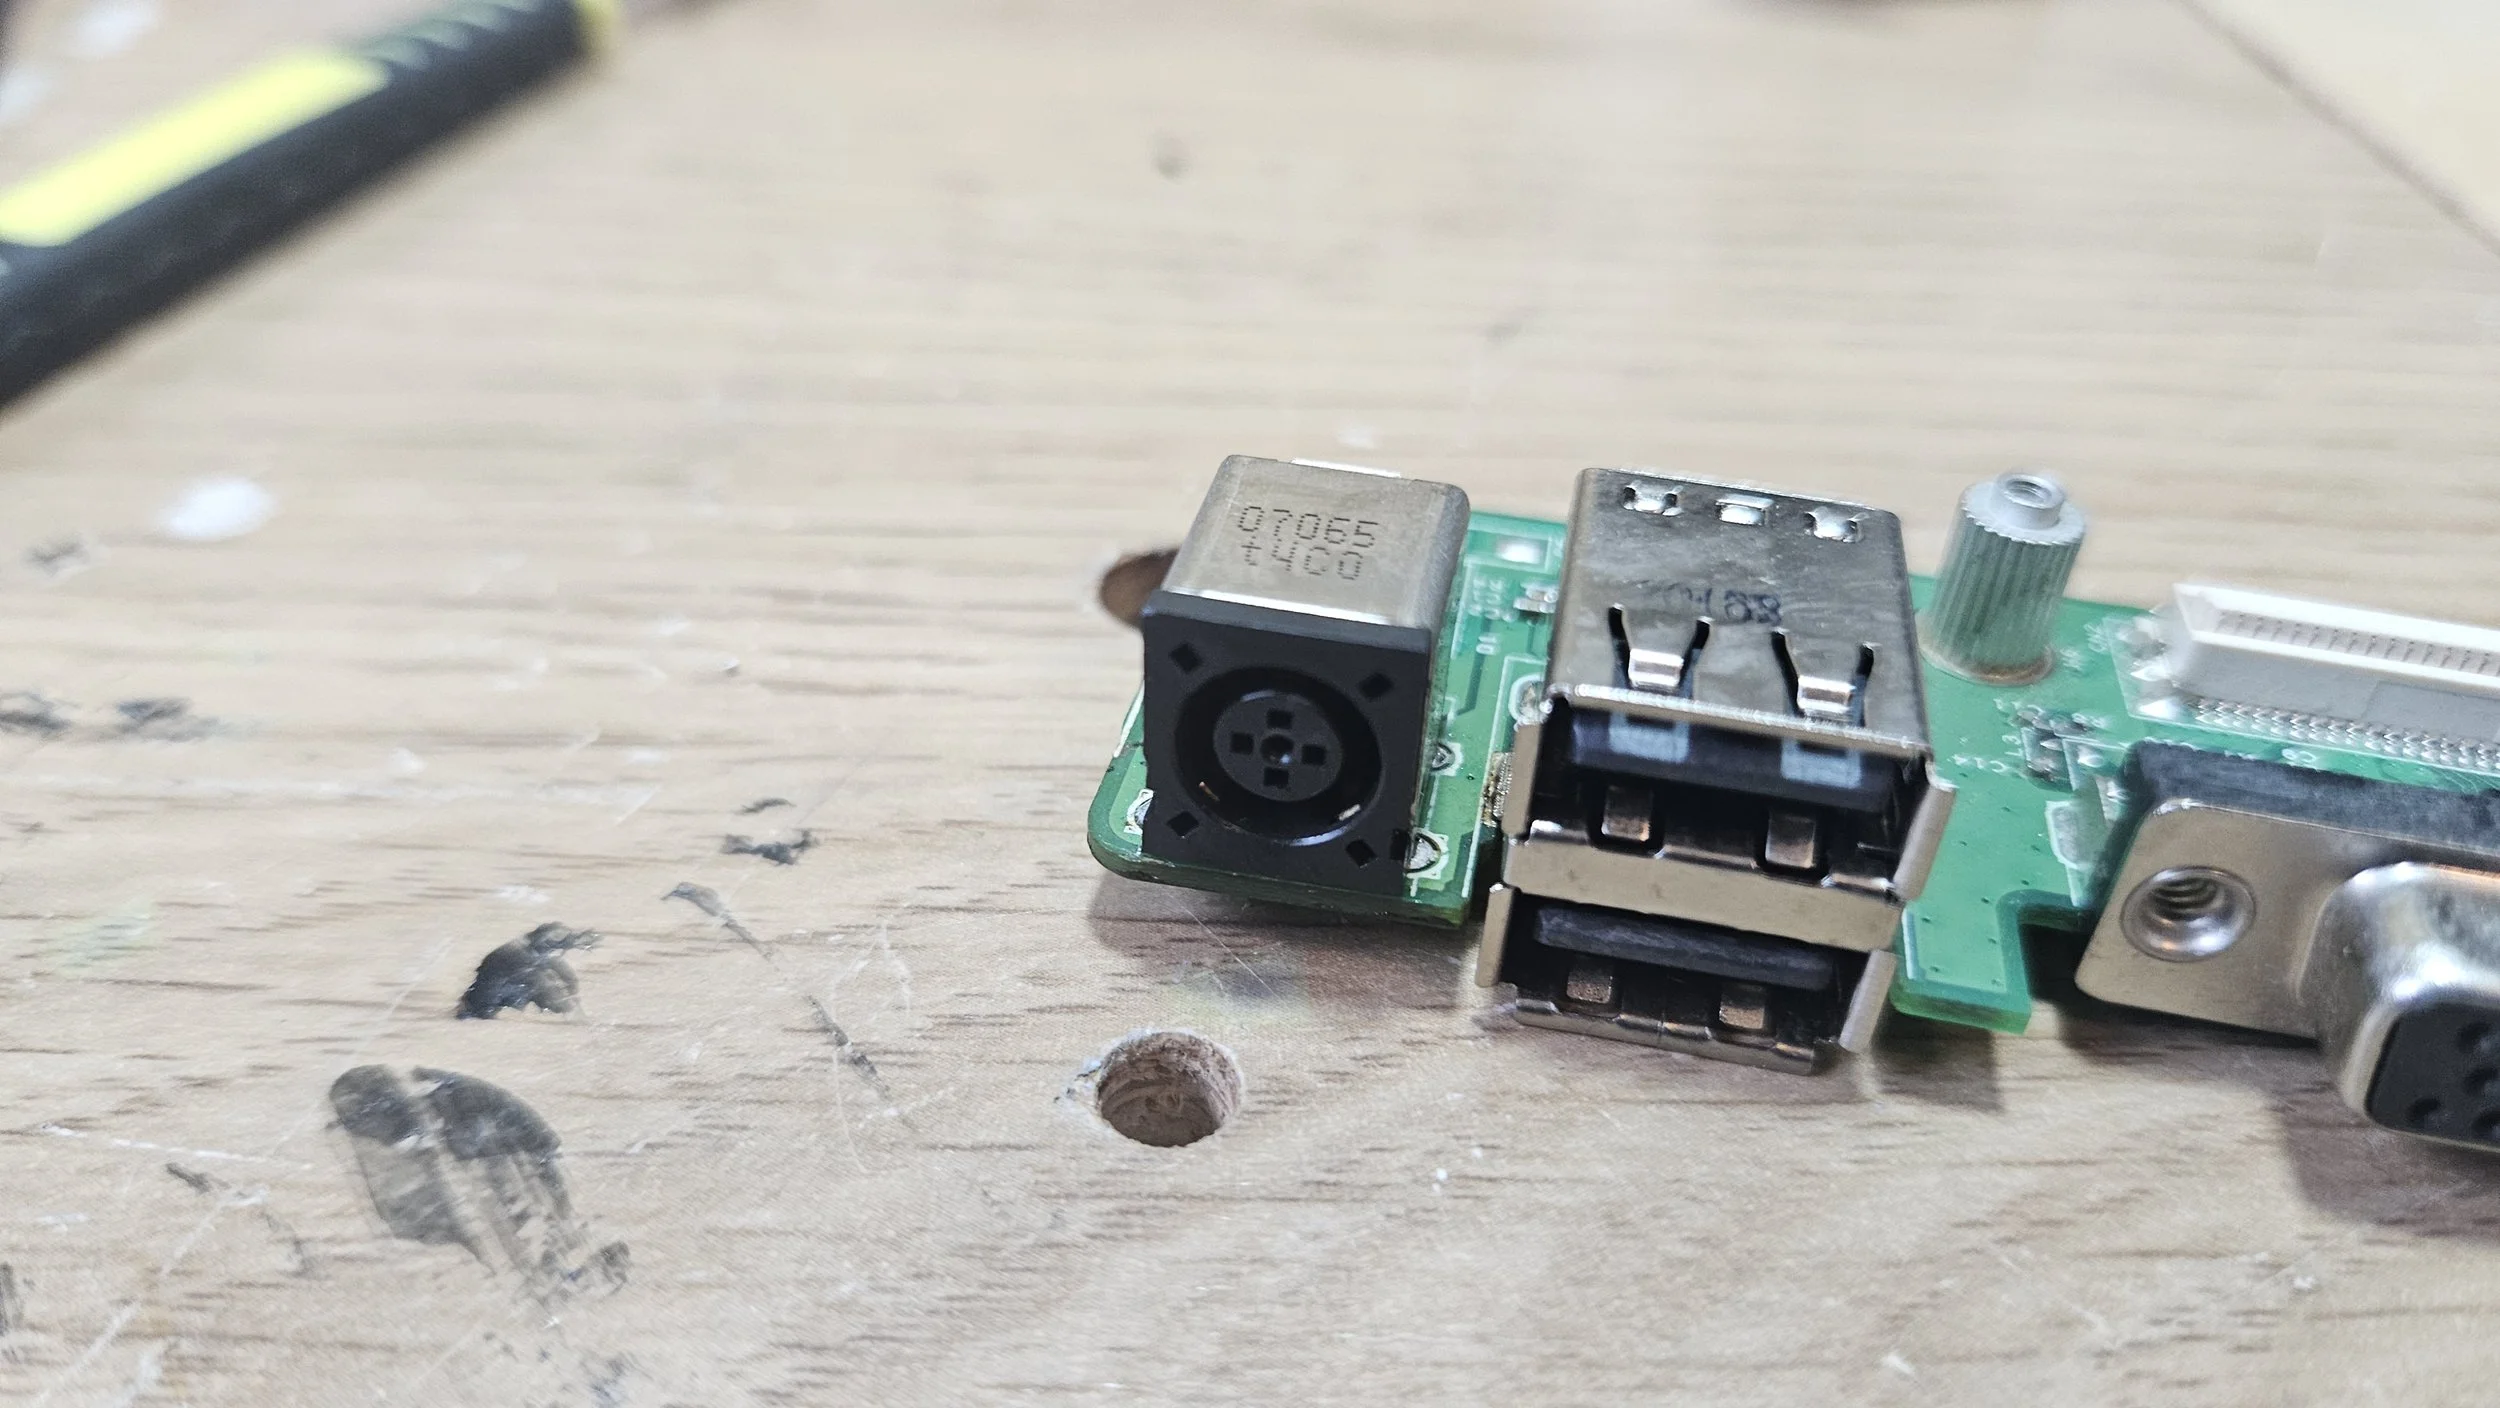
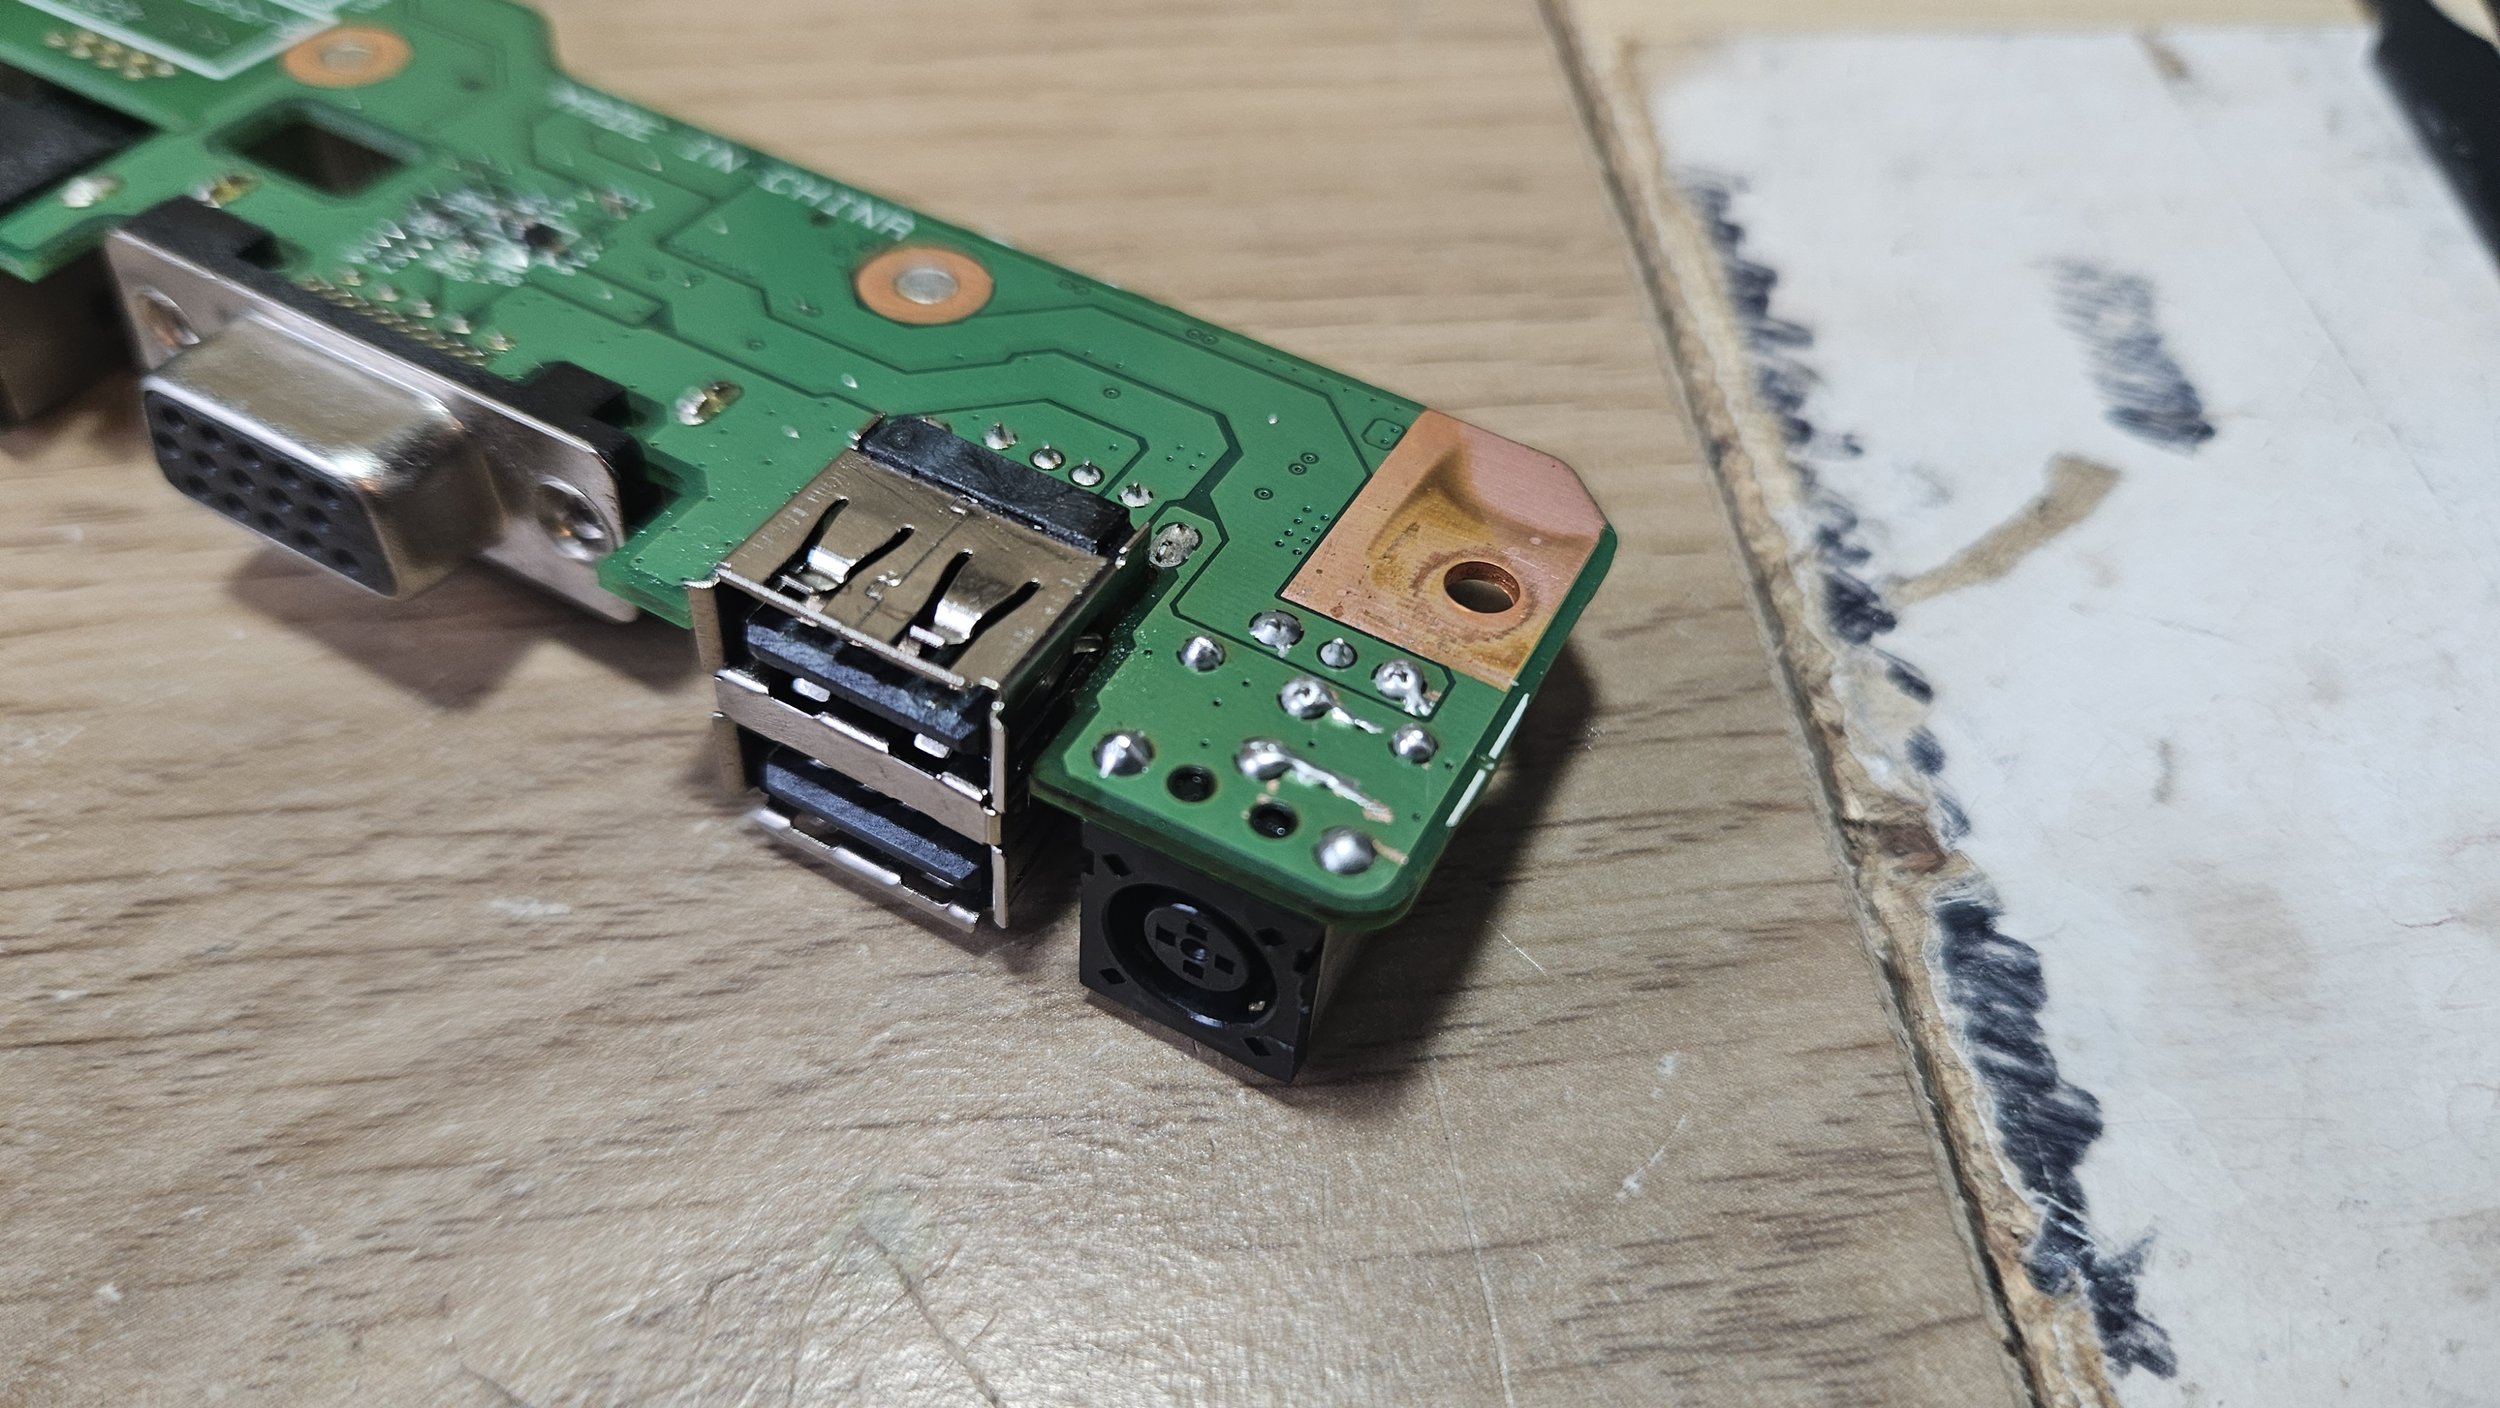
It's a funny little board. Dell put 2 USB ports, Ethernet, VGA and a charging port on this one PCB. While that makes them easier to replace, it seems like a poor design. Expensive to manufacture and more prone to failure. Still, this one lasted long enough I guess.
With the port replaced and the laptop mostly cleaned, everything was coming together nicely. I dismantled the screen housing so I could tighten each screw and check for defects inside - there was a crack externally but an inspection revealed nothing bad enough to warrant a time consuming and expensive top housing replacement so I left it as it was. There were 6 black rubber caps originally held down with some double sided tape. I removed the tape and used a drop of T-7000 on each one instead. They were firmly pressed down and left to dry.
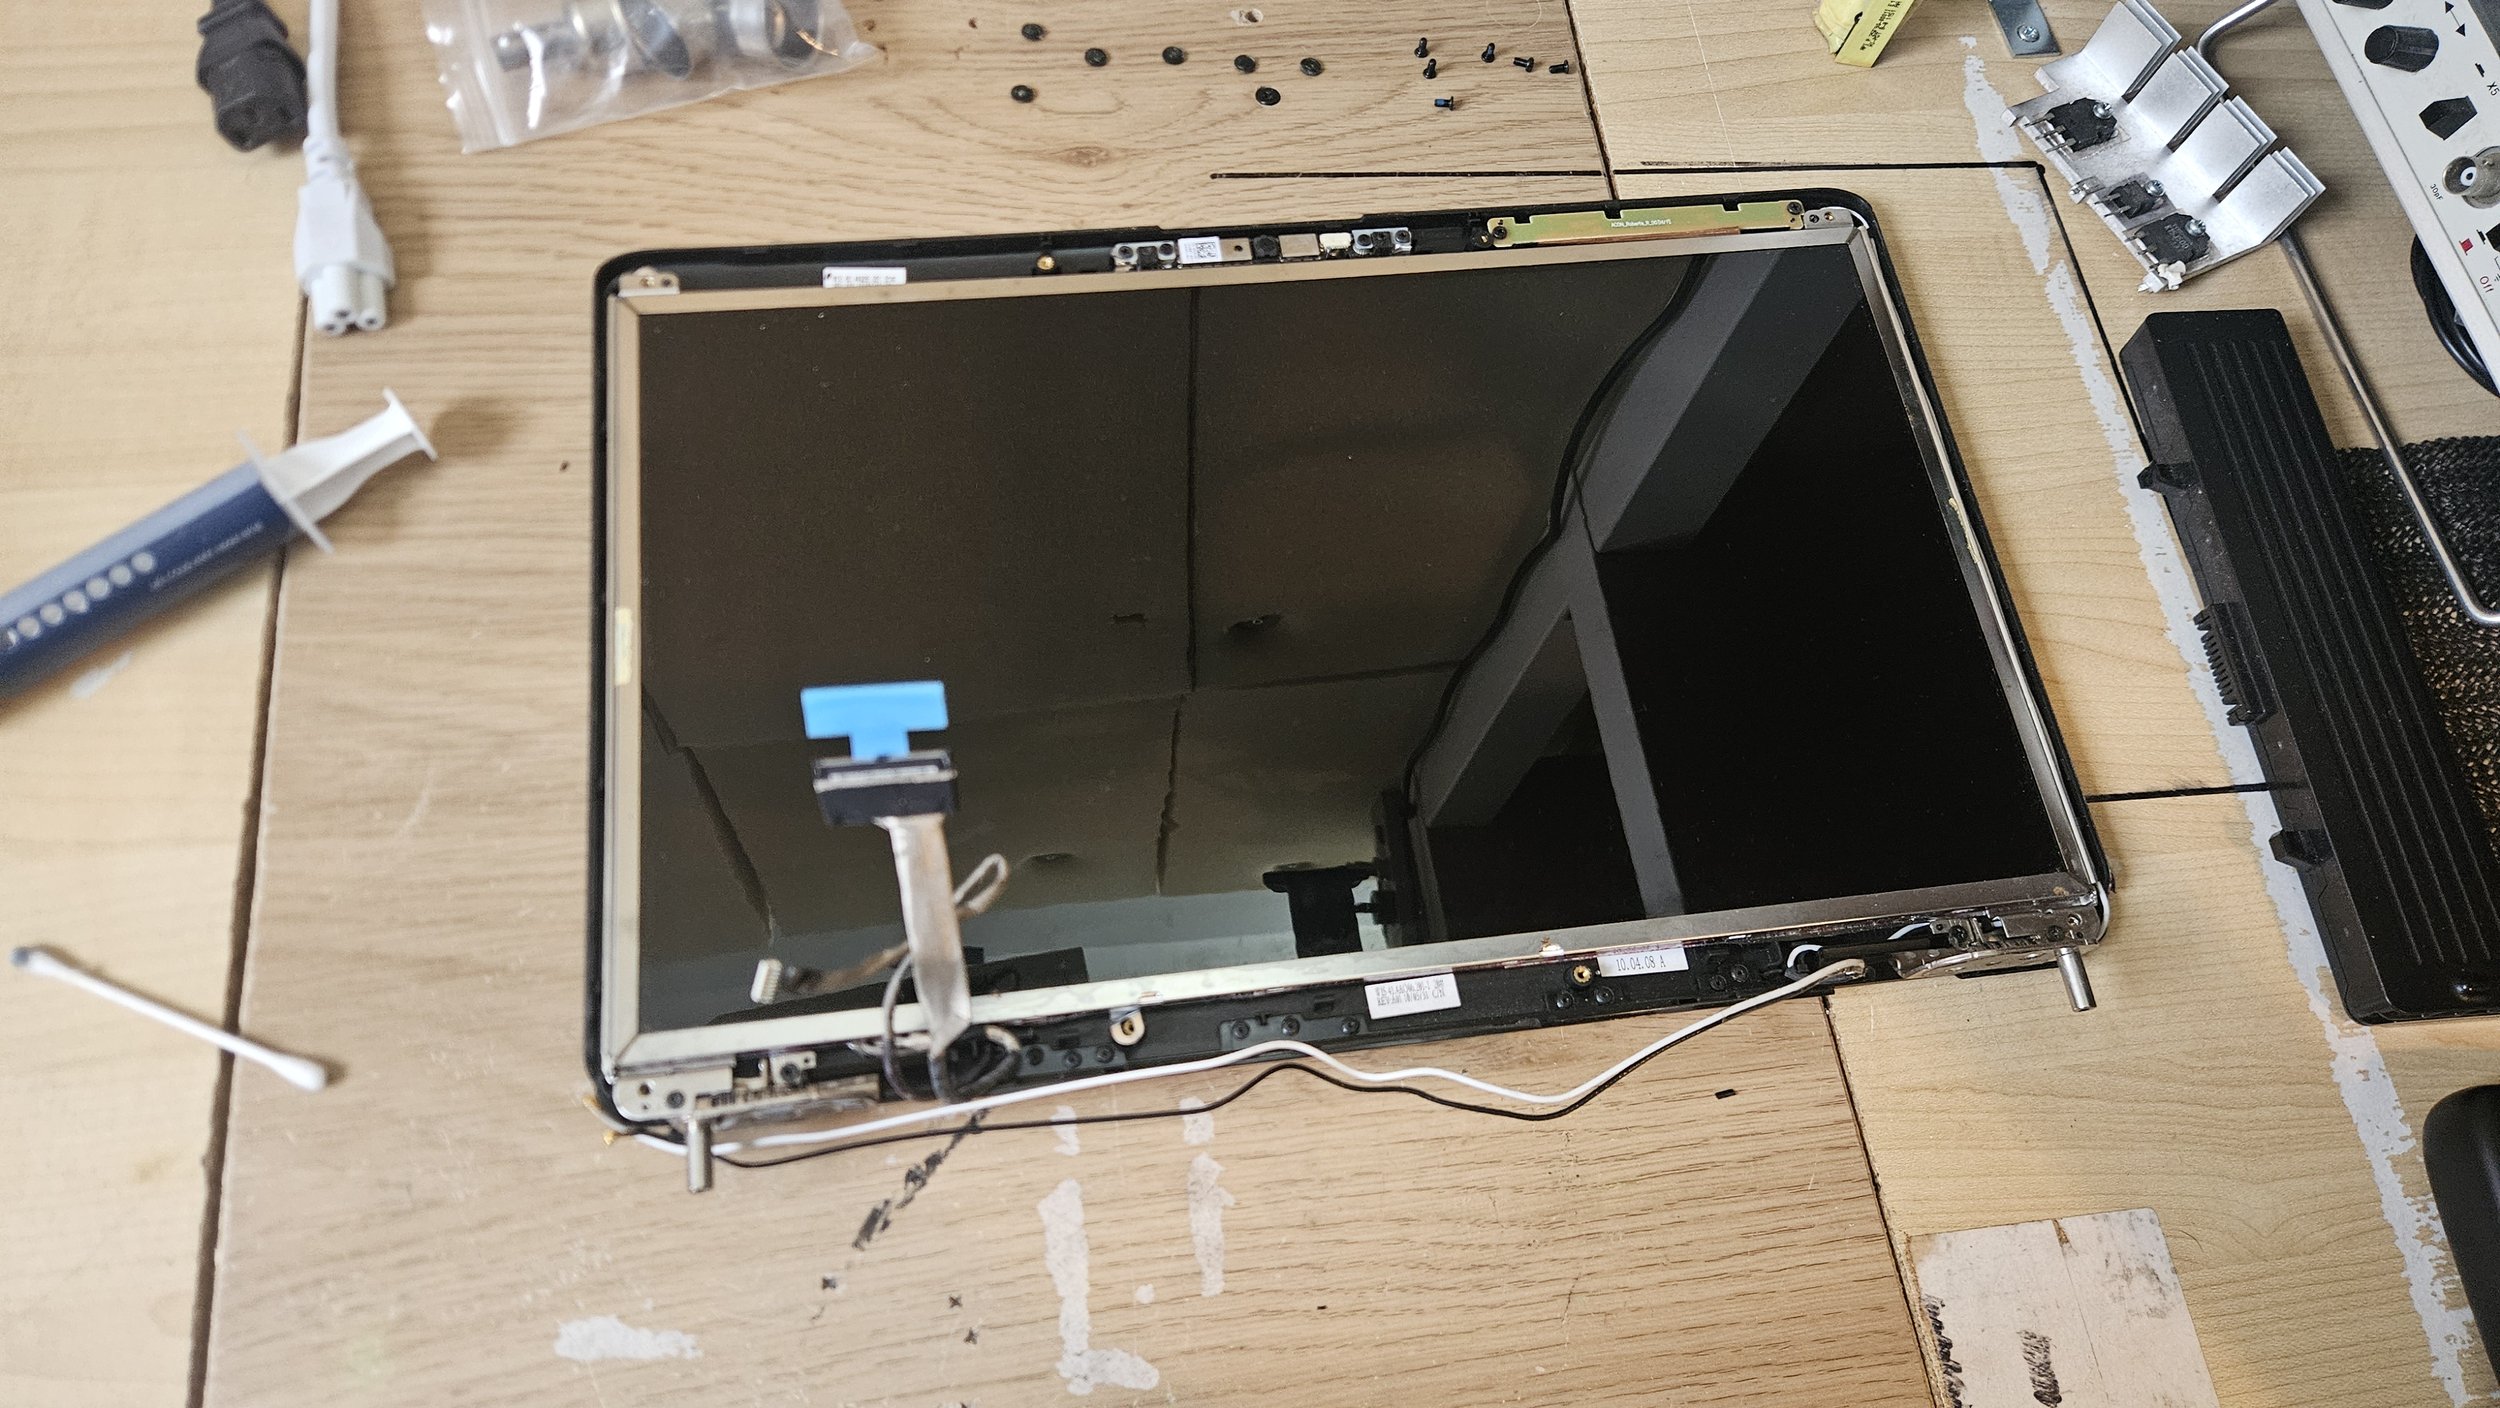
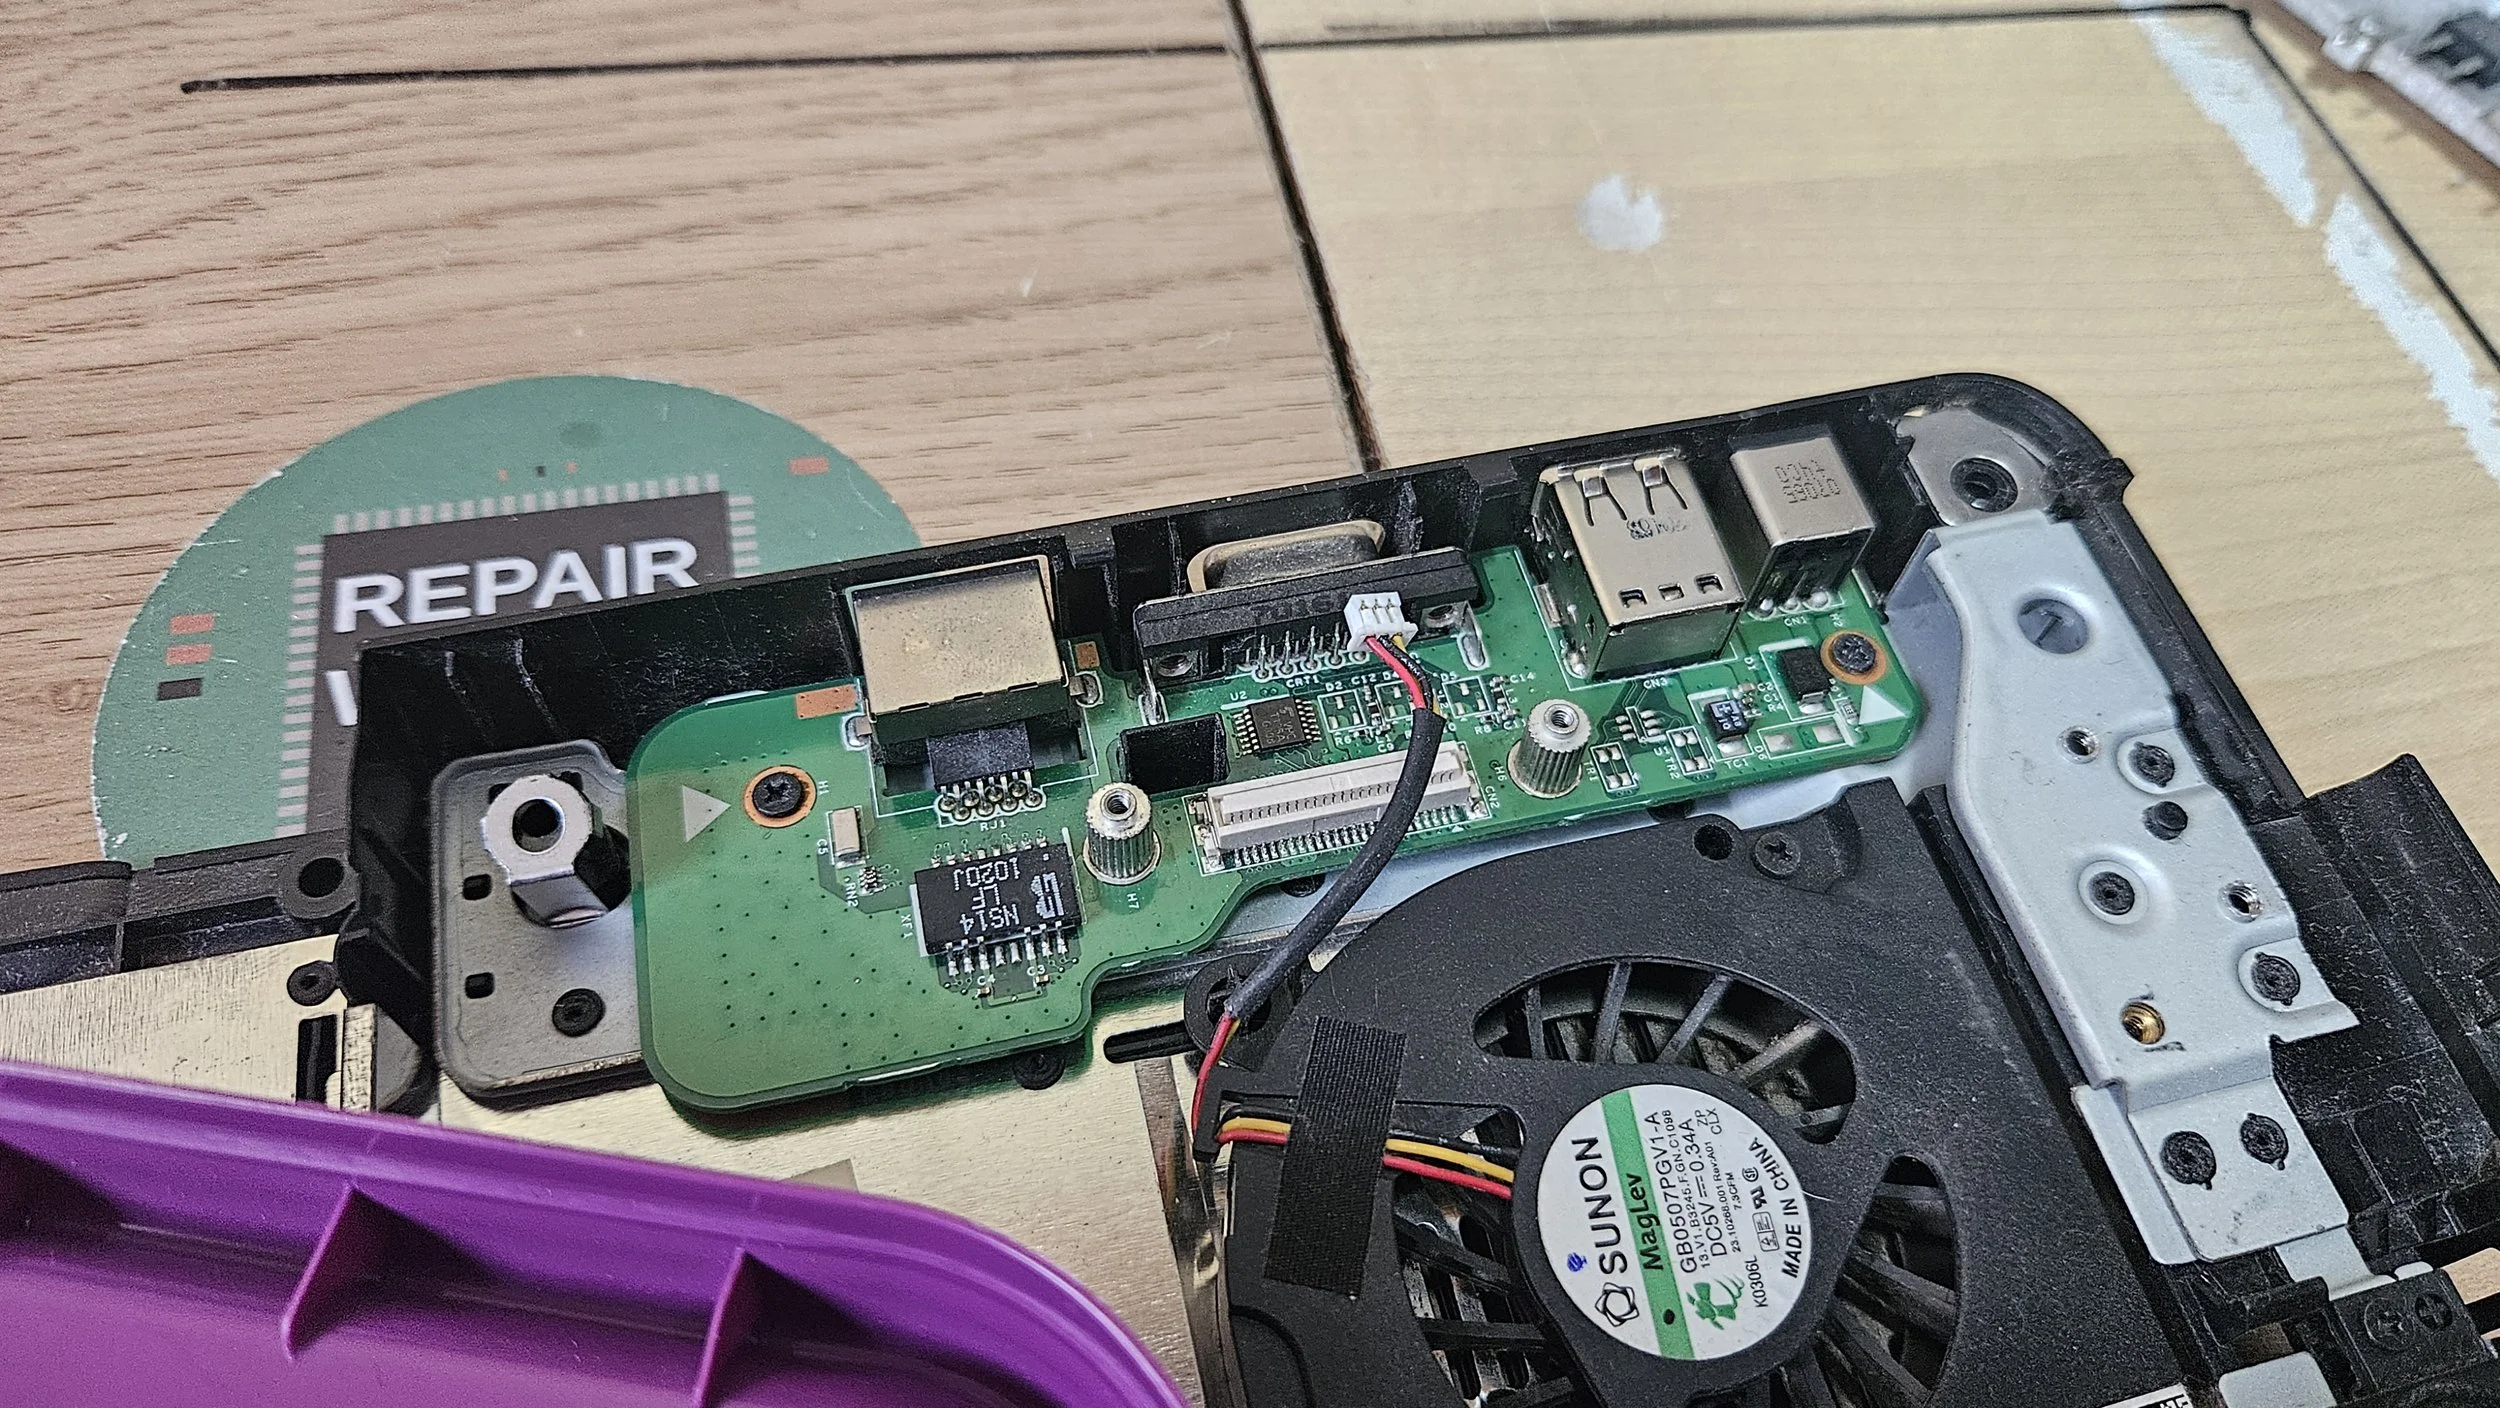
Meanwhile the charging board, motherboard, and its accompaniments went back in the laptop. It didn't want to line up so I put everything in without screws. I was then able to connect the 2 PCBs and put the screws in afterwards. You'd never have been able to tell the port was replaced from the outside so I was happy. All the internal screws were reinstalled, as were the connectors.
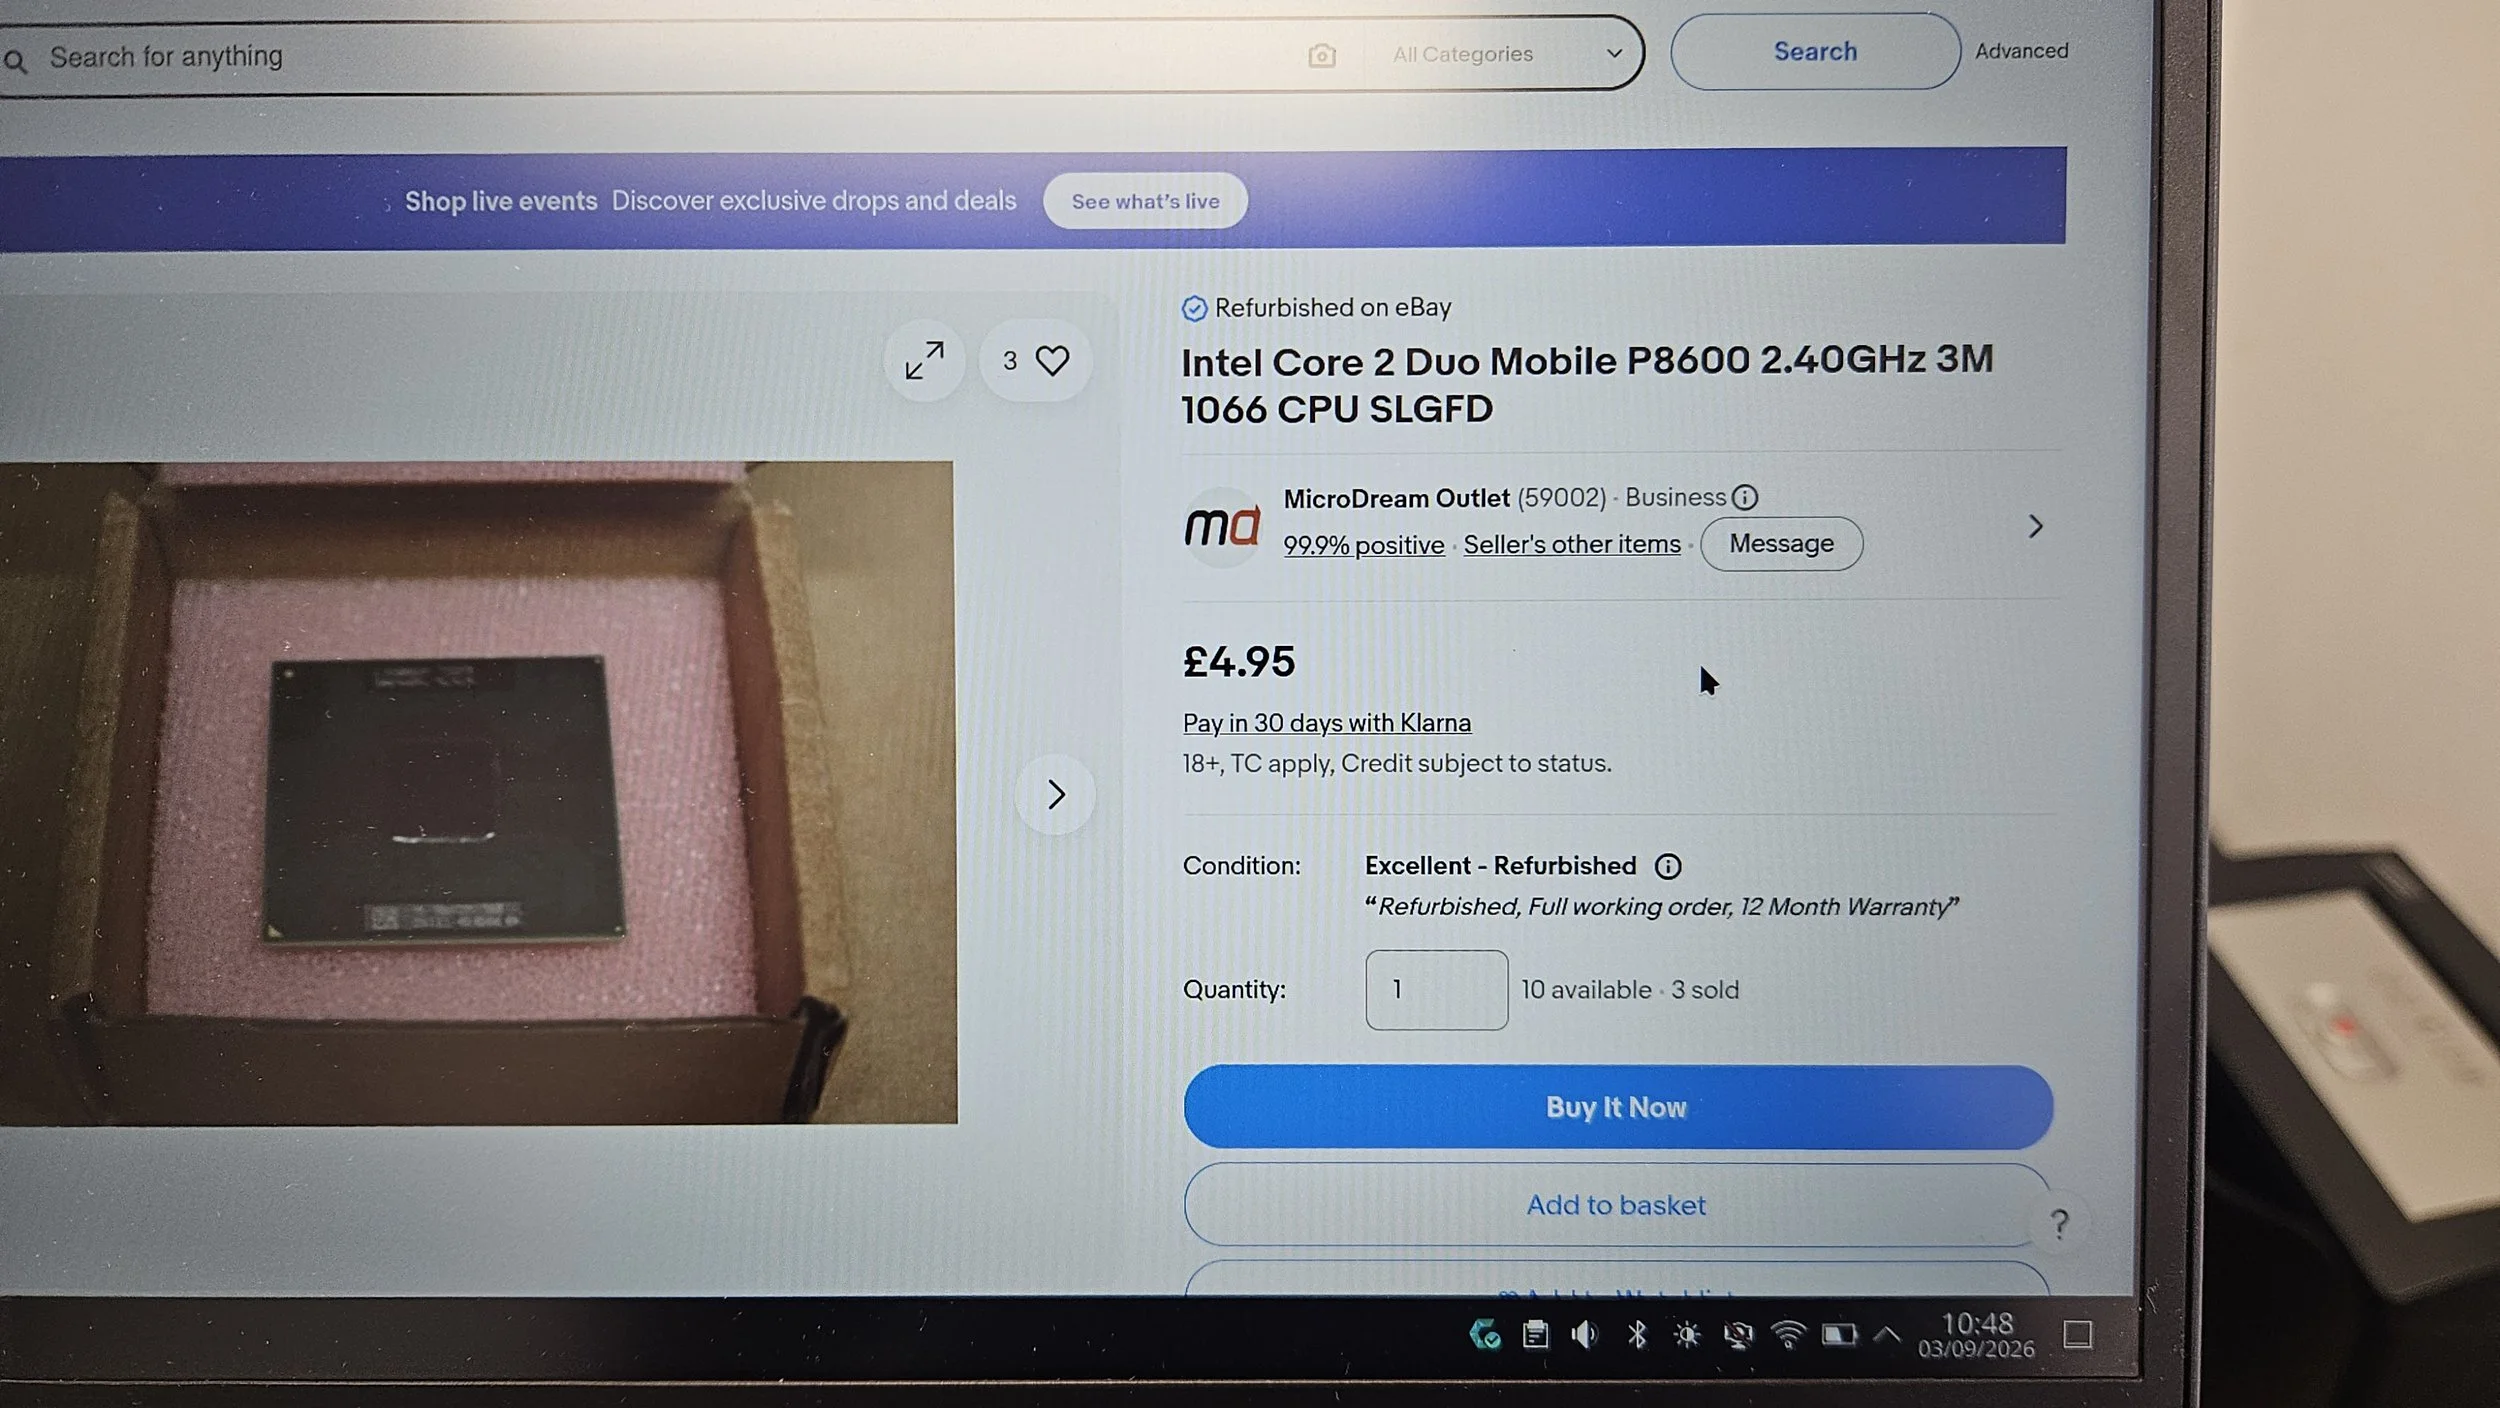
The screen assembly, keyboard, antenna wires, DVD drive, palmrest cover, etc. went back on and were screwed down. I left the bottom cover off as I had by then decided to upgrade the CPU. A Core 2 Duo P8600 was settled on. They cost under £5, have 10% better performance and consume significantly less power. From 35W down to 25W. That would make a huge difference to battery life, heat output and the general reliability of the laptop. It was an upgrade worth making in other words. I miss the days when laptops were still end-user upgradable!
Not much remained to do. I cleaned all the sticker residue using 99.9% isopropyl alcohol. The keyboard was also blasted clean with compressed air. An SSD was bodged in to the side (for now) and we installed Linux Mint XFCE. The machine was connected to the internet, the updates were performed and we made sure it was running reliably. No issues to report.
The new CPU had by then arrived so it was fitted and thermal pasted installed. The HDD cover was still missing but luckily I didn't have to pay for a replacement. I have a 3D printer and someone on Thingiverse had uploaded a model. I was able to download and then print it. While it isn't a perfect fit, some fiddling got the SSD in whilst maintaining a solid connection with the SATA connector and covering the side of the machine.
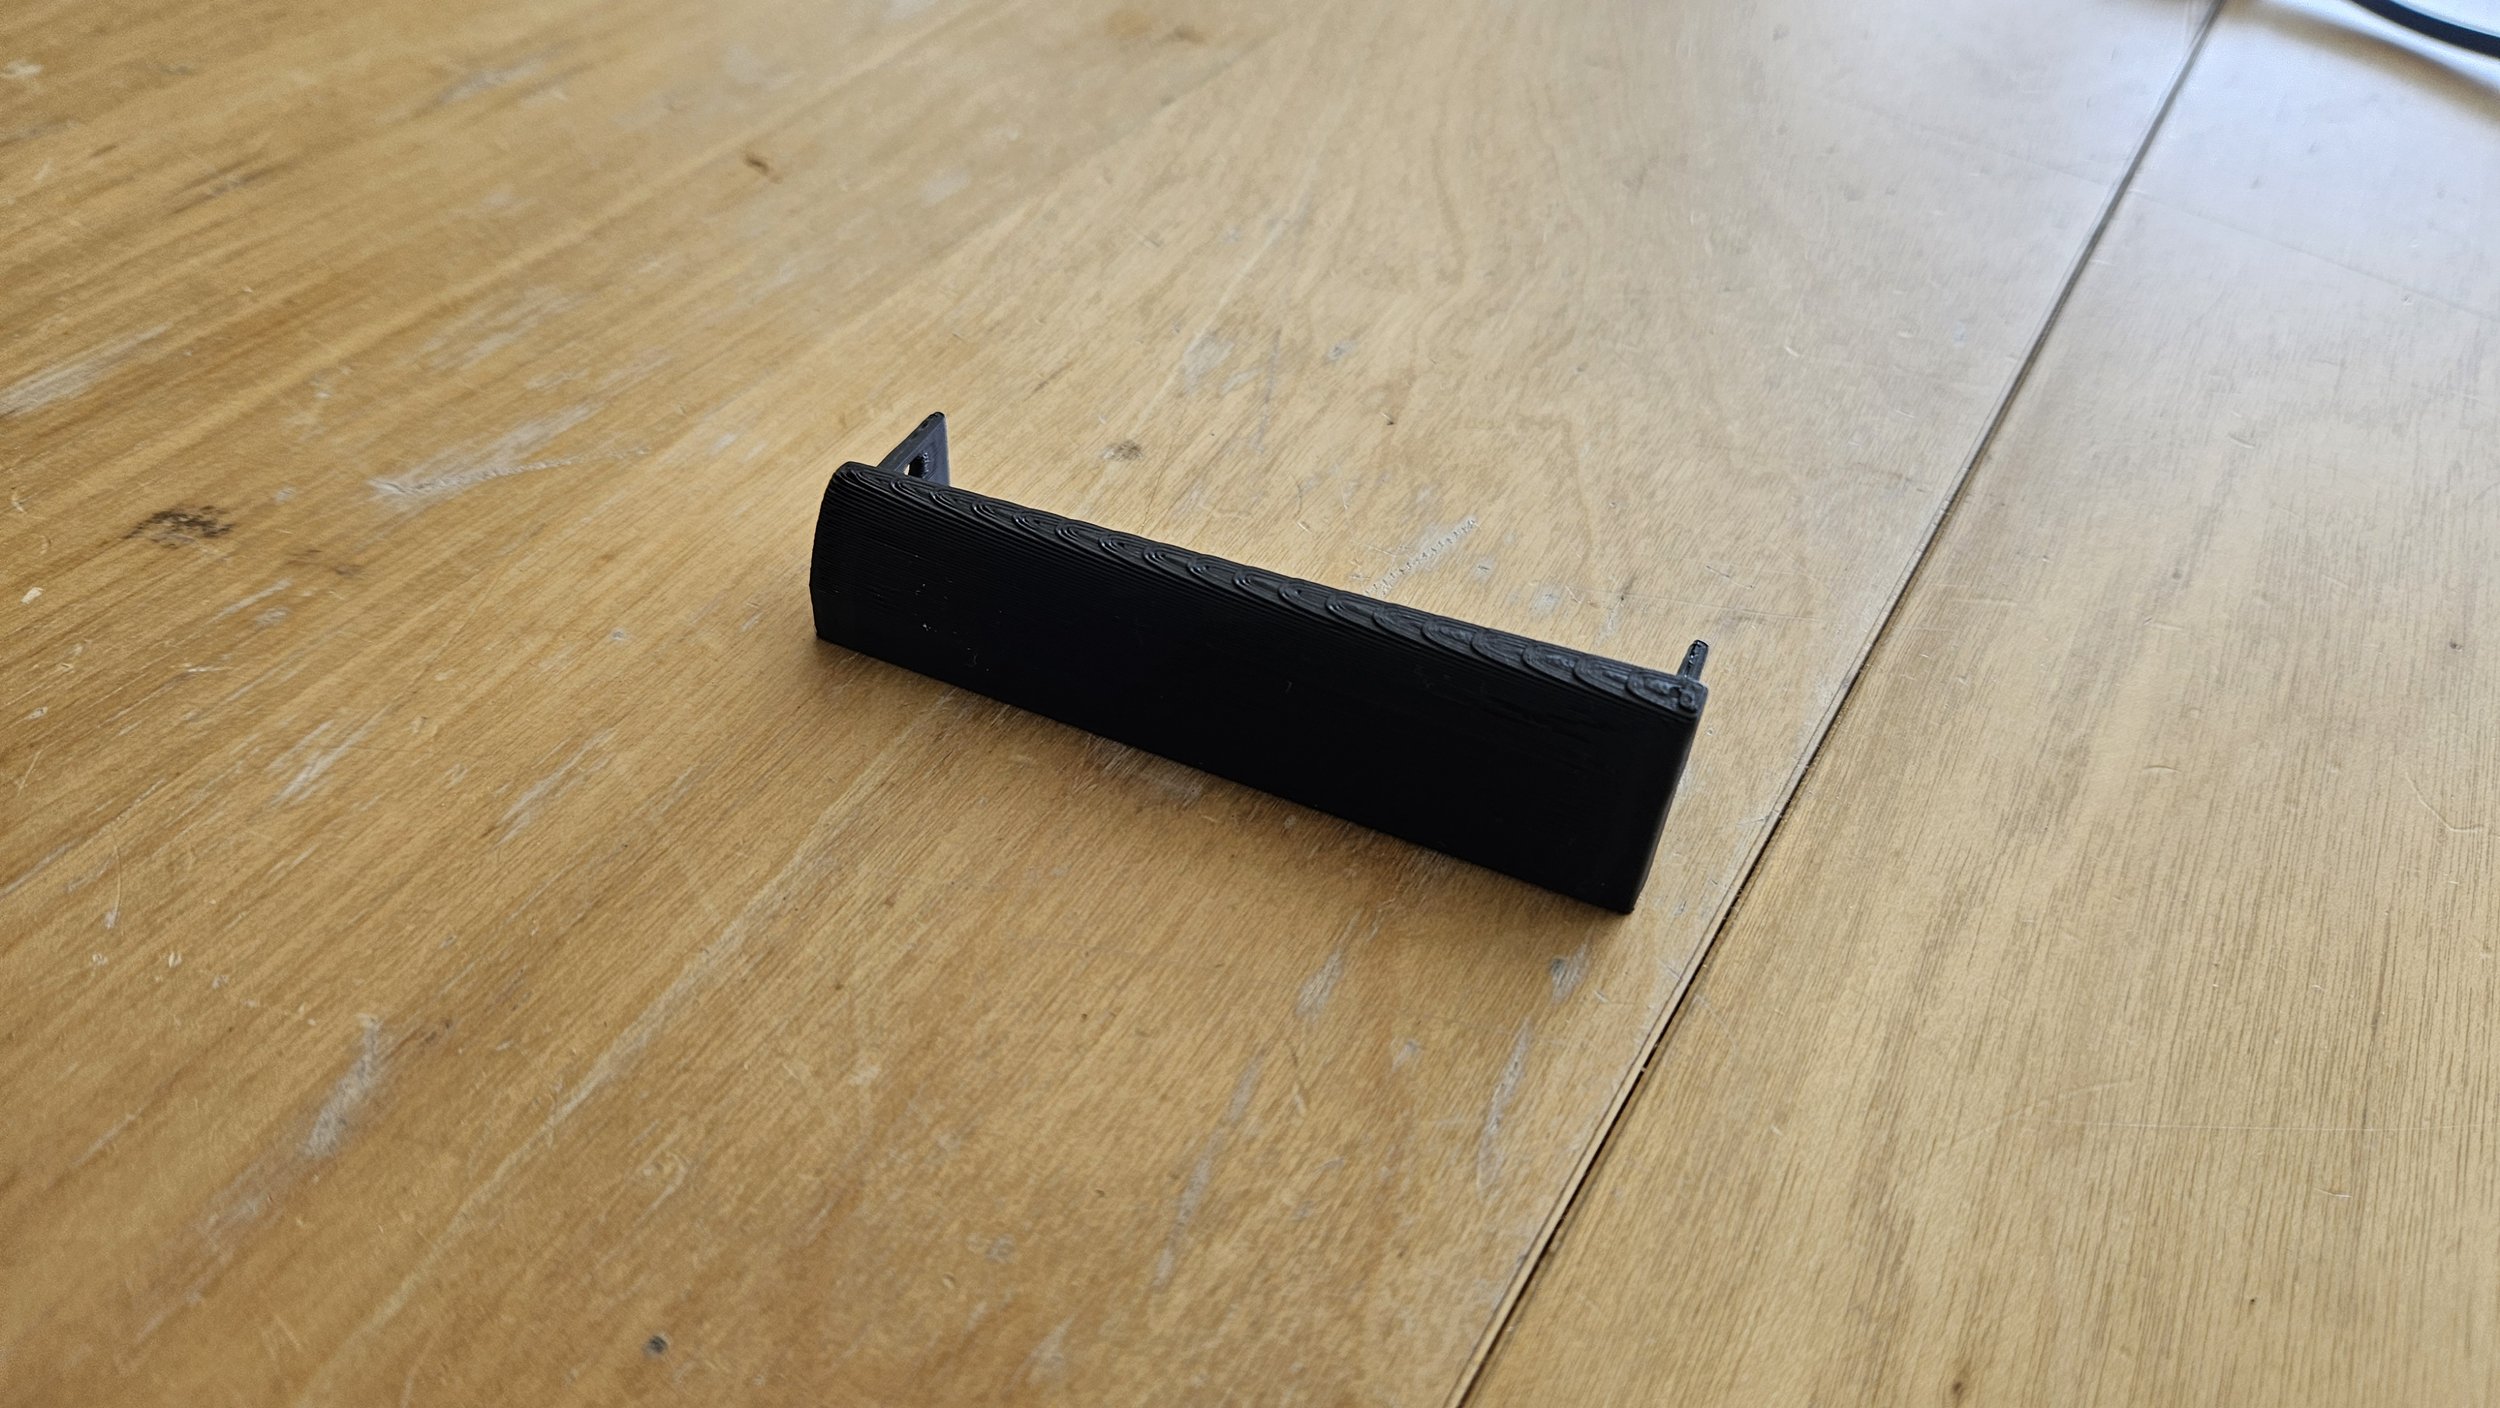
https://www.thingiverse.com/thing:7293295
Finally, a battery was installed. You can't get genuine Dell ones any more so an eBay special would have to do. The health shows as "good" in the BIOS. I'd have preferred "excellent" but it was only £13 so I can't complain. Crucially, the machine works off of the charger for a reasonable amount of time. The newer CPU and less bloated operating system will help the battery last longer too.
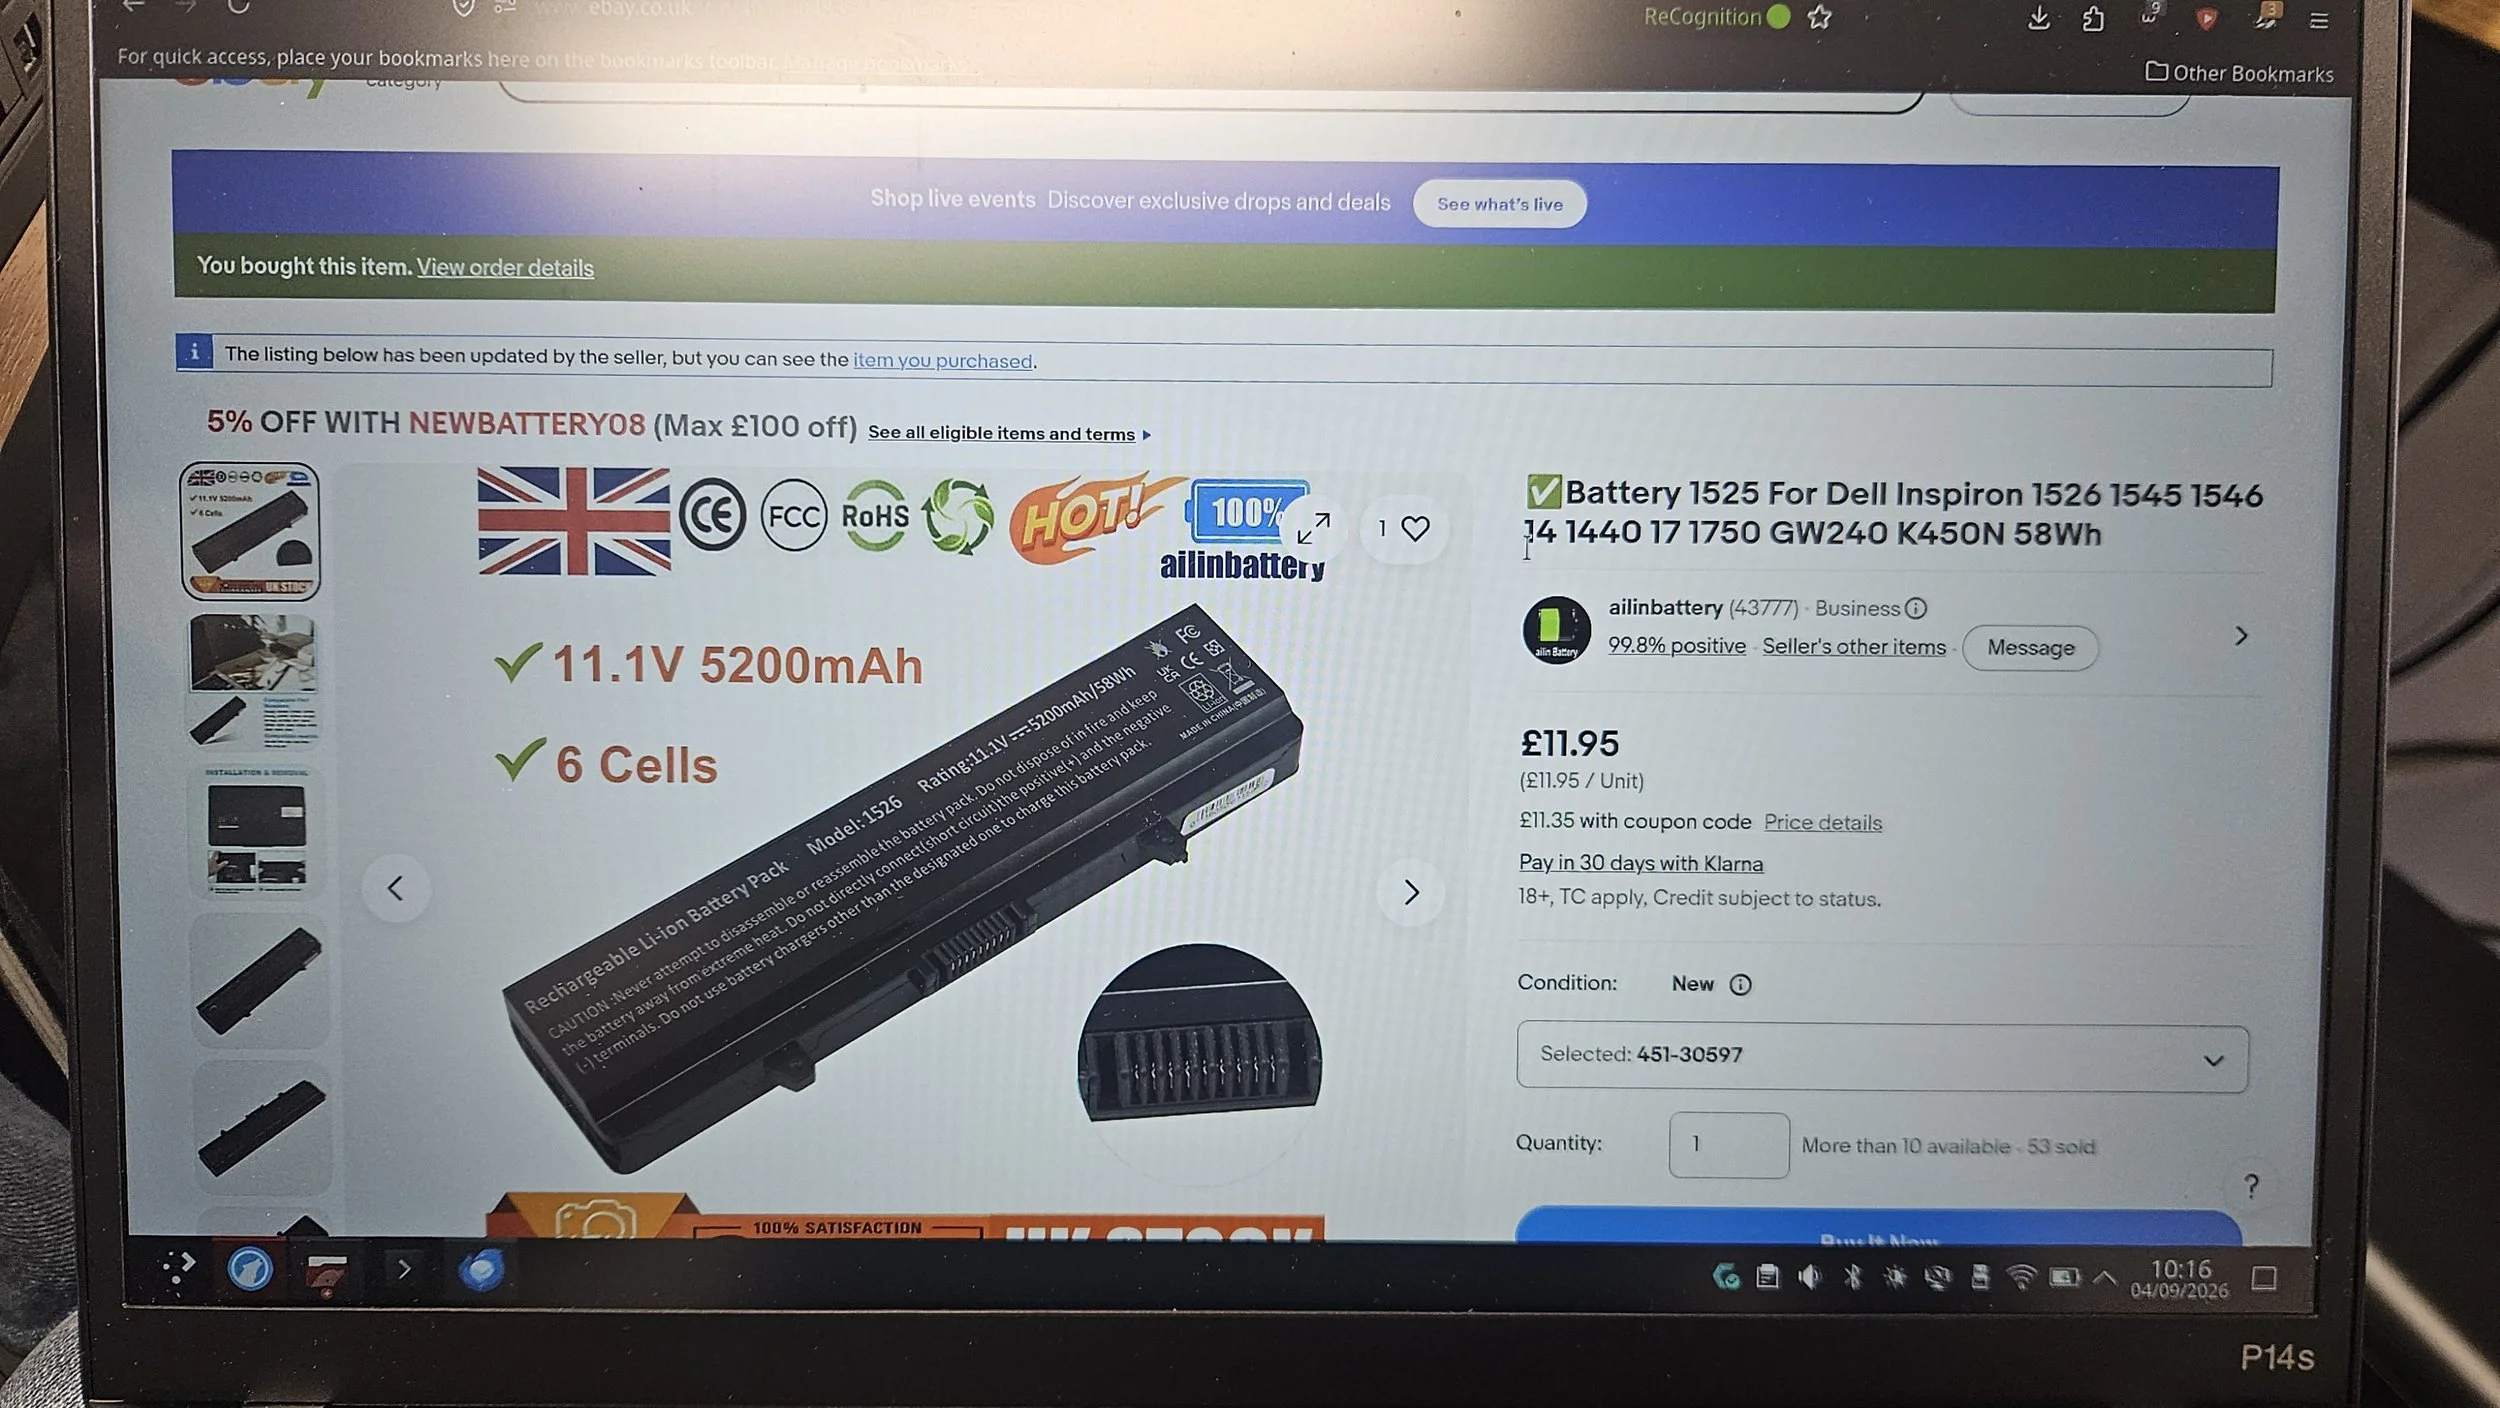
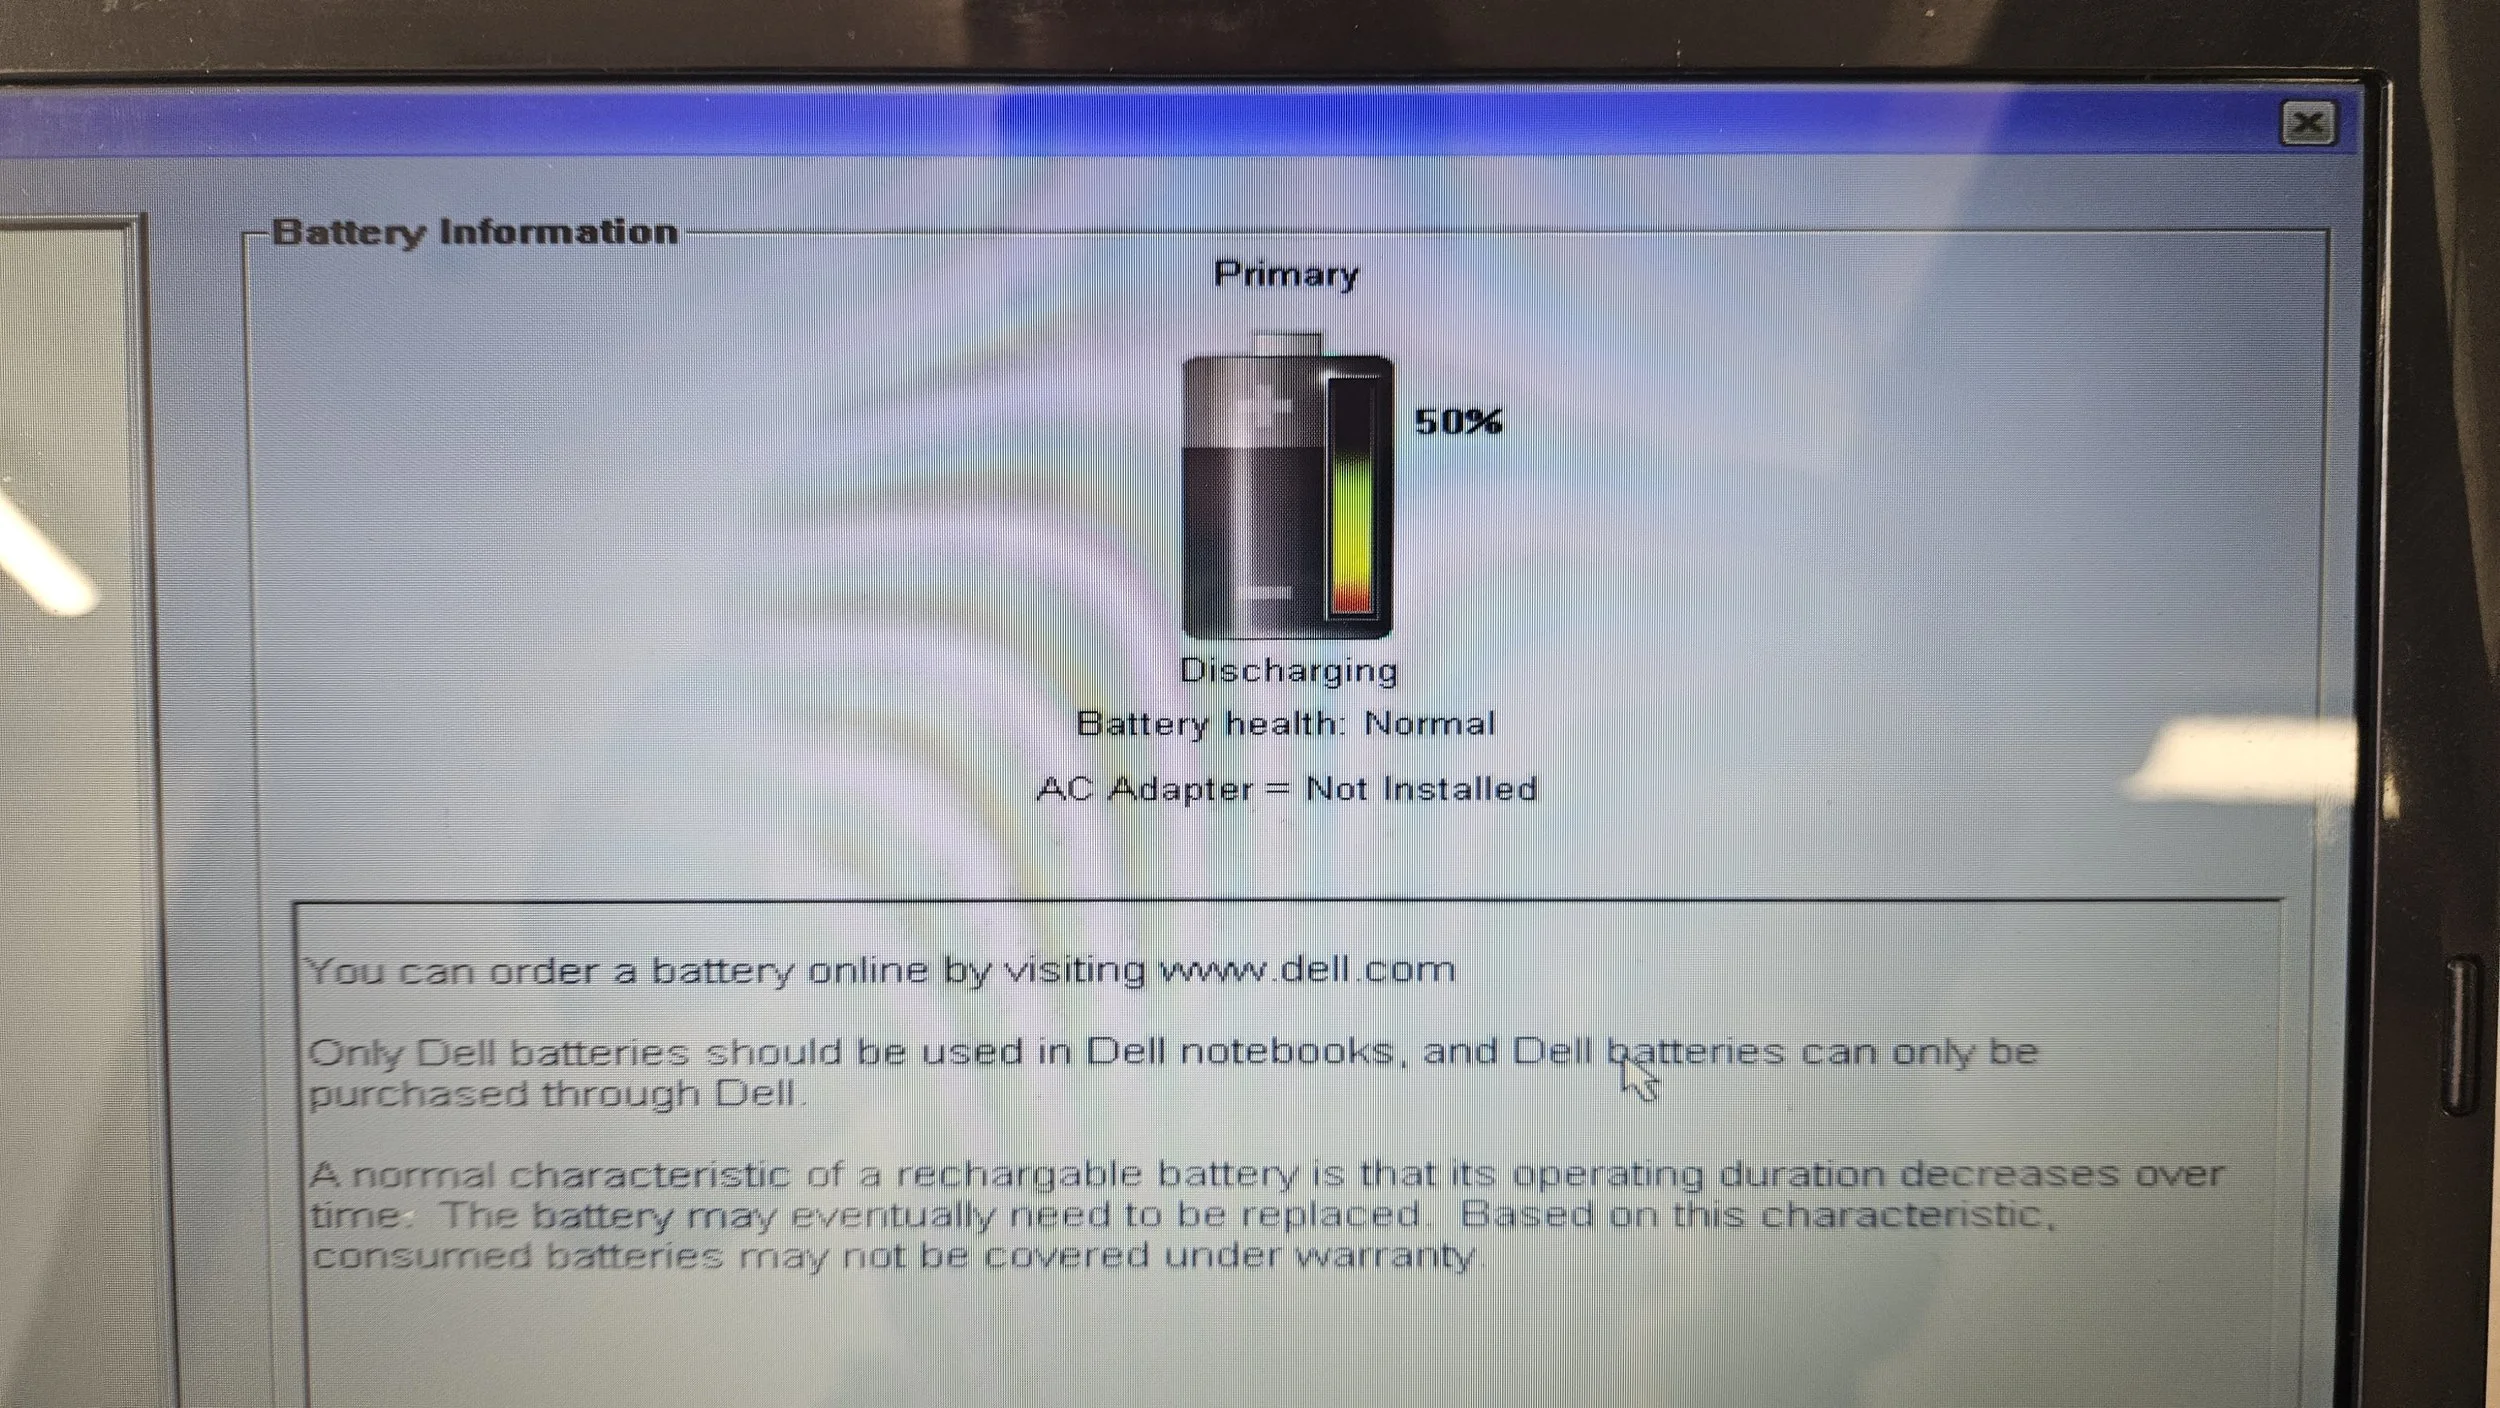
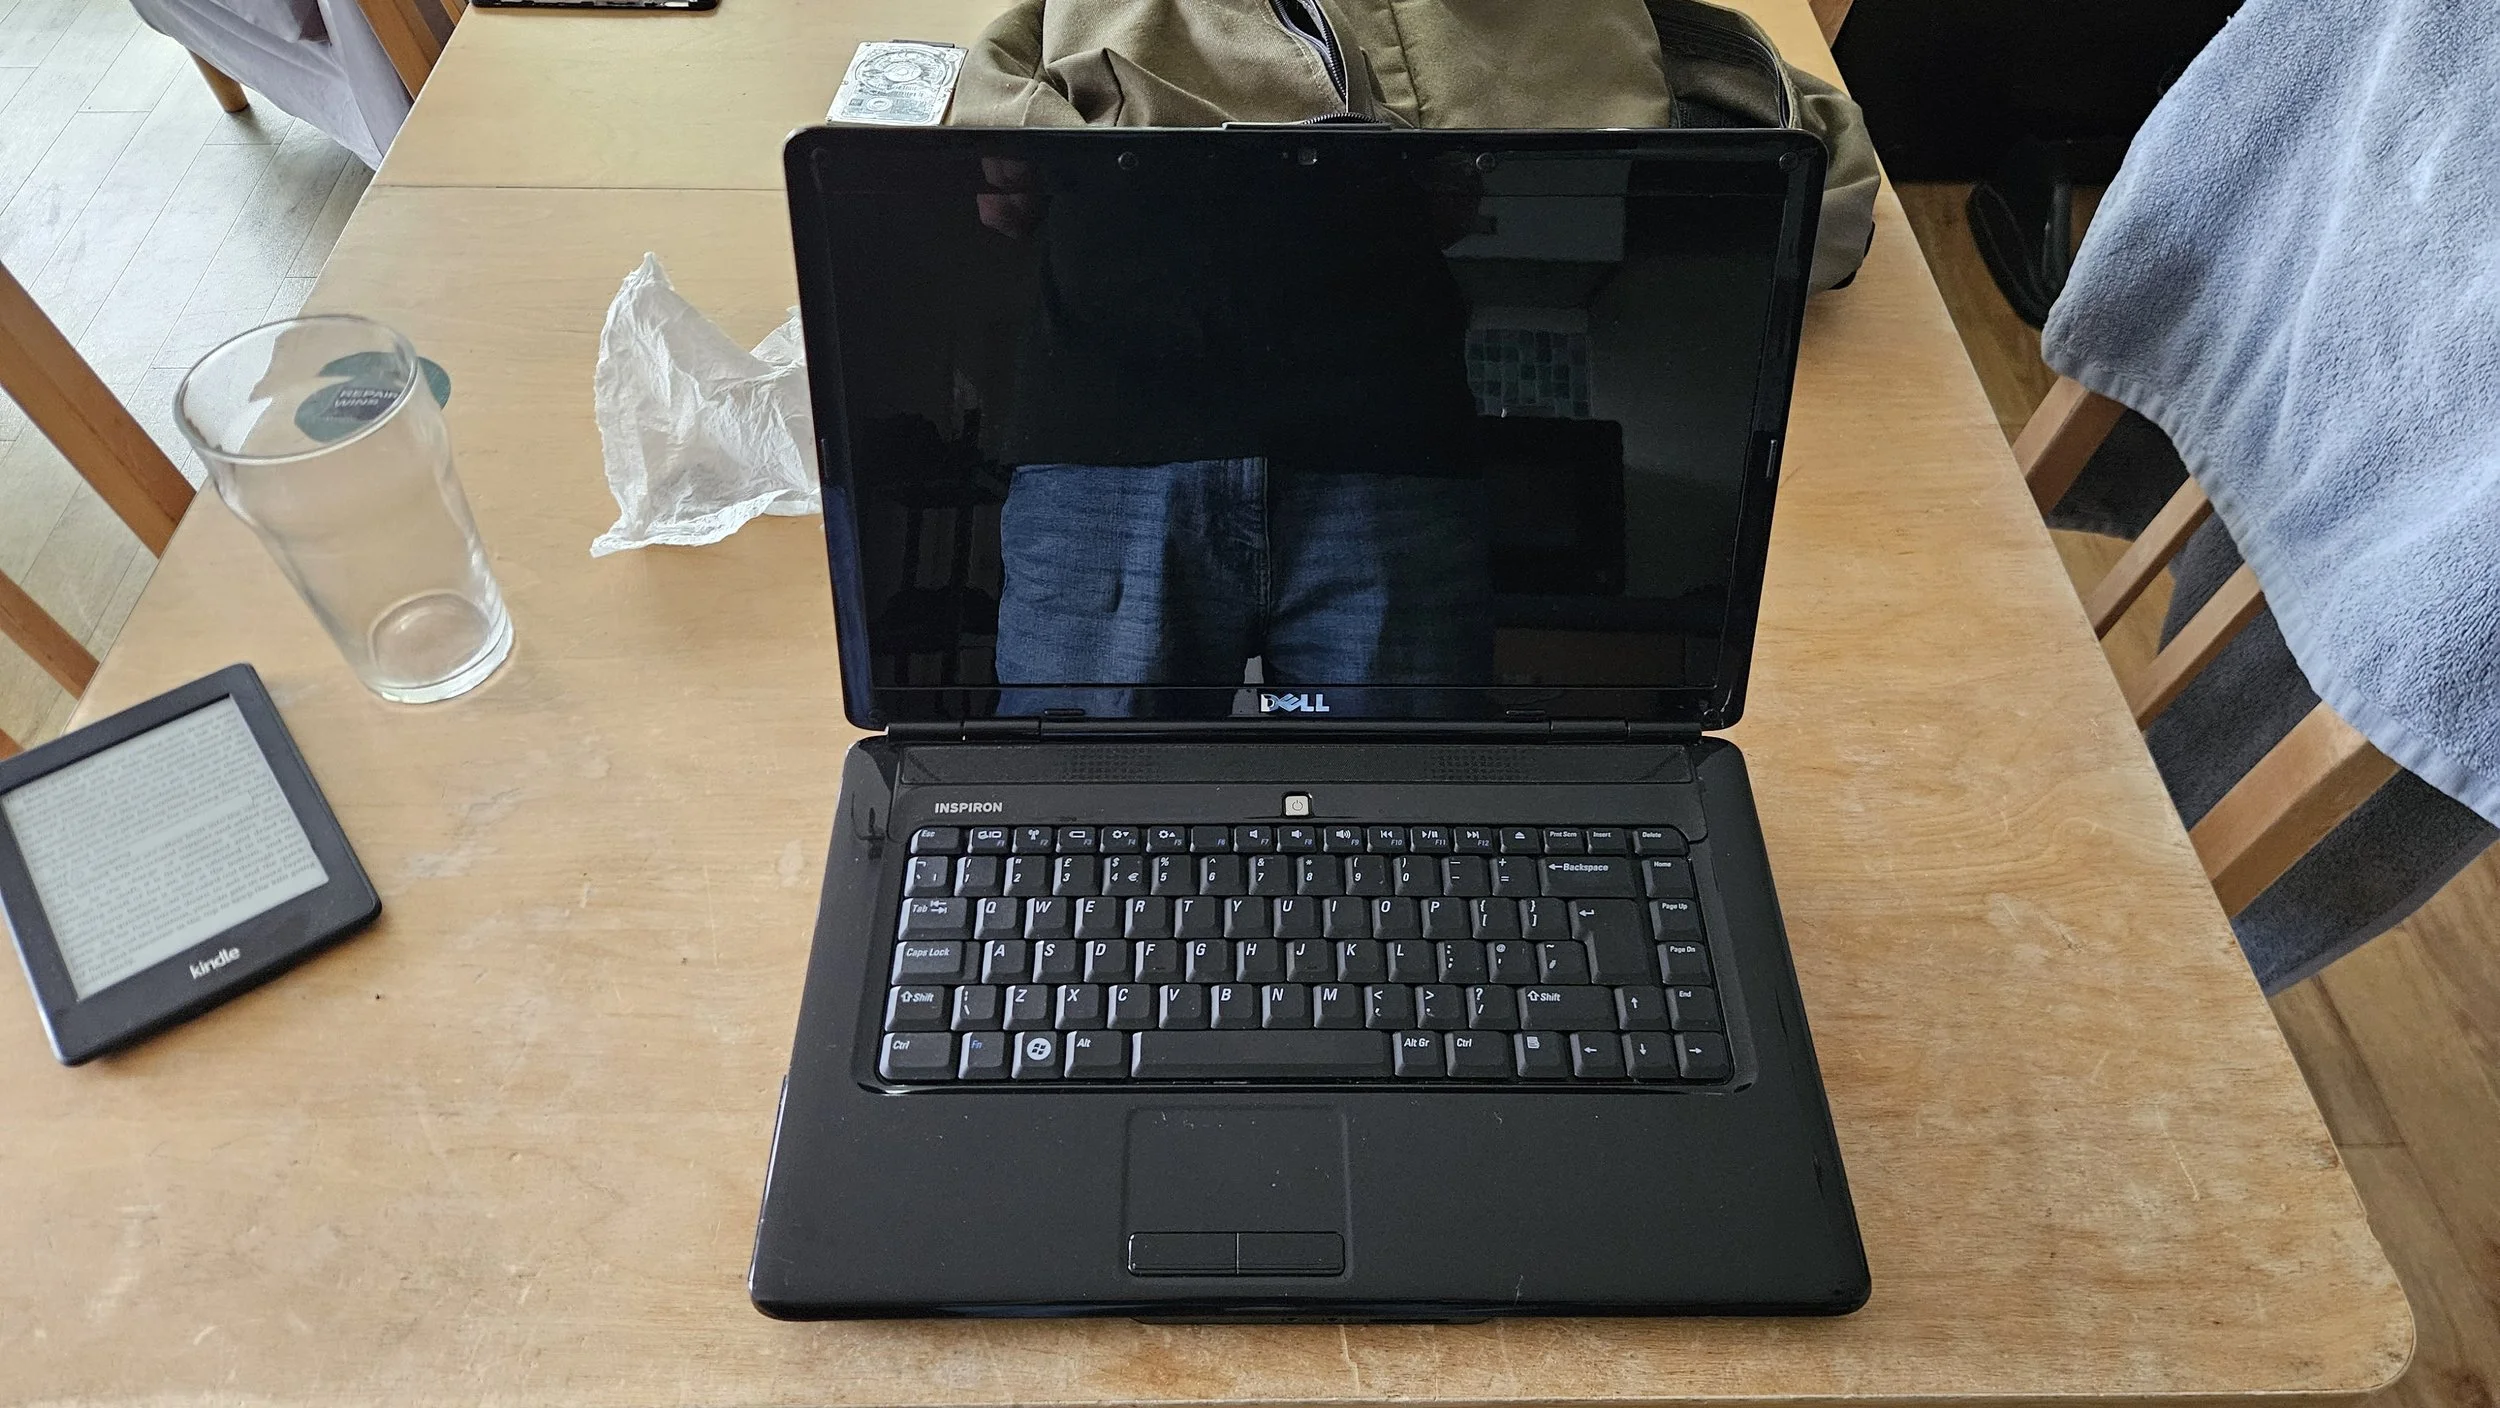
At this point we gave it a final clean with some wet wipes and cloths. It looks great - newer than its 15 years anyway and, more importantly, it performs well. It will prove useful for someone and that's the main thing. It was nice to take a trip down memory lane and to prove that cheap doesn't mean nasty. Old doesn't mean useless.
I hope you enjoyed reading. We're always in need of help whether that's a device donation, corporate sponsorship, volunteer hours, a like / share, etc. If you're able to help us in any way I'd be eternally grateful. You can contact ReCognition Circular / the Birmingham Device Bank via info@recognition-circular.org
A YouTube video accompanies this post. You can find it attached below:
(Repair Wins Blog - Post #12)
(September 2026)